Description complète
TP4056 charging module: charge a lithium cell over USB without mistreating it
In a handheld console battery mod, the lithium cell is never connected directly to a USB port: it needs a circuit that manages constant-current then constant-voltage charging and cuts off at 4.2 V. That's the TP4056's job. This board takes 5 V over USB and feeds a 3.7 V cell, with a protection circuit against deep discharge and short circuits.
What it does
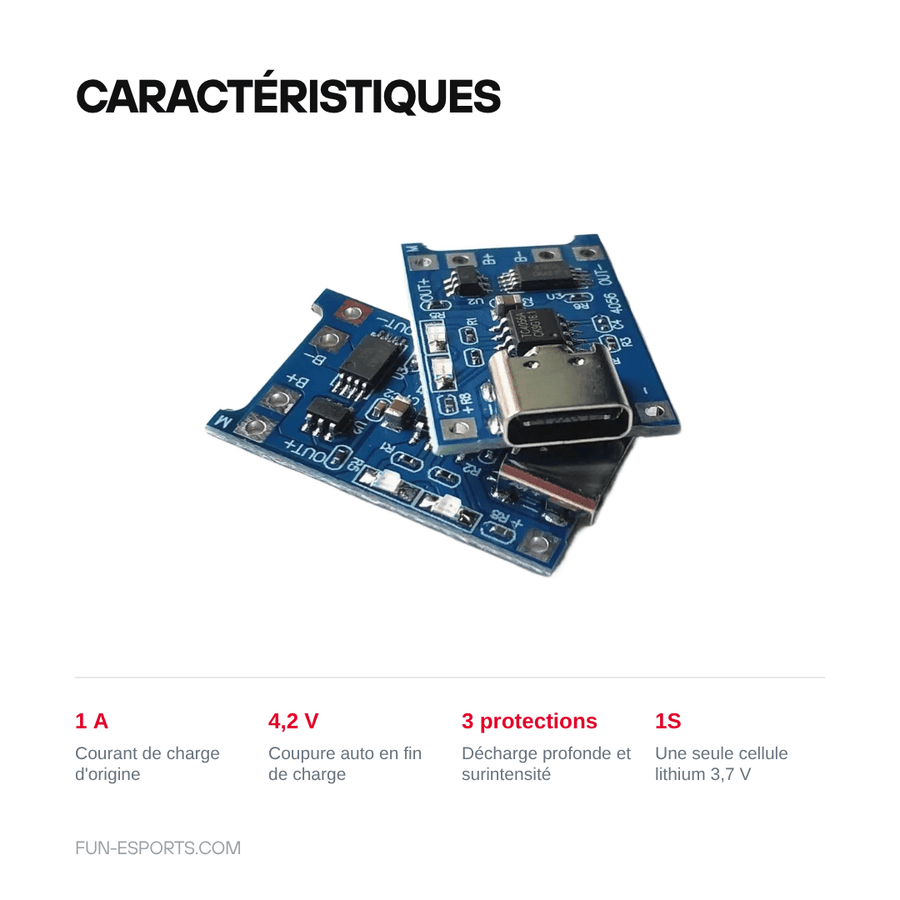
- Full charge cycle: constant current then constant voltage, automatic cut-off at 4.2 V. Current set to 1 A by the factory-fitted programming resistor.
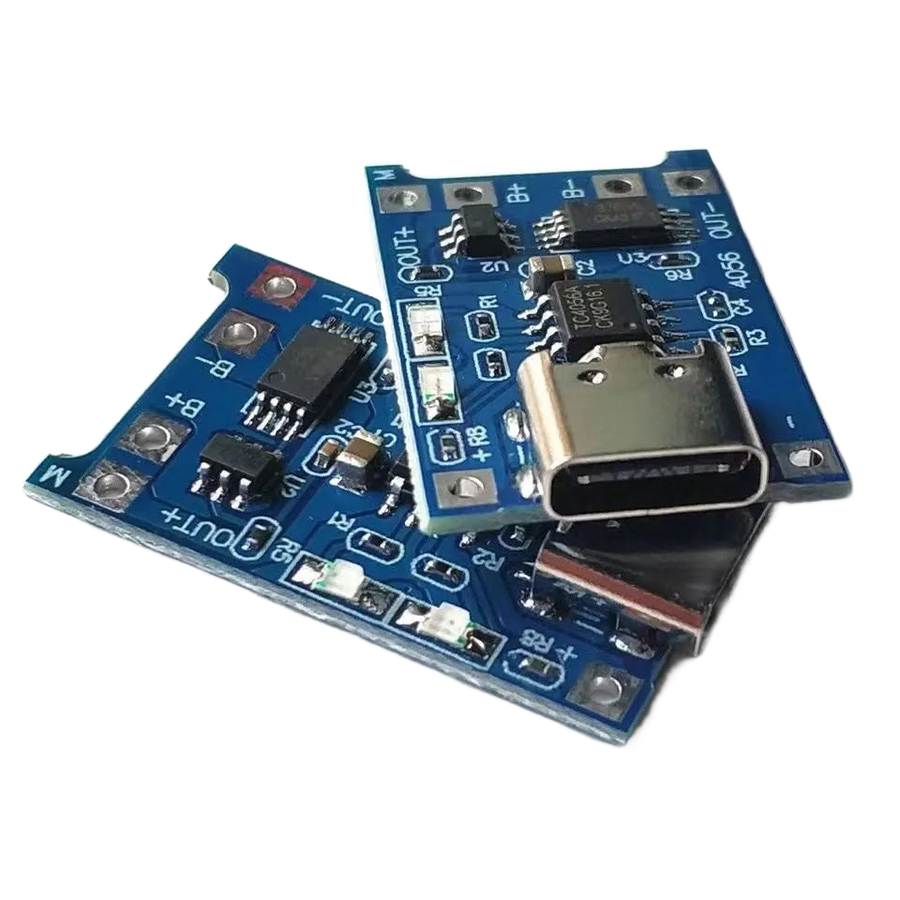
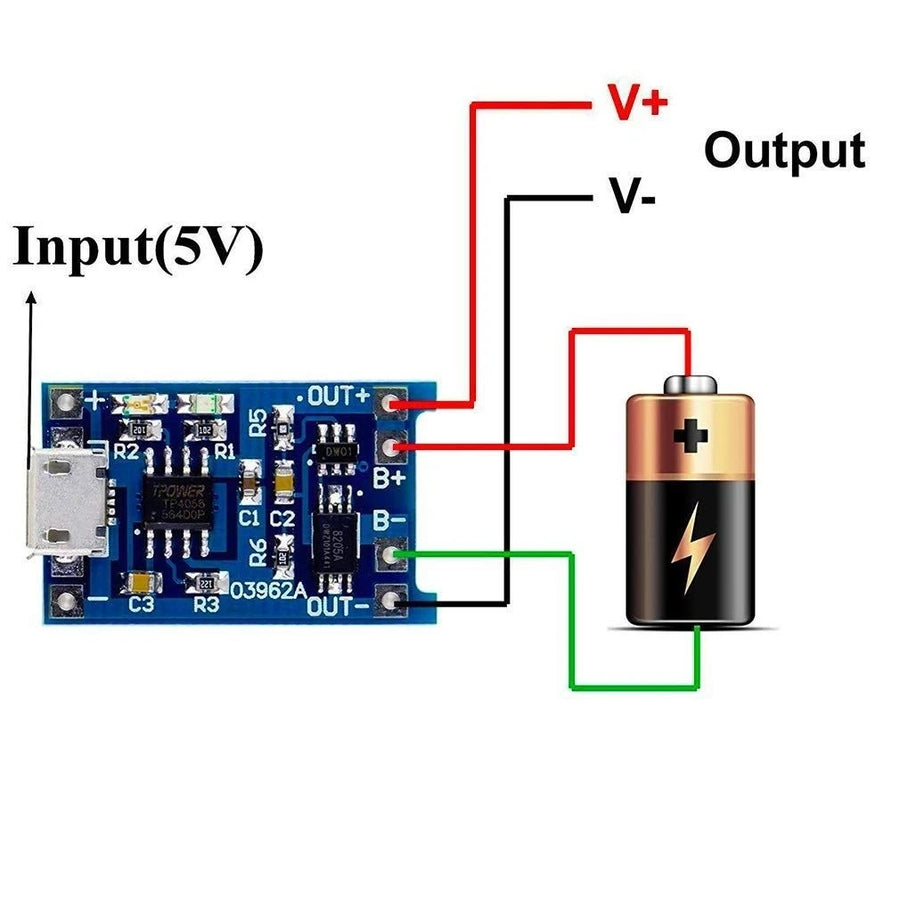
- Cell protection: the version listed cuts the output on deep discharge, overcurrent and short circuit. You can recognise it by its OUT+ and OUT− pins, separate from B+ and B−.
- Three connectors to choose from: USB-C, micro USB or mini USB, to match the cable you already have or the hole planned in the shell.
- Sold in packs of 2 or 5: enough to equip several builds and keep a spare board, so a €1 module that burns out doesn't hold up the project.
- Two indicator LEDs show charging in progress and charge complete.
What it doesn't do
- It doesn't step up the voltage: the output follows the cell, between 3.0 and 4.2 V. A console expecting 5 V or the equivalent of four AA batteries also needs a boost converter.
- It only handles a single cell (1S). No balancing for a 2S or 3S pack, no 3.2 V LiFePO4, no NiMH or alkaline batteries.
- No fast charging and no USB Power Delivery negotiation: the input stays at 5 V, 1 A maximum. The USB-C connector is just a connector.
- No cell, battery holder, cable or wire is supplied.
- This isn't a plug-and-play module: it's soldered in place and sized according to your cell's capacity.
Compatibility
Any single lithium-ion or lithium-polymer cell with a 3.7 V nominal voltage: 18650, 18350, 14500, or flat LiPo pack. It's the charging building block used in retro handheld console battery mods, in Raspberry Pi-based portable arcade machines and in battery-powered retro-geek decor projects. Not suitable for LiFePO4 batteries, series packs, or replacing an original battery that already has its own management circuit.
Skill level required
Fine soldering on pads: four to six joints depending on whether you use the protected output. Have a fine-tip iron, solder, heat-shrink tubing and a multimeter to check polarity before the first connection — reversing it destroys the board and can damage the cell. Allow 15 to 30 minutes for a simple build, longer to integrate it neatly into a console shell.
In the box
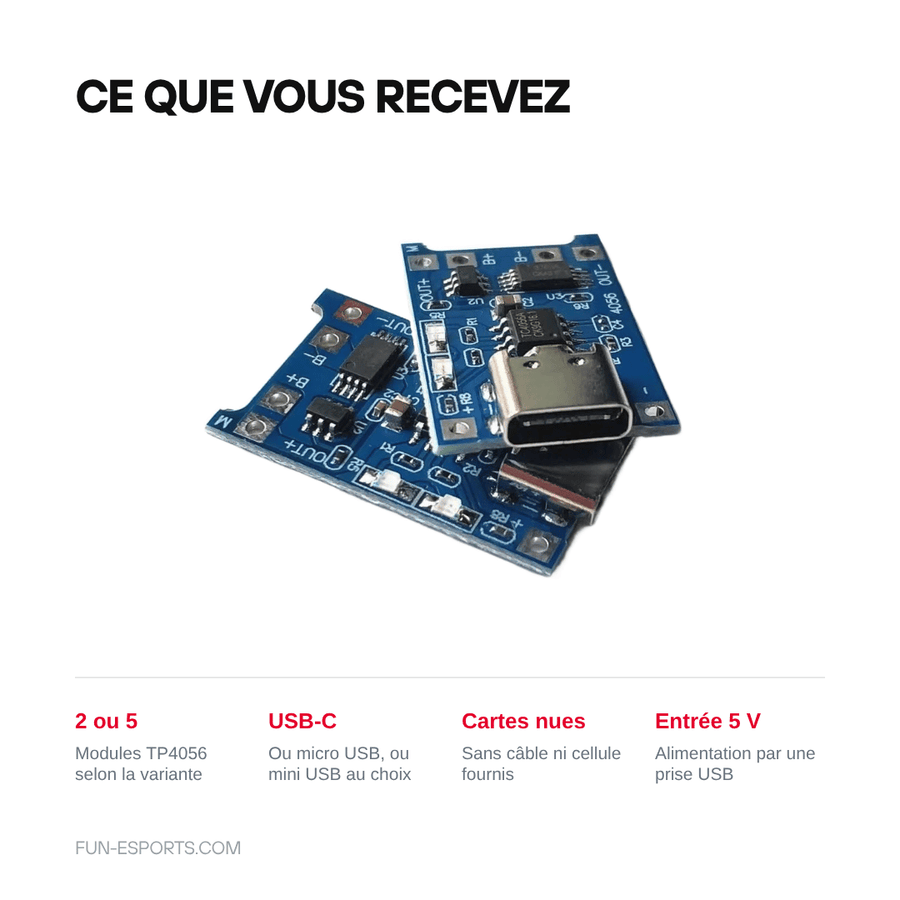
- 2 or 5 TP4056 charging modules, depending on the variant chosen.
- USB-C, micro USB or mini USB connector, depending on the variant chosen.
- Bare boards supplied, without cable, cell or wire.
Read before ordering: Accessories and workshop parts
Delivery in 10 to 18 days · ships within 3 to 5 days · 2-year legal guarantee · 14-day returns.
TP4056 1S lithium battery charging module — USB-C, micro or mini
Charges a 3.7 V lithium cell at 1 A, with protection: the basic building block of USB battery mods.
En stock
📦Ships within 3 to 5 business days · Delivery in 10 to 18 business days · 2-year legal guarantee · 14-day returns.
ℹÀ partir de 150 €, la livraison s’effectue en Point Relais.
- 🇫🇷SAV français
réponse sous 1 jour ouvré - 🛡Garantie légale
2 ans - ↩14 jours
pour changer d’avis - 🔒Paiement sécurisé
CB · PayPal · Klarna
From AA batteries to a USB port
A 90s handheld drains four alkaline batteries in a handful of hours, and the drawer ends up overflowing with used batteries. A battery mod means fitting a lithium cell inside the shell and drilling a charging port on the edge. This module is the part that makes the job safe: it controls charging, cuts off at the right moment and protects the cell as it runs down.
A charging circuit, not just a cable
The TP4056 is the most widespread charge controller in DIY electronics, for a simple reason: it applies a true constant-current then constant-voltage cycle, with a clean cut-off at 4.2 V. The version chosen here also includes the protection circuit, recognisable by its OUT+ and OUT− pins: that's the output your build connects to, never directly to the cell.
What you need to plan around it
Better to say it before you buy: on its own, this module won't run a console. It charges a cell; it doesn't raise the voltage. If the machine expects 5 V, you need to add a boost converter. You also need to be able to solder four to six joints and check polarity with a multimeter: reversing it destroys the board. Have the cell, wires and heat-shrink tubing ready, as none of these are supplied.
What this accessory brings
Verified manufacturer specifications · vérifié le
Ce qu’il fait bien
- Constant-current then constant-voltage charging, cut-off at 4.2 V
- Current set to 1 A by the factory programming resistor
- Protection circuit: deep discharge, overcurrent, short circuit
- Three connectors to choose from: USB-C, micro USB, mini USB
- Sold in packs of 2 or 5 modules
Ce qu’il ne fait pas
- Doesn't step up the voltage: output between 3.0 and 4.2 V, a boost converter is still needed for 5 V
- Single cell only (1S): no 2S or 3S balancing
- No 3.2 V LiFePO4, NiMH or alkaline batteries
- No fast charging or USB Power Delivery negotiation: 5 V input, 1 A maximum
- Soldered installation, cell and cables not supplied
Voir toute la fiche technique+
Matière et format
- Type d’accessoire
- Lithium charging module
Compatible avec
- 3.7 V 18650 lithium-ion cell
- 18350 and 14500 lithium-ion cells
- 1S LiPo battery
- Handheld console battery mod
- Battery-powered Raspberry Pi project
Dans la boîte
- 2 or 5 TP4056 charging modules depending on the variant
- USB-C, micro USB or mini USB connector depending on the variant
- Bare boards supplied, without cable or cell
Frequently Asked Questions
🔧 Do I need to solder to use this module?
Yes. Four to six pads to tin depending on whether you use the protected output: IN+ / IN− on the USB side, B+ / B− to the cell, OUT+ / OUT− to the build. A fine-tip iron is enough; allow 15 to 30 minutes.
⚡ What charging current does it deliver?
1 A, a value set by the factory-fitted programming resistor, with a constant-current then constant-voltage cycle and a cut-off at 4.2 V. On a small LiPo cell, you need to replace this resistor to lower the current.
🔋 Which batteries can it charge?
A single lithium-ion or lithium-polymer cell with a 3.7 V nominal voltage: 18650, 18350, 14500 or flat LiPo pack. No 3.2 V LiFePO4, NiMH, or 2S or 3S packs, which require balancing that this board doesn't do.
🔒 Is protection built in?
The version offered is listed with a protection circuit against deep discharge, overcurrent and short circuit. You can recognise it by its OUT+ and OUT− pins, separate from B+ and B−: OUT is where you connect your build.
🎮 What is it used for on a retro console?
It's the charging building block of battery mods: replacing a handheld's batteries with a lithium cell rechargeable over USB. You need to add a boost converter if the console expects a higher voltage than the cell's.
🔌 Can I connect it to a phone charger?
Yes, the input is 5 V and a recent charger limits itself. No fast charging or USB Power Delivery negotiation. If the USB-C version doesn't start from a USB-C to USB-C cable, use a USB-A to USB-C cable.
🚚 What are the delivery times?
Delivery in 10 to 18 days, ships within 3 to 5 days.
🛡️ What warranty applies?
2-year legal guarantee of conformity. 14-day returns. French customer service, reply within 1 business day.
Why buy here rather than on a marketplace
It is a fair question. Here is the answer, straight.
Every listing is checked before publication: real compatibility, material, dimensions, box contents. Many models never make it into the catalogue.
A question about compatibility, a fit problem, a return: you write, a human replies within 1 business day. In French.
The 2-year legal warranty of conformity is handled by us — not by a form on the other side of the world. And 14 days to change your mind, with no need to justify yourself.
We do not claim to be the cheapest. We claim that you will know exactly what you are buying before you pay.
Read this before choosing
Our guides to accessories: compatibility, protection, transport.

Pixel art: create your own designs for a Divoom display
Grid size, number of colours, outlines, animation: the guide to getting started in pixel art and displaying your own creations on a Divoom display.
2 min de lecture · publié le

Divoom pixel art speakers: which one should you choose?
Astrotoo, Ditoo-Pro, FlowToo, Tiivoo-2, Timebox-Evo, MiniToo, Fairy-OK: the seven Divoom speakers compared, by use and budget.
2 min de lecture · publié le

Times Frame or Times Frame Pure: which Divoom floating photo frame should you choose?
64 or 32 GB, three colours or just one, a dial or not: the real differences between the Times Frame and Times Frame Pure…
1 min de lecture · publié le