Game Boy & GBA shells
Game Boy and GBA shells bring together complete replacement housings for the DMG, Game Boy Color and Game Boy Advance SP, including several IPS-ready versions already cut for a modded screen, as well as a kit combining a shell and a 2.9-inch panel. A transparent protective case supplied with its screen film completes the selection for the GBA SP.
9 items9 available right now
Fun-Esports
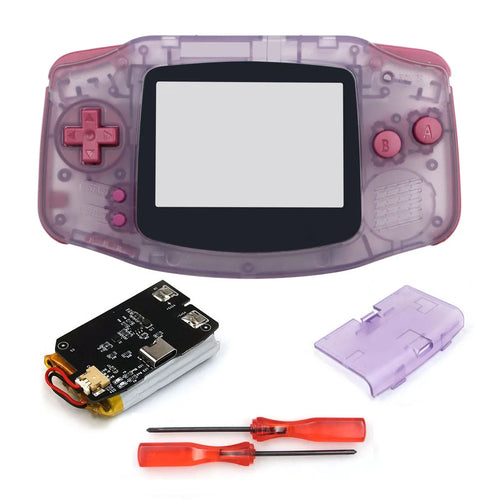
Hispeedido GBA shell with rechargeable battery — for IPS V2 or V5 screenAvailable
84,99€
Fun-Esports
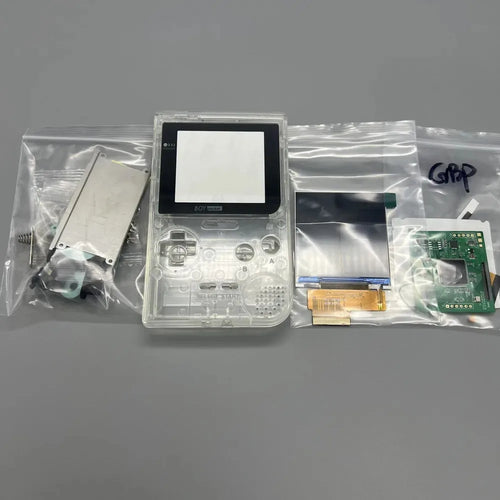
2.6" IPS screen for Game Boy Pocket — kit with matching shellAvailable
83,99€
Fun-Esports
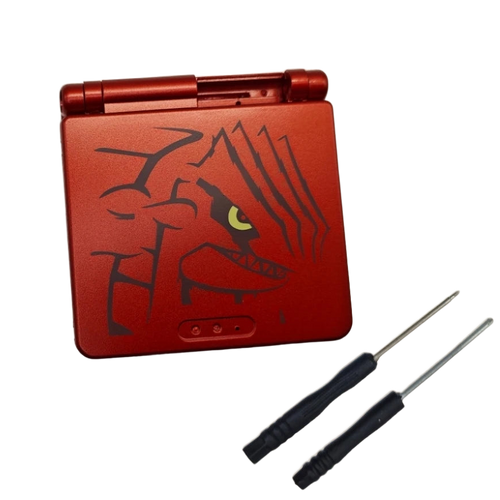
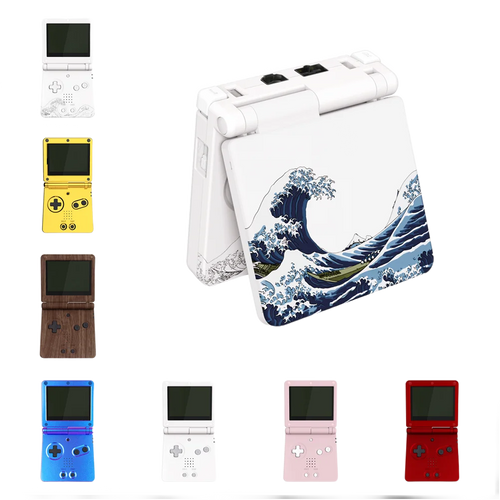
Game Boy Advance SP replacement shell — 5 styles, complete kitAvailable
29,99€
Fun-Esports
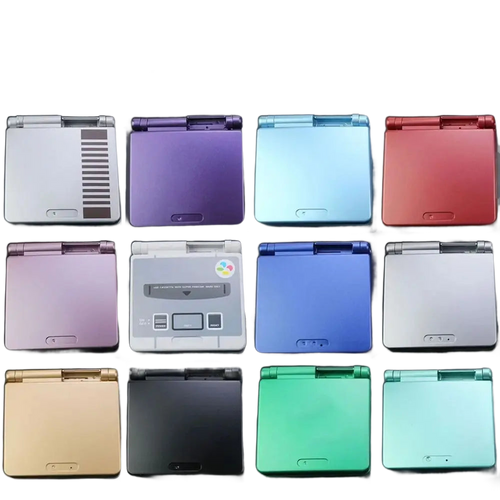
Complete Game Boy Advance SP replacement shell — buttons includedAvailable
21,99€
Fun-Esports
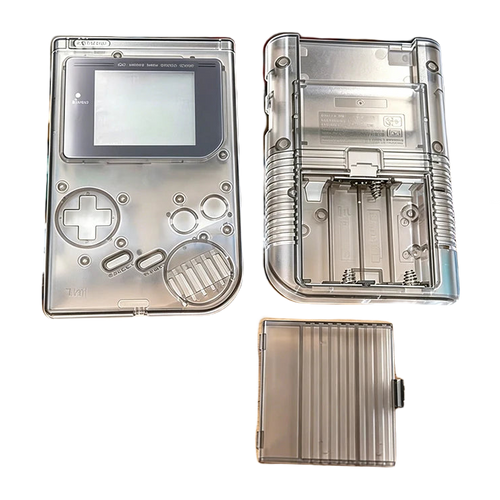
Complete Game Boy DMG IPS-Ready Shell — buttons and pads includedAvailable
33,99€
Fun-Esports
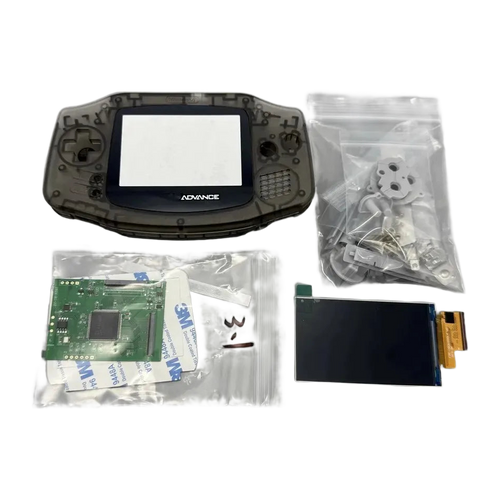
2.9-inch IPS screen and shell kit for Game Boy Advance — no cuttingAvailable
50,99€
Fun-Esports
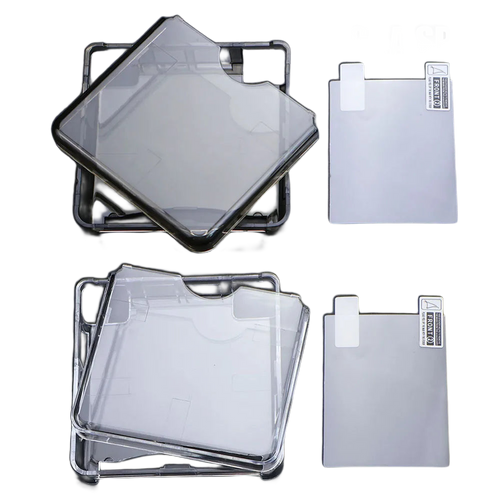
Clear protective case for Game Boy Advance SP + screen protectorAvailable
16,99€
Fun-Esports
Game Boy Advance SP IPS-ready full shell — eXtremeRate, no cuttingAvailable
59,99€
Fun-Esports
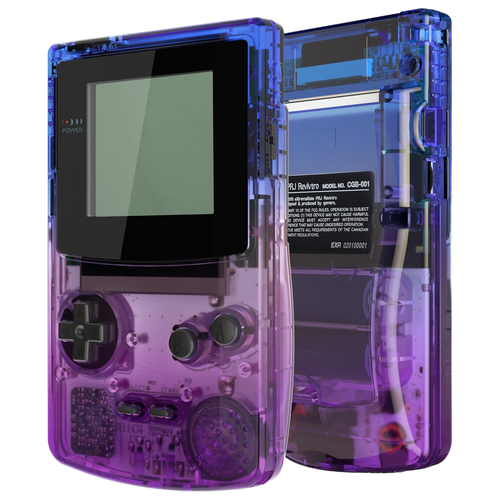
Game Boy Color IPS-ready full shell — eXtremeRate, buttons includedAvailable
54,99€
Game Boy shell: replace the housing or simply protect yours
Questions fréquentes
Do I need an IPS-ready shell if I'm not changing the screen?
No. The window of an IPS-ready shell is enlarged to take an IPS panel: with the original screen, there would be a visible empty gap around the picture. Choose a standard replacement shell instead, or plan to get the IPS panel at the same time as the housing.
Are the buttons supplied with the shell?
It depends on the model. The complete shells on this page list the buttons as included, and the Game Boy DMG version adds the rubber pads. The transparent protective case for the GBA SP contains no buttons, since it covers the console without taking it apart.
What tools do you need to change the shell of a Game Boy Advance SP?
A tri-wing screwdriver for the outer screws, a small Phillips screwdriver for the motherboard and a plastic spudger to separate the two halves of the shell without marking the clips. Allow 30 to 45 minutes for the transfer. Work on a tray: the screws aren't all the same length and must go back in their original places.