Description complète
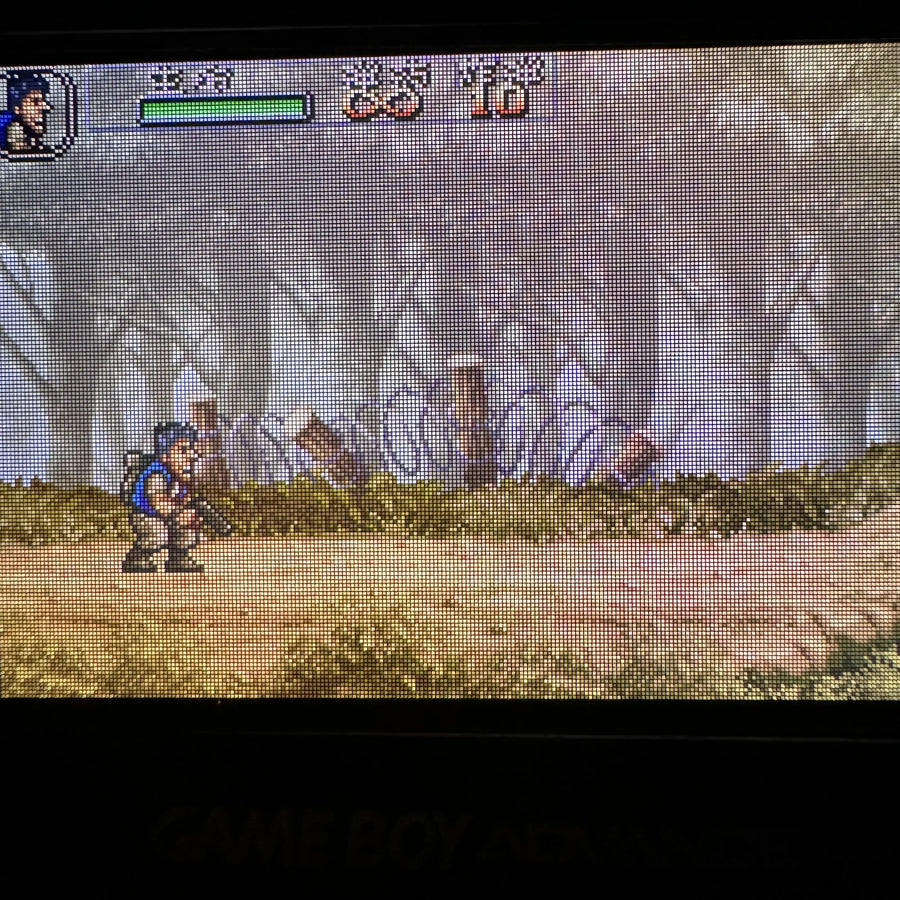
2.9-inch IPS screen for Game Boy Advance: a readable image, without filing the shell
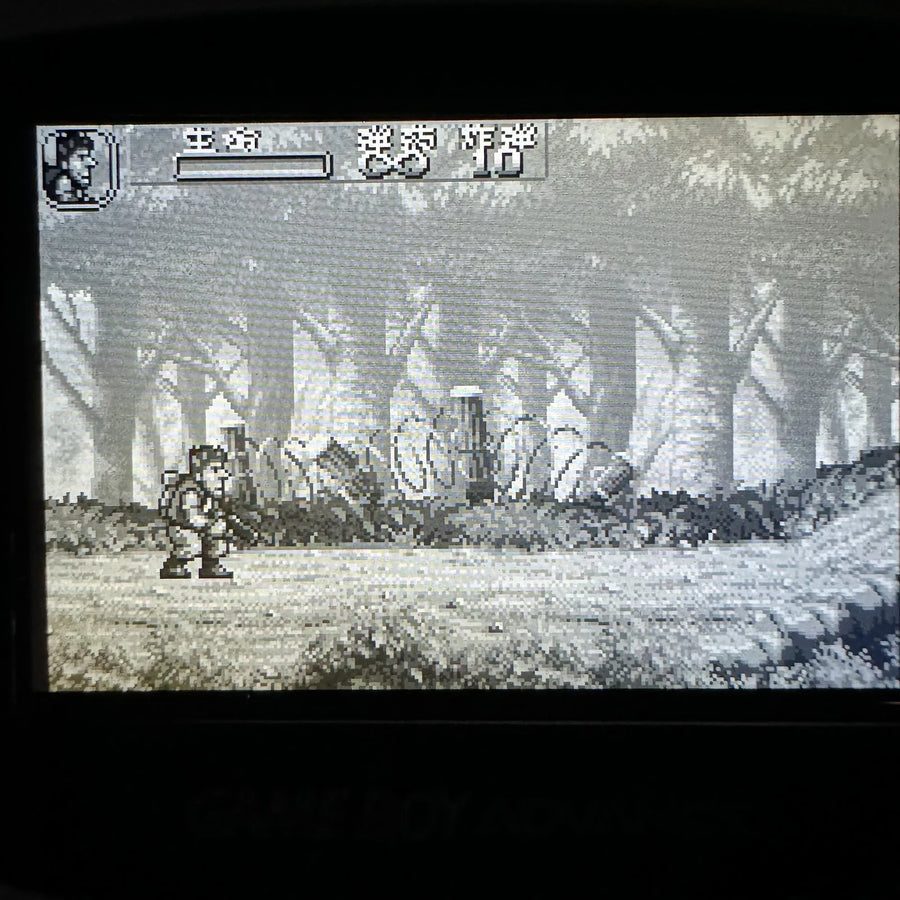
The first-generation Game Boy Advance (AGB-001) has neither backlight nor contrast: unless the light hits it at a low angle, the original screen stays dark. This kit replaces the panel with a 2.9-inch IPS screen and supplies a replacement shell already cut to the right opening. That is what saves you the filing work required by older IPS kits.
What it does
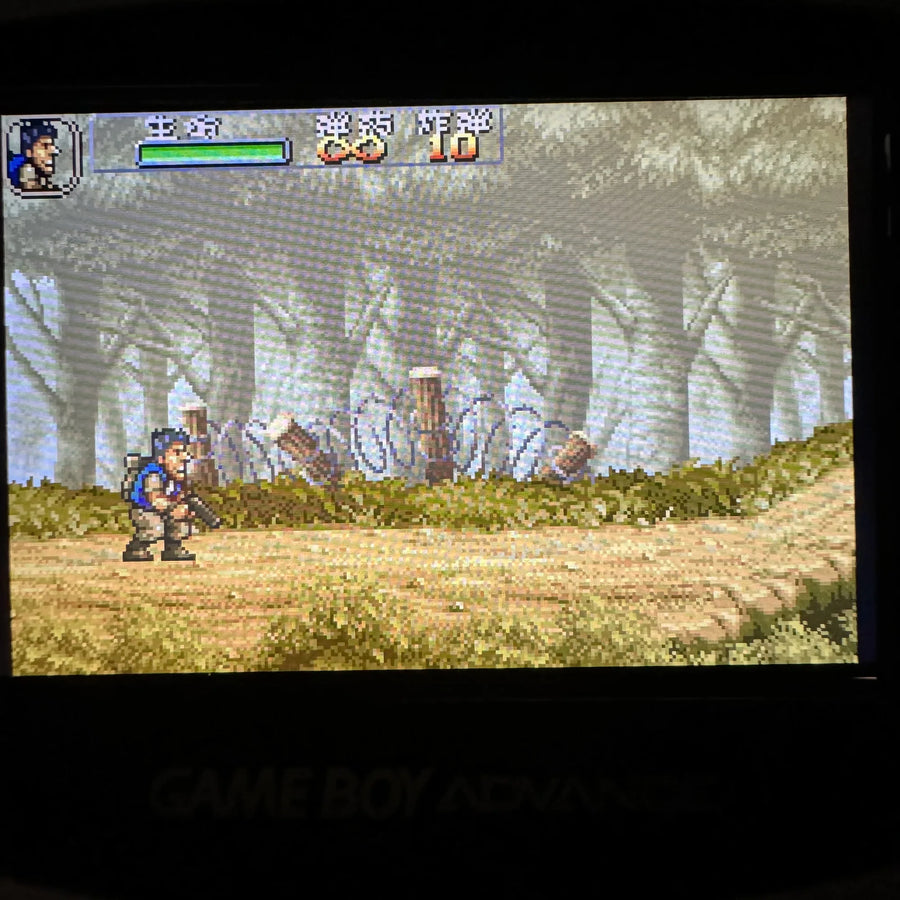
- 2.9-inch IPS panel: backlight, deep blacks and wide viewing angles, where the original panel had you hunting for light.
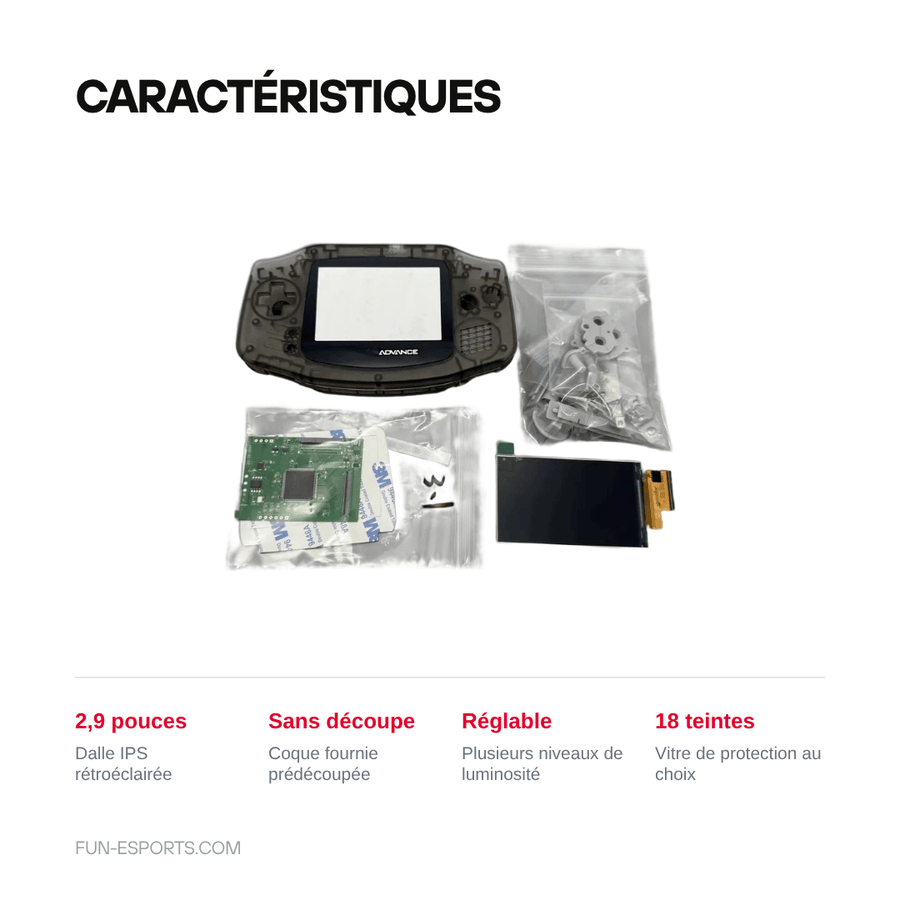
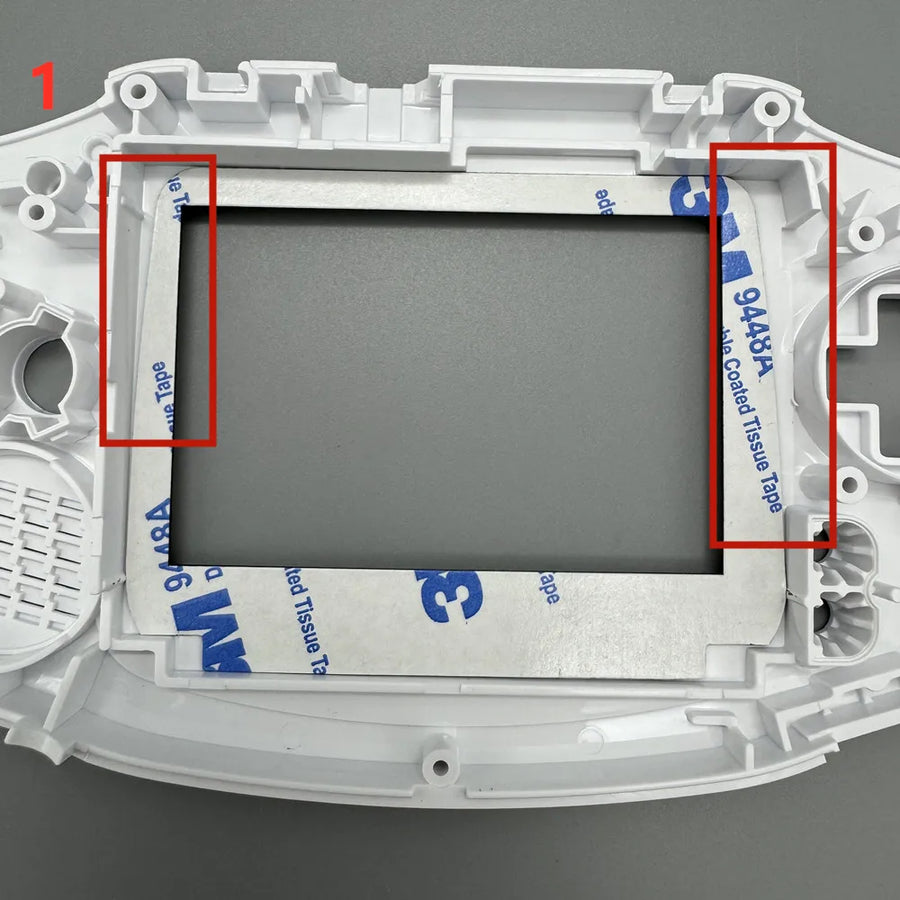
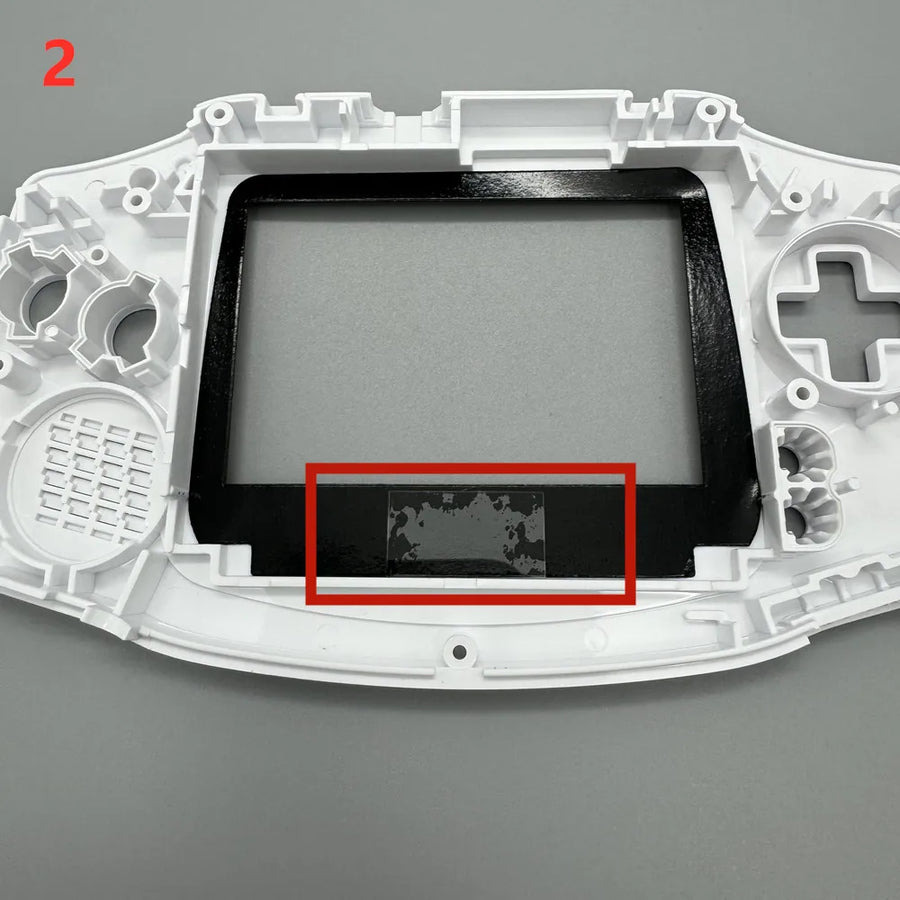
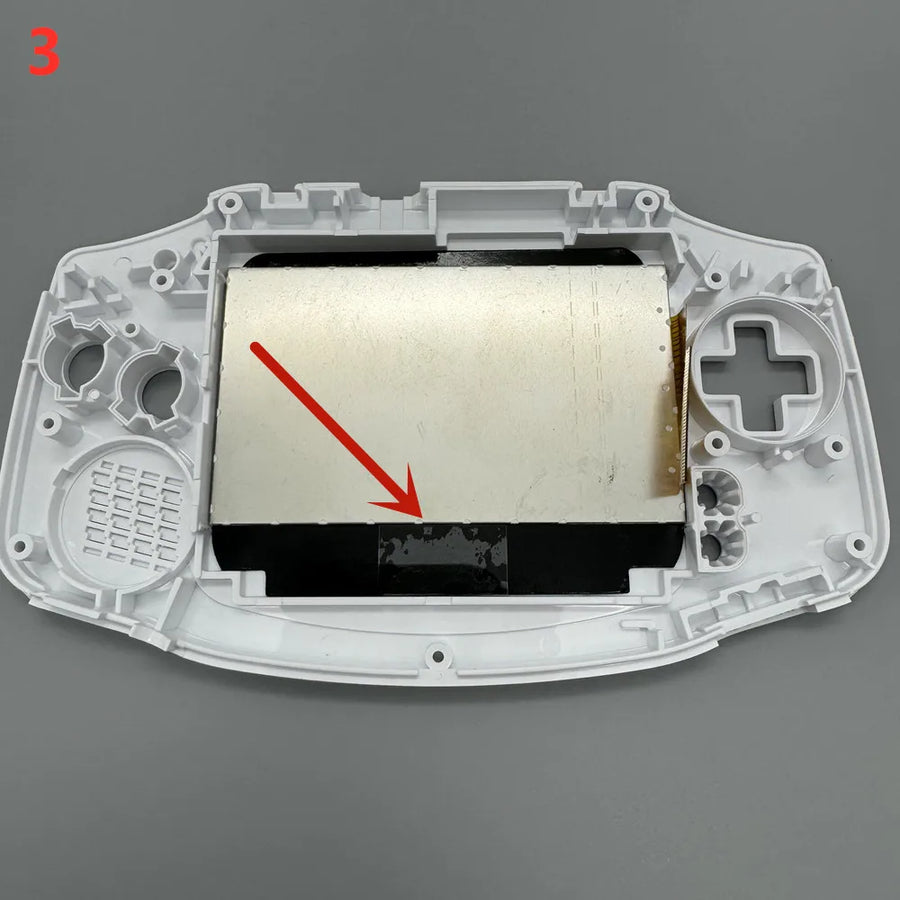
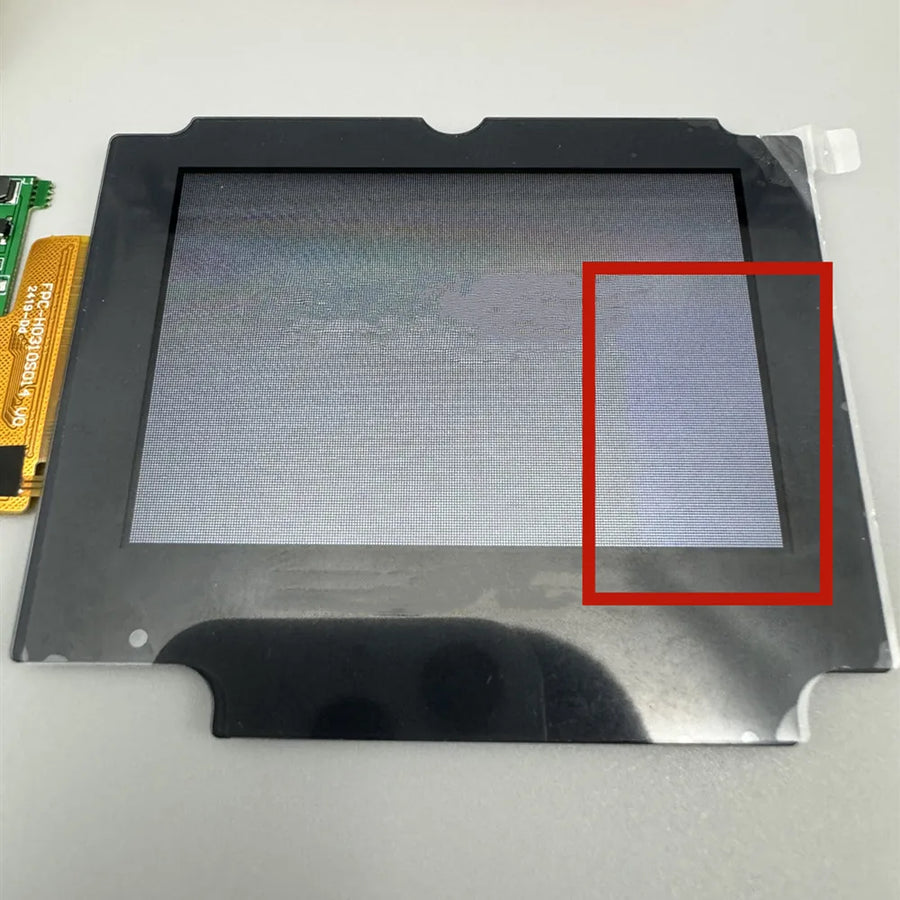
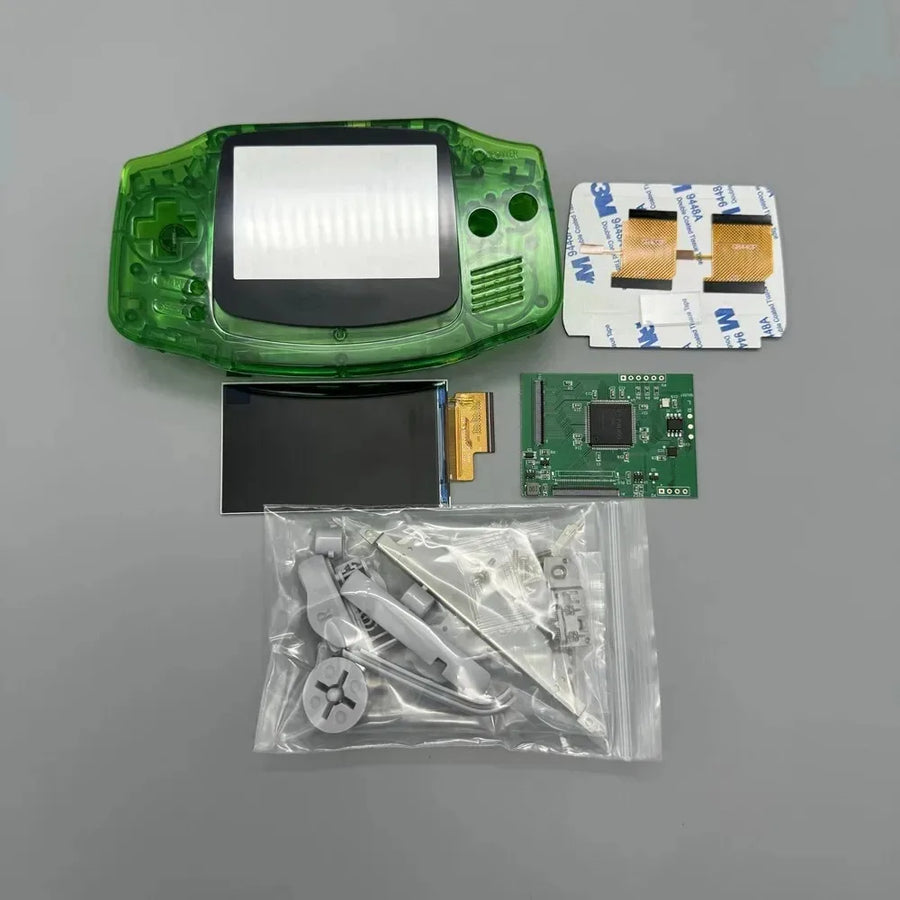
- No cutting: the supplied shell is cut out for the display area of the panel, which is wider than the original window.
- Adjustable brightness: several levels, adjusted from the console once the kit is fitted.
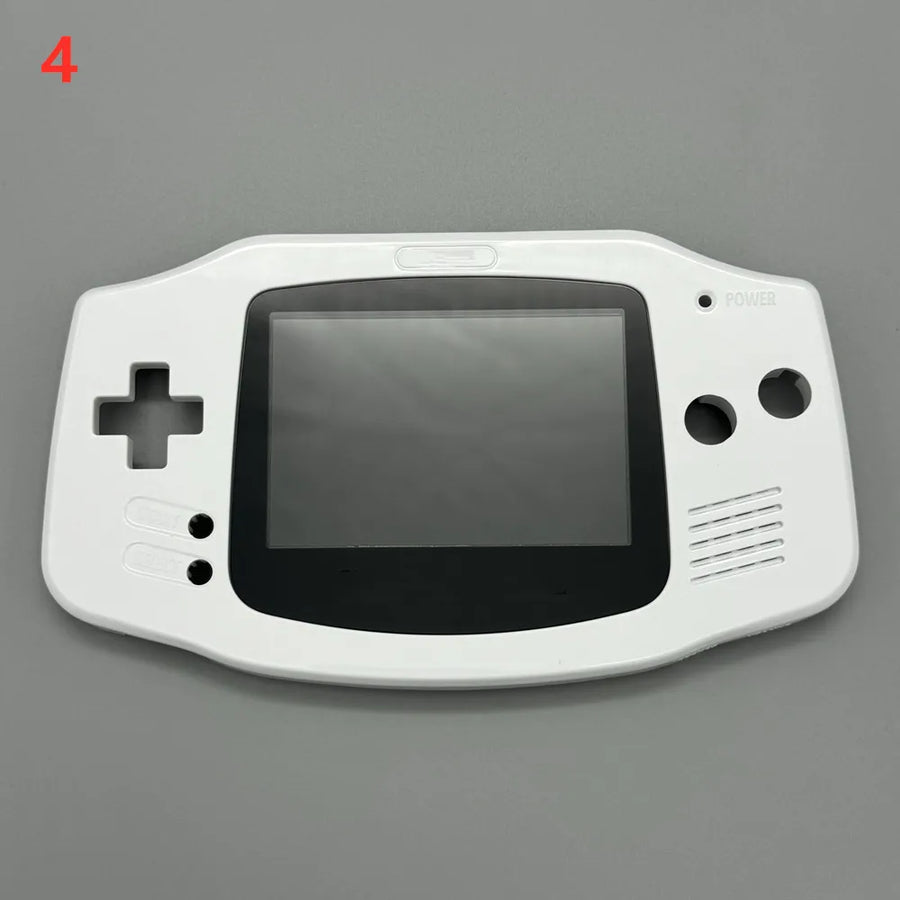
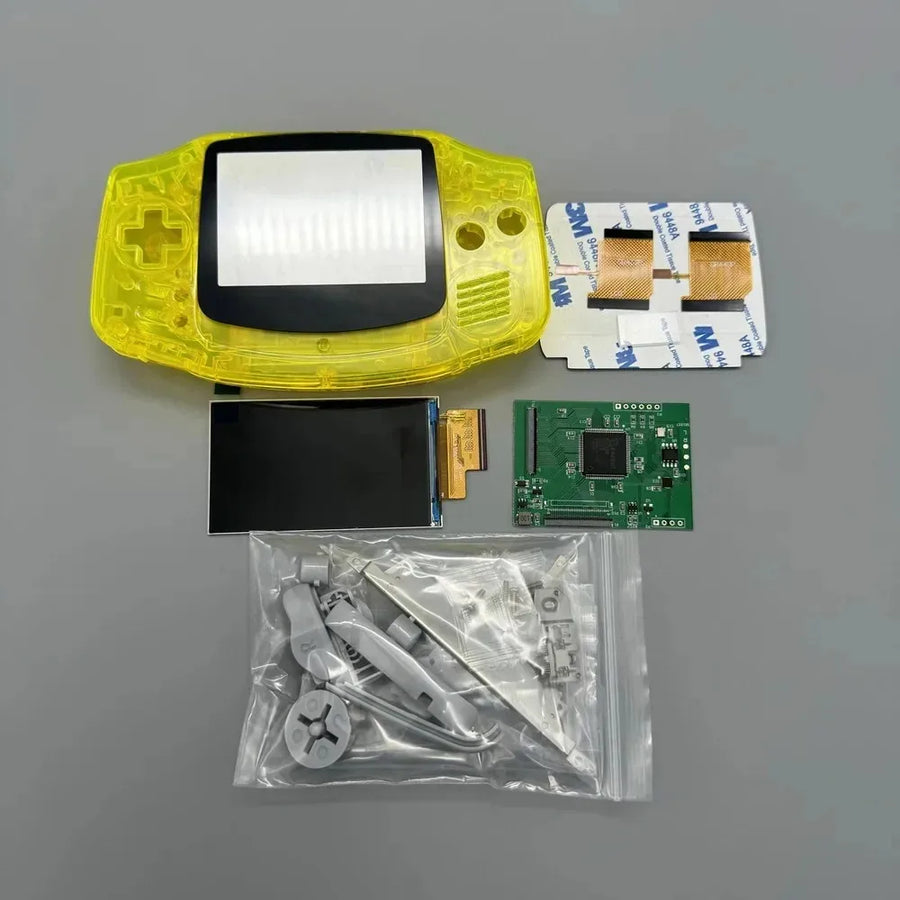
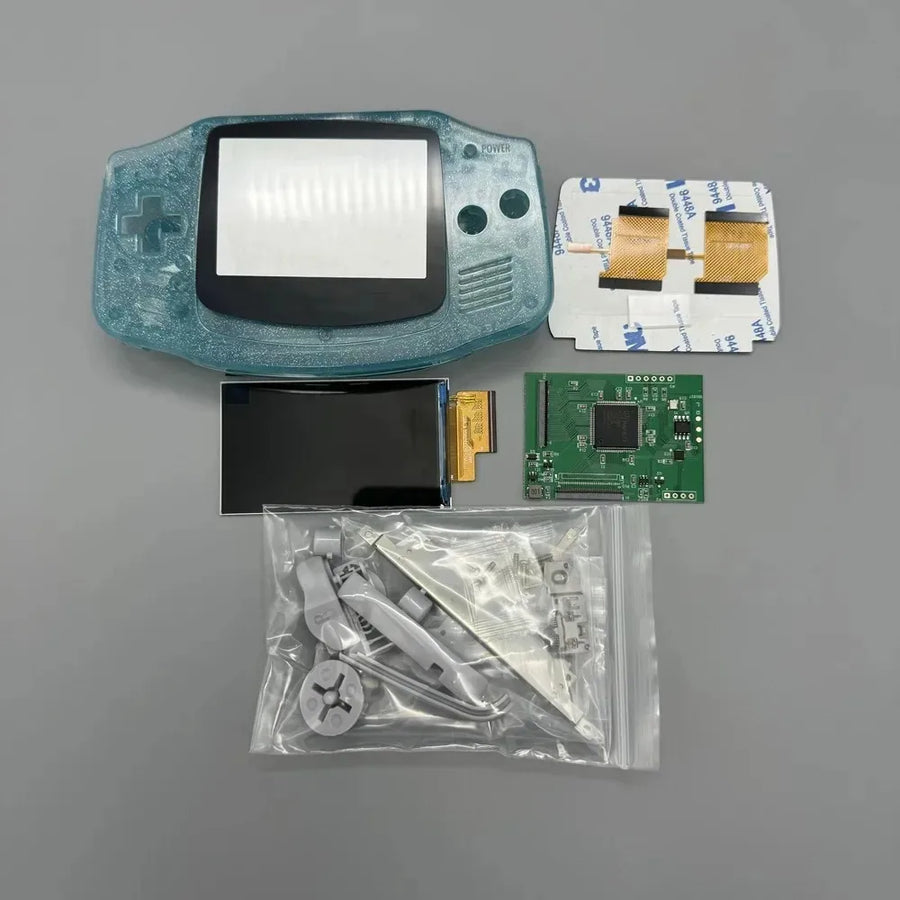
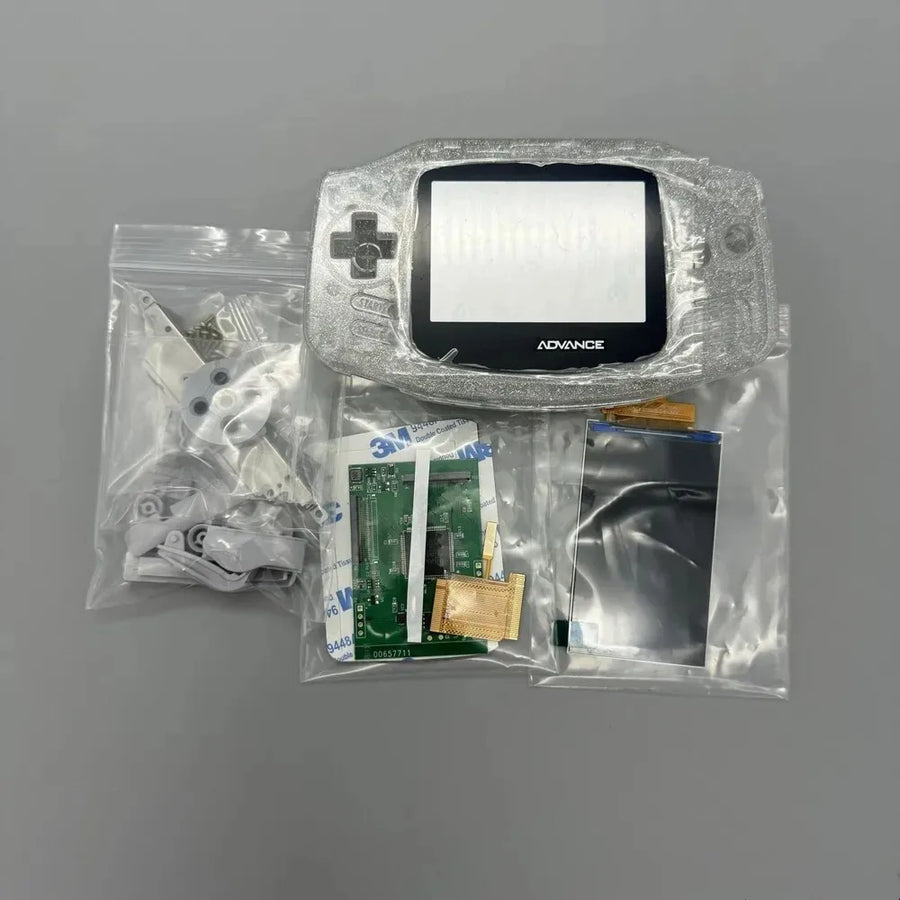
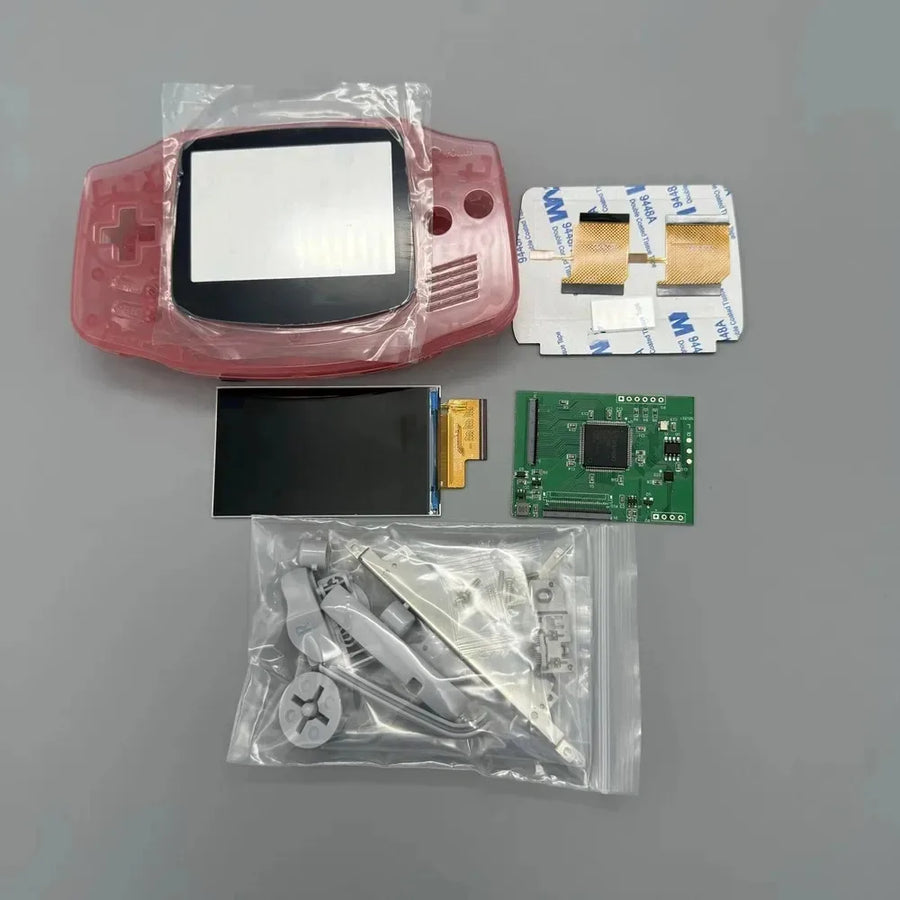
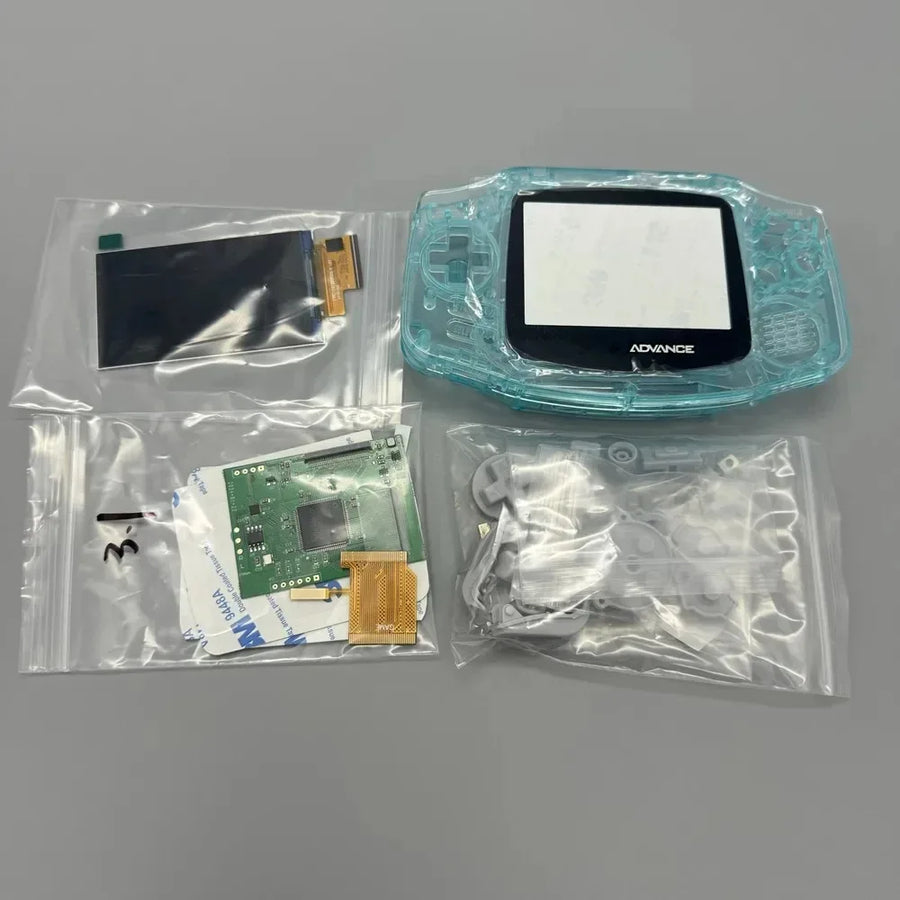
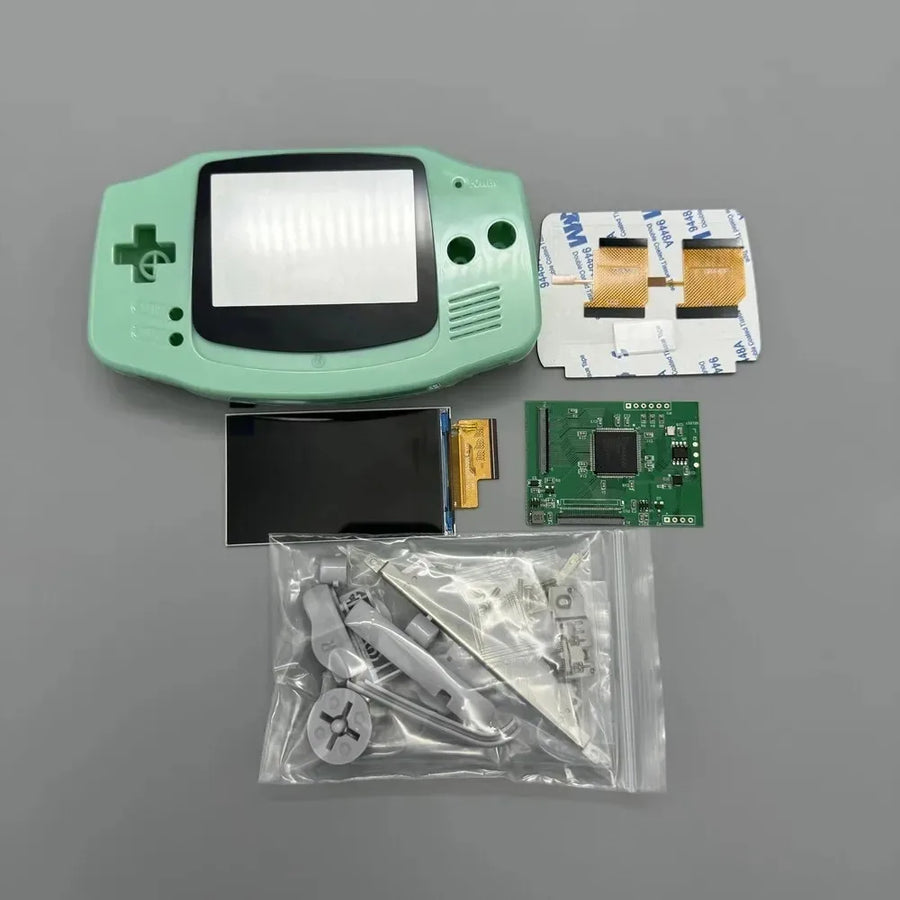
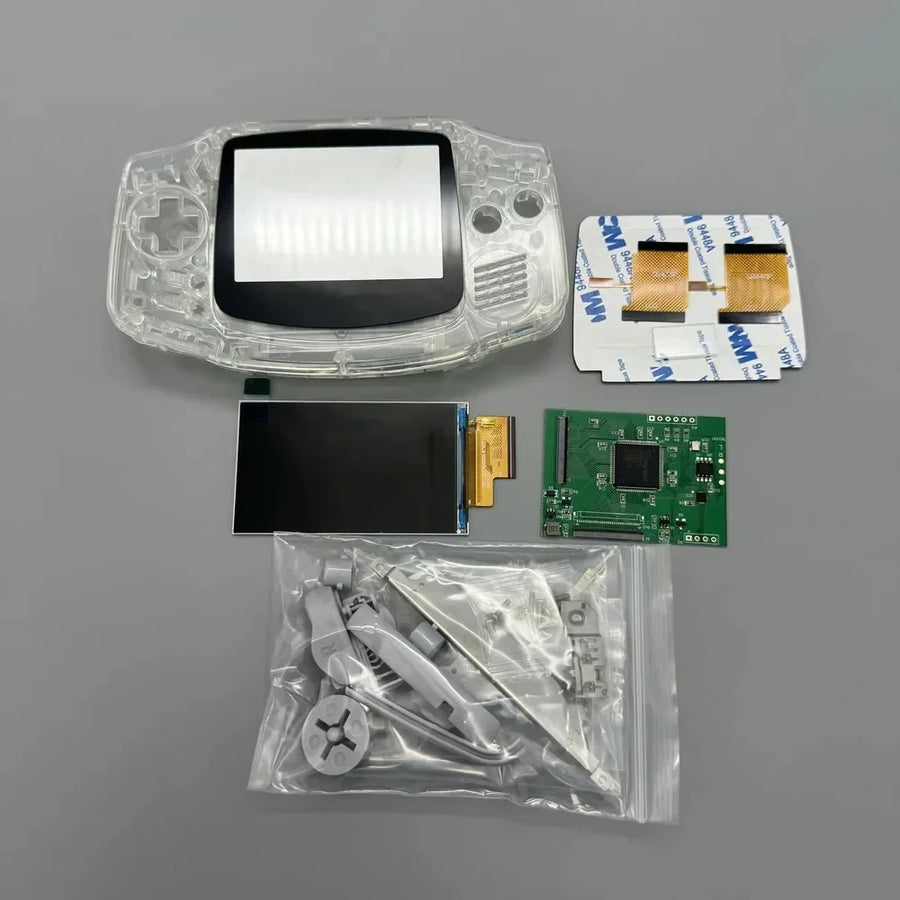
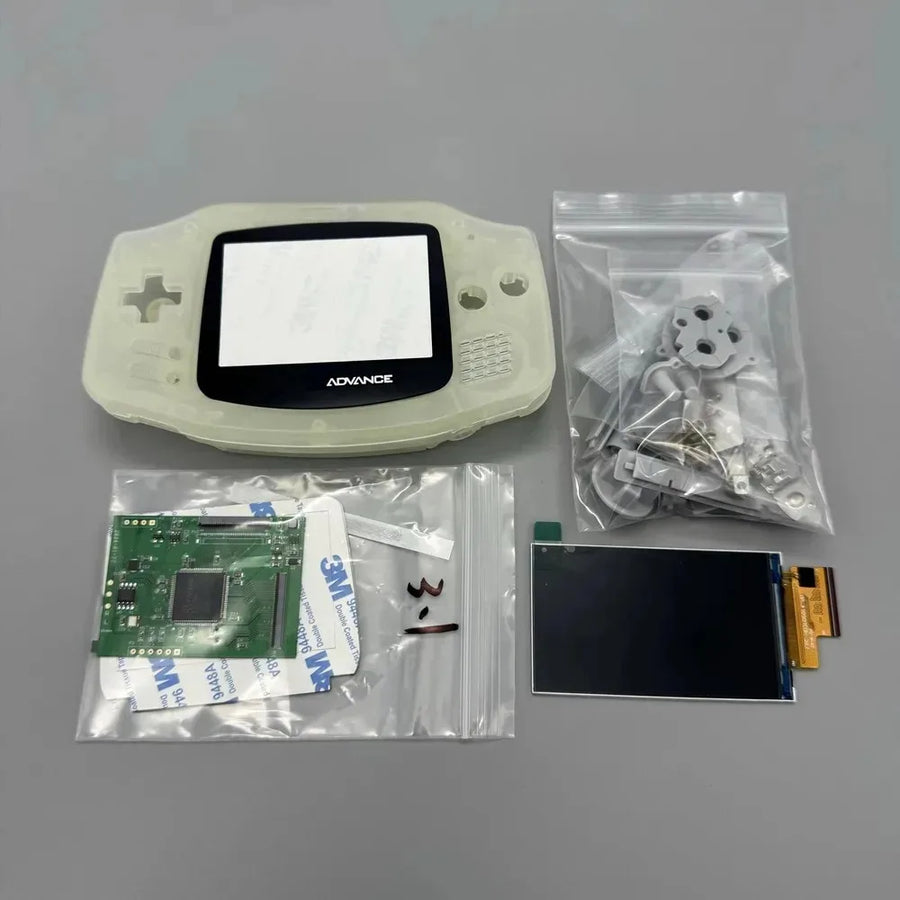
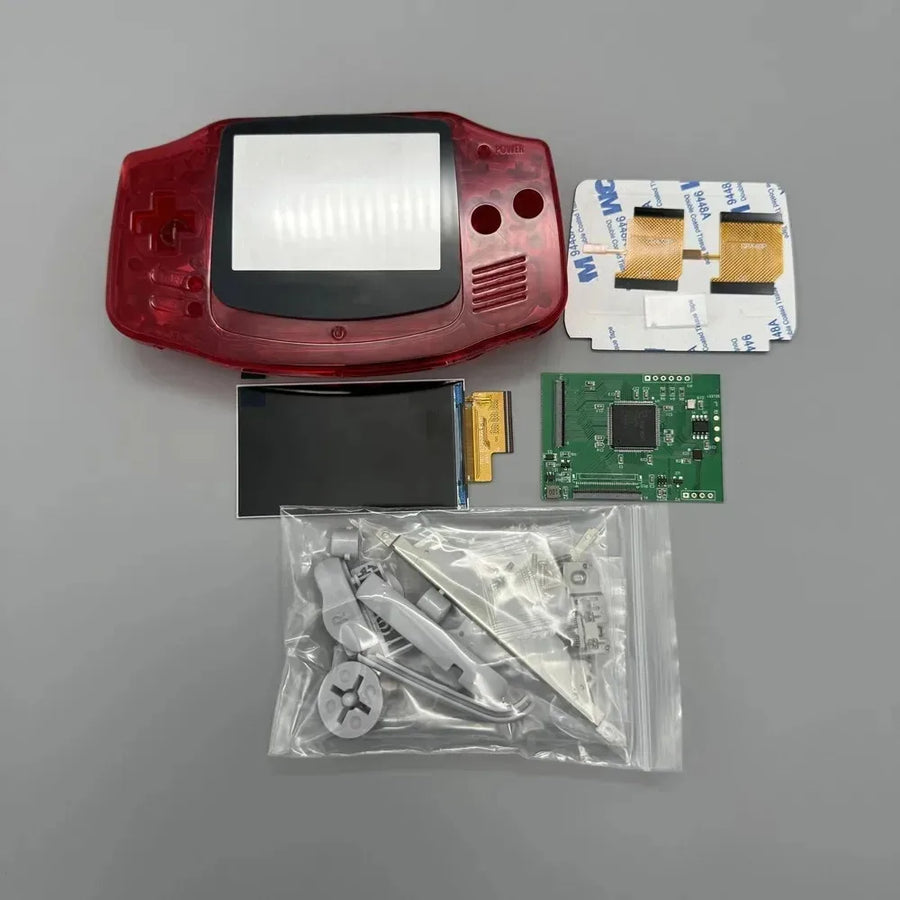
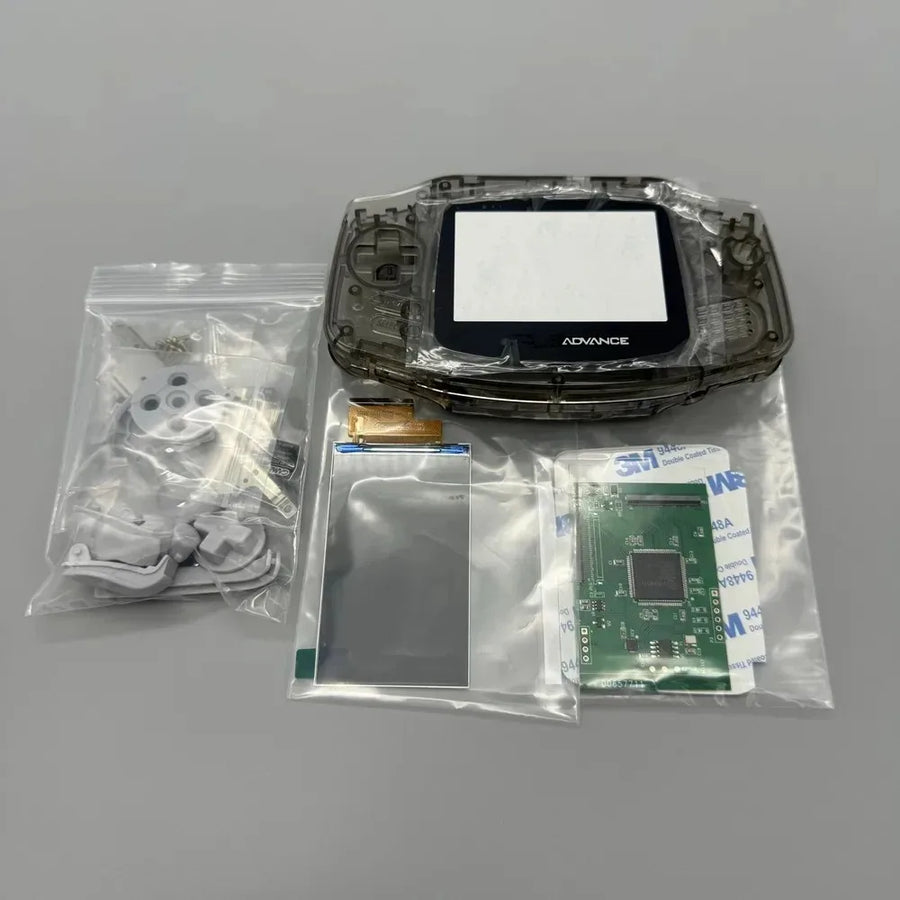
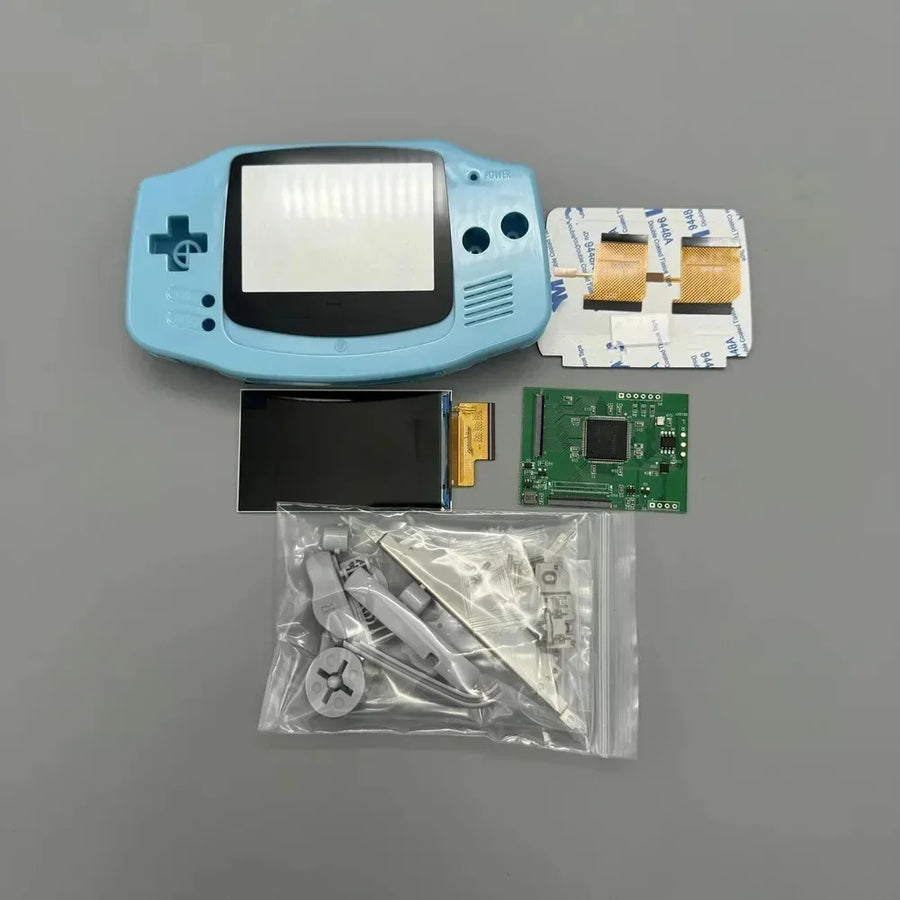
- Complete shell: front, back, battery cover and lens, in the chosen colour.
What it doesn't do
- Not suitable for the Game Boy Advance SP, Game Boy Micro, Game Boy Color or original Game Boy: the panel and shell are made for the AGB-001 only.
- Adds no rechargeable battery, USB-C or video output: power still comes from two AA batteries, and a backlit screen uses more power than the original panel.
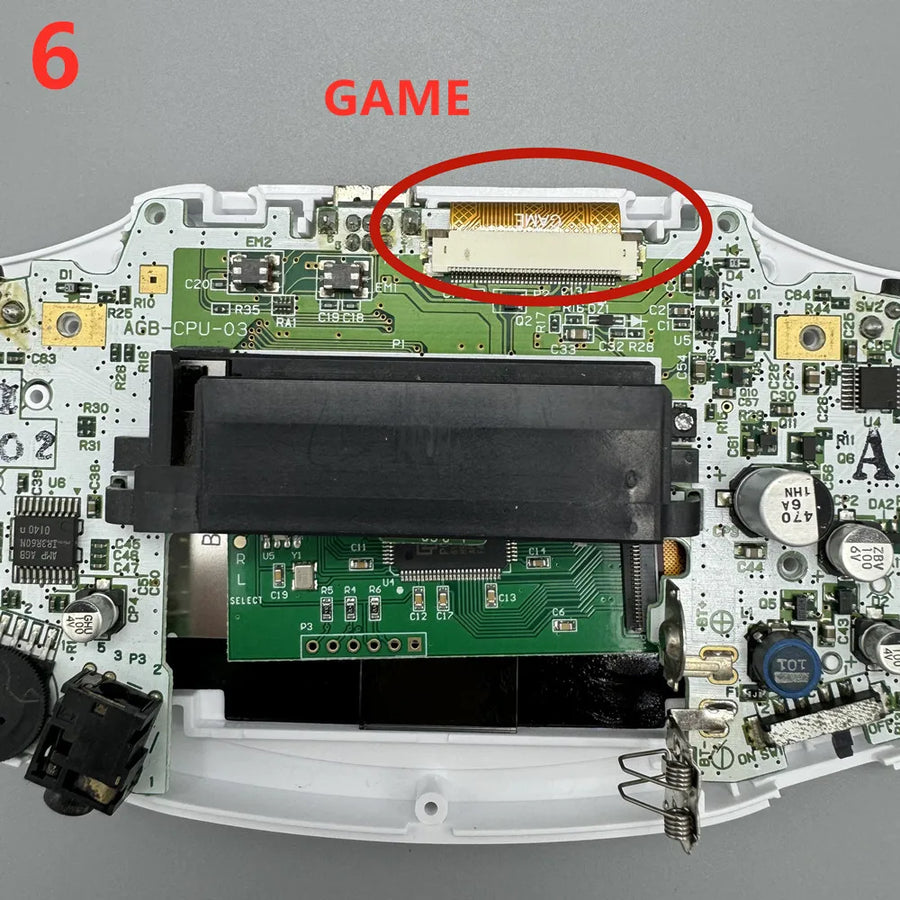
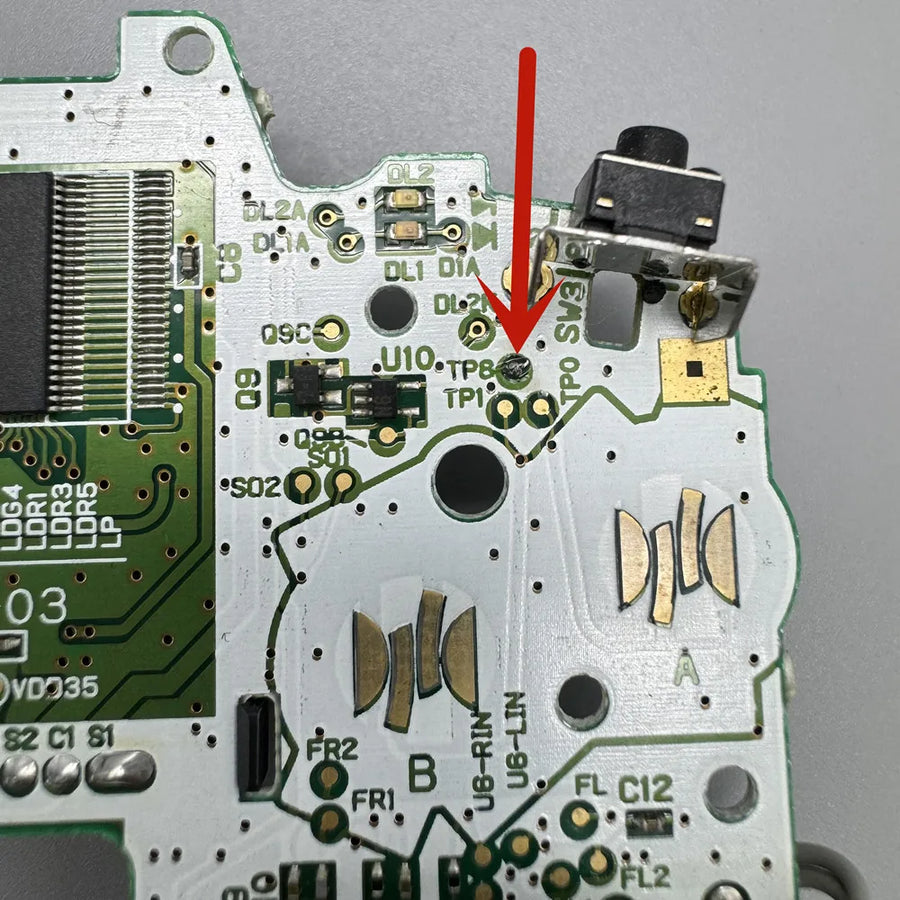
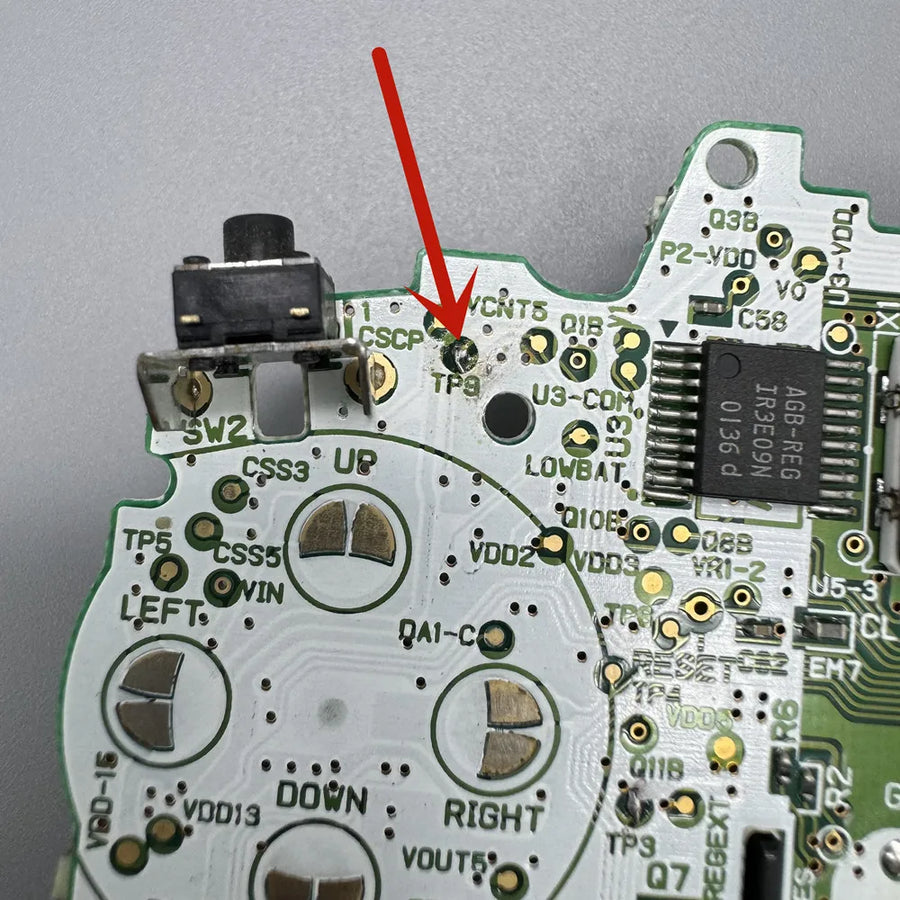
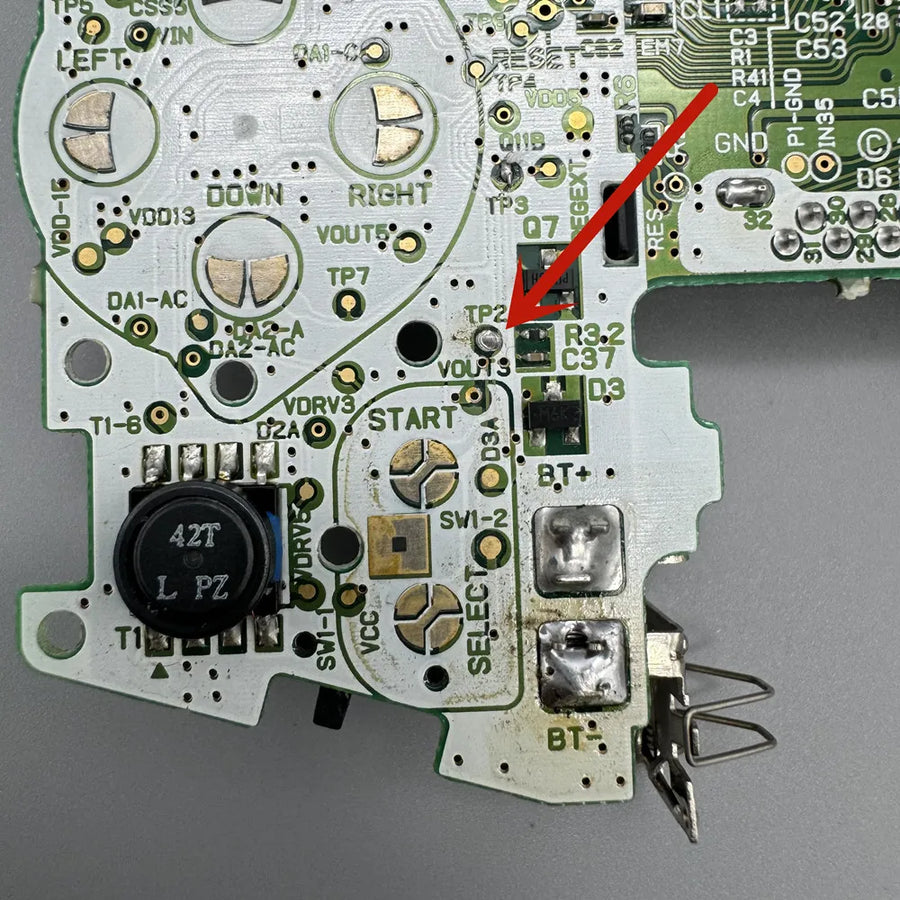
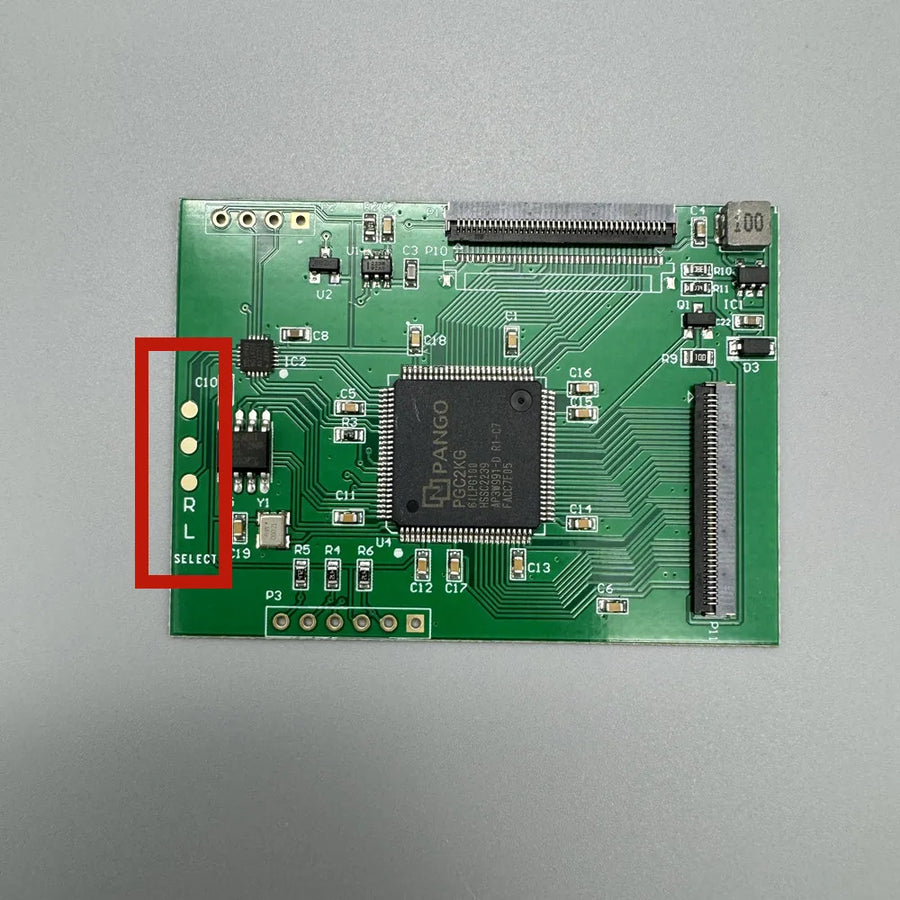
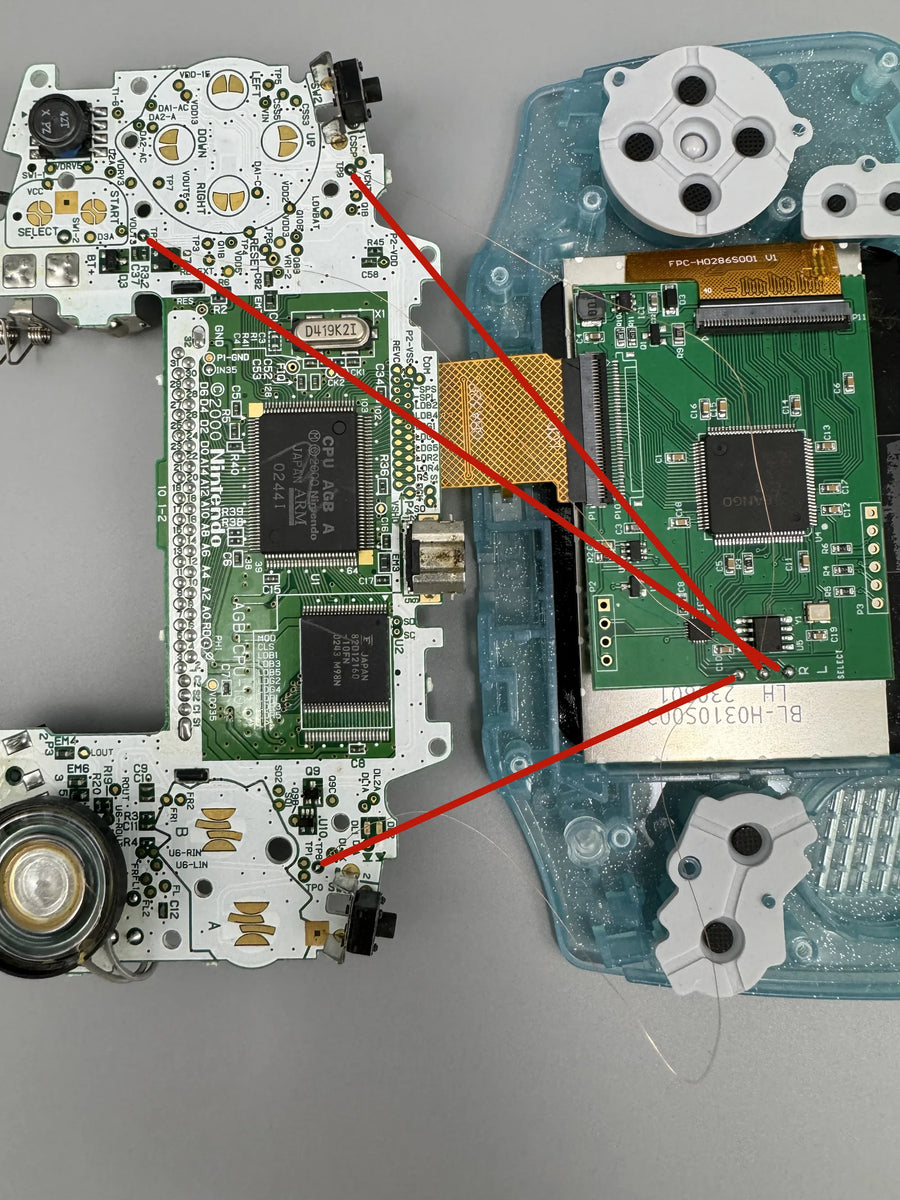
- Does not guarantee strictly solder-free installation: depending on the revision of the kit you receive, the brightness control may require a wire soldered to the motherboard.
- The "no lens" option costs less because it is supplied without the pre-cut protective lens — check the option before confirming.
- Supplier instructions in English or Chinese: no French documentation is included in the box.
- Supplied without console and without games, in compliance with the law.
Compatibility
First-generation Game Boy Advance, model AGB-001, the horizontal console that runs on two AA batteries. The clamshell models (Game Boy Advance SP, AGS-001 and AGS-101), the Game Boy Micro and earlier Game Boy models are not covered: neither the ribbon cable nor the shell fits them. The kit does not touch the cartridge slot: the console's backward compatibility with Game Boy and Game Boy Color remains unchanged.
Skill level required
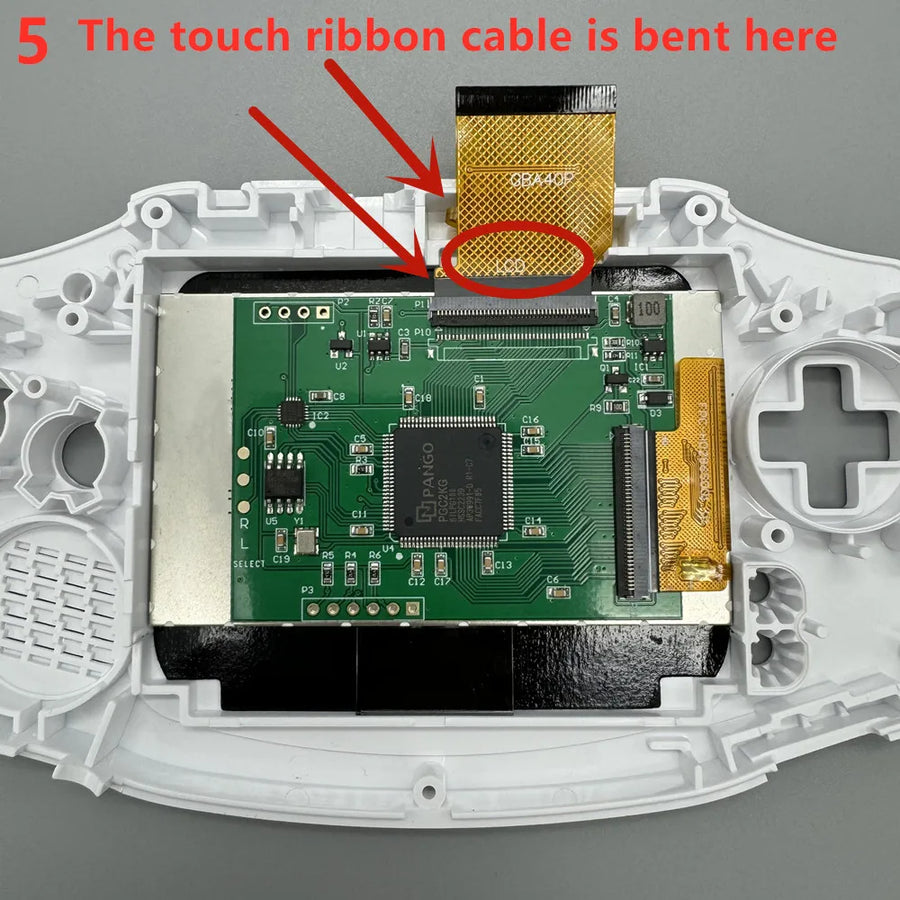
Intermediate. You need to open the console with a Y1 tri-wing screwdriver and a small Phillips, remove the motherboard, disconnect the original panel and transfer everything into the new shell. Allow 45 to 90 minutes depending on how used you are to disassembly. Have a plastic spudger and an anti-static work surface ready. If the revision you receive requires soldering the brightness wire, a fine-tip soldering iron and some experience of board-level soldering are needed.
In the box
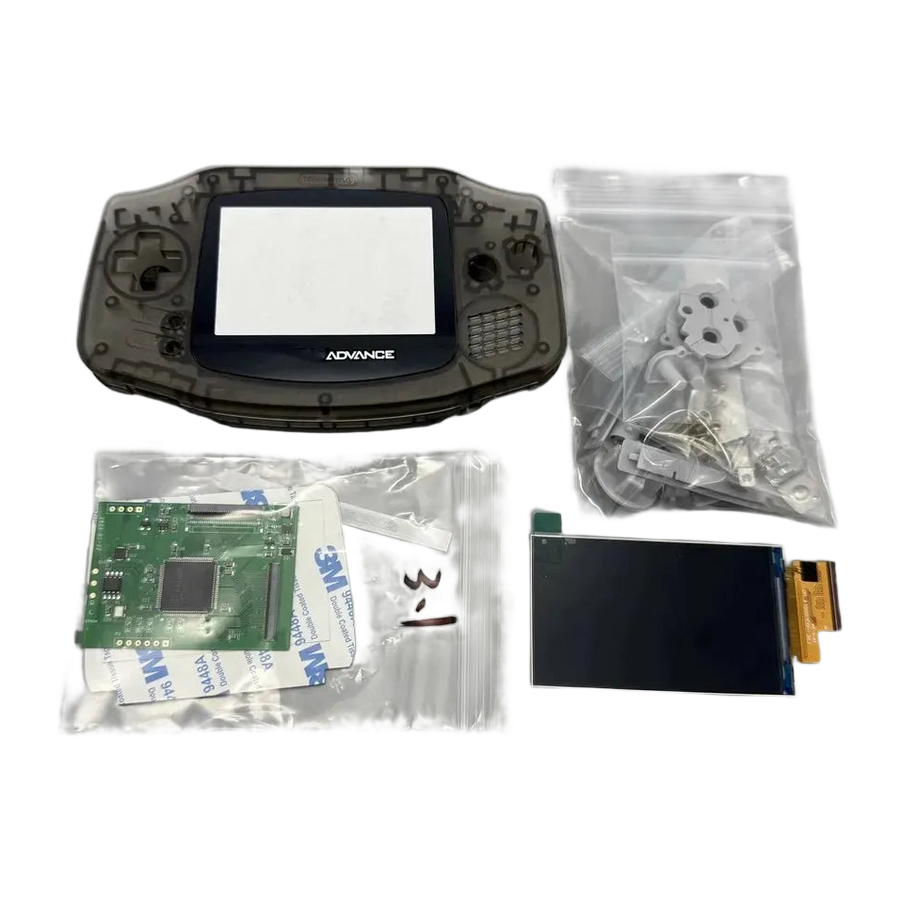
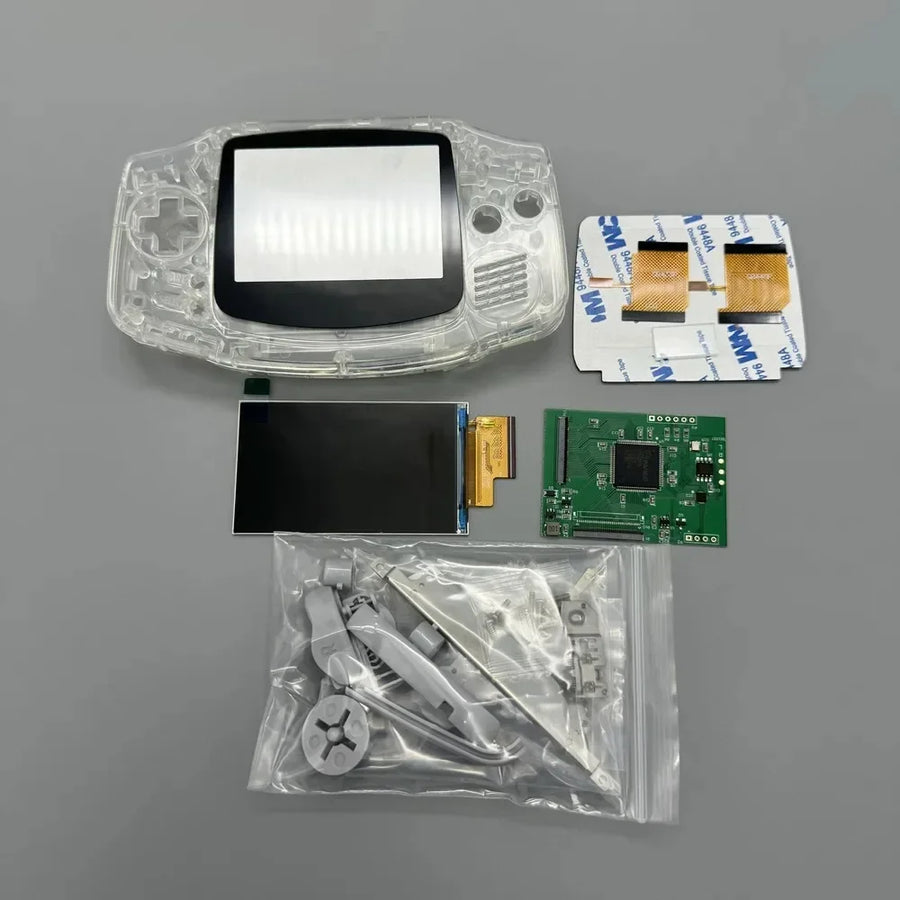
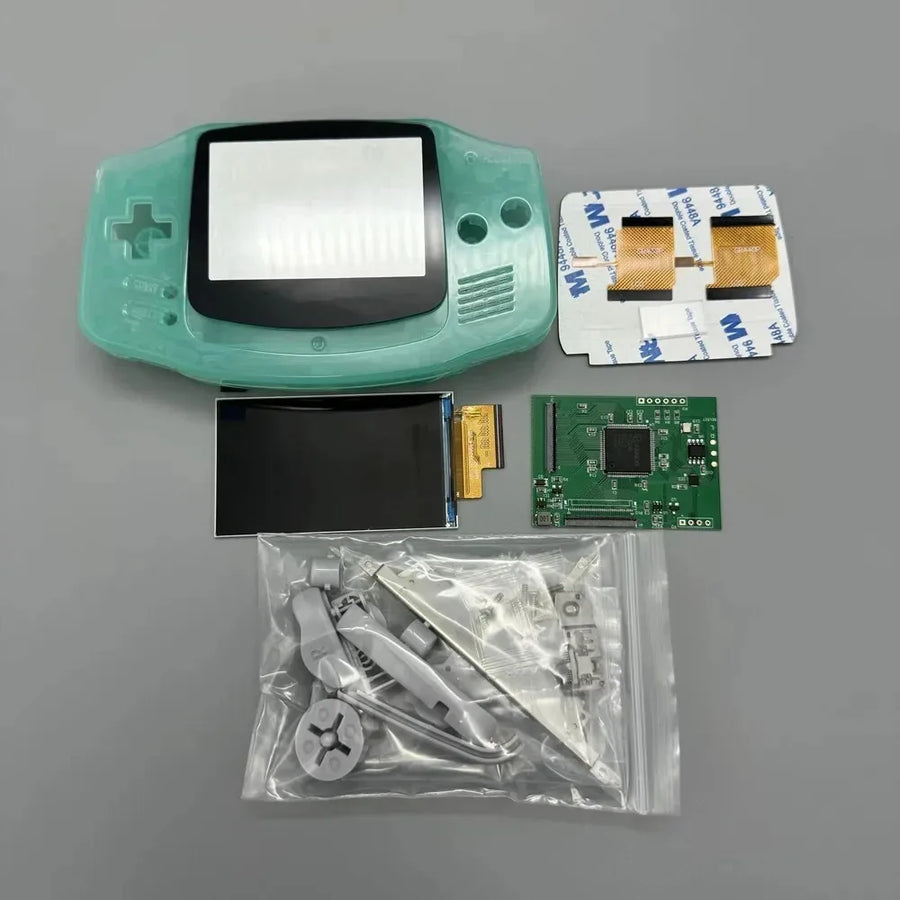
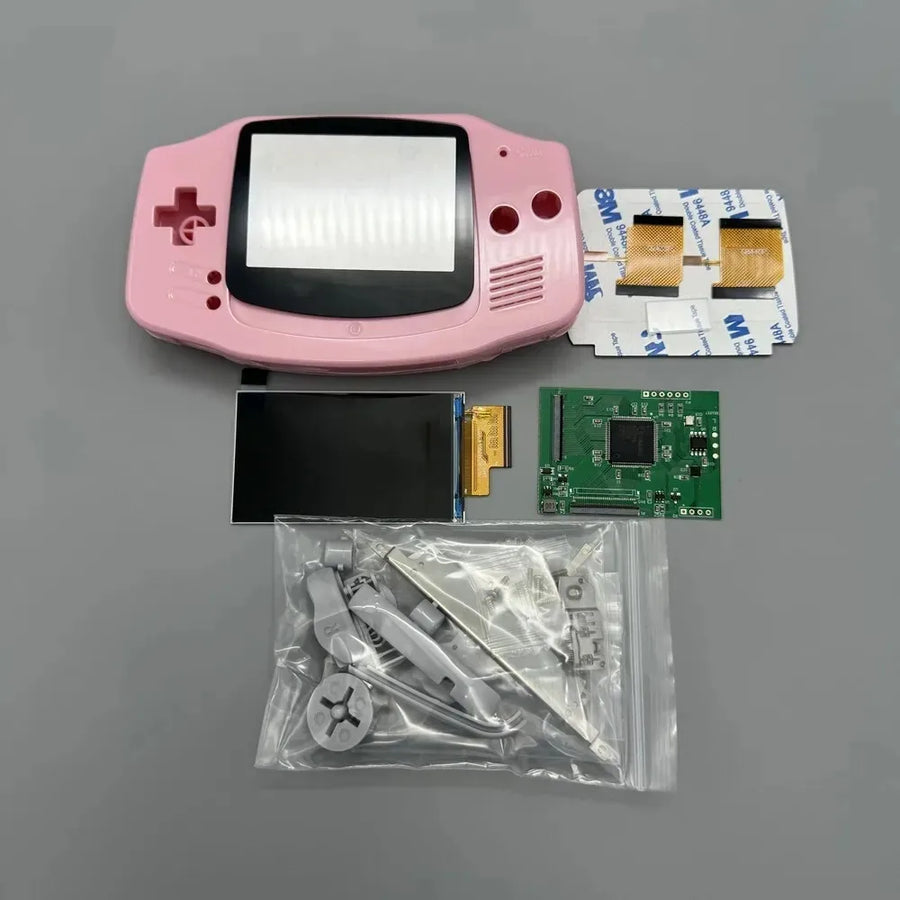
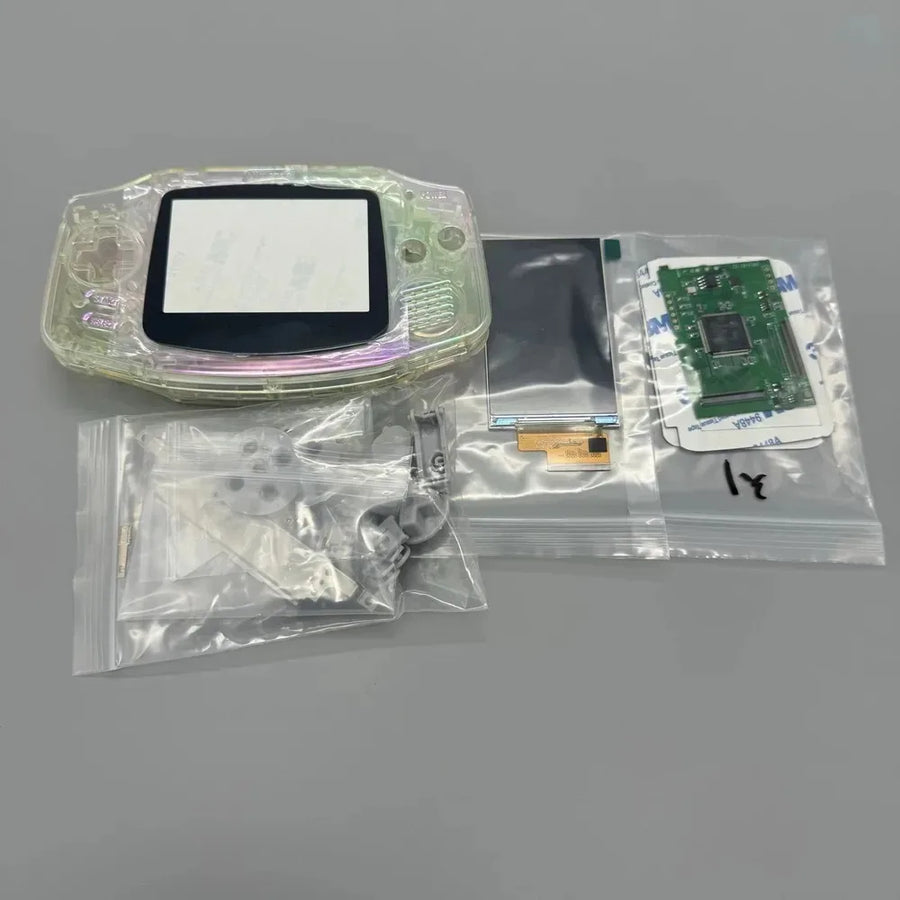
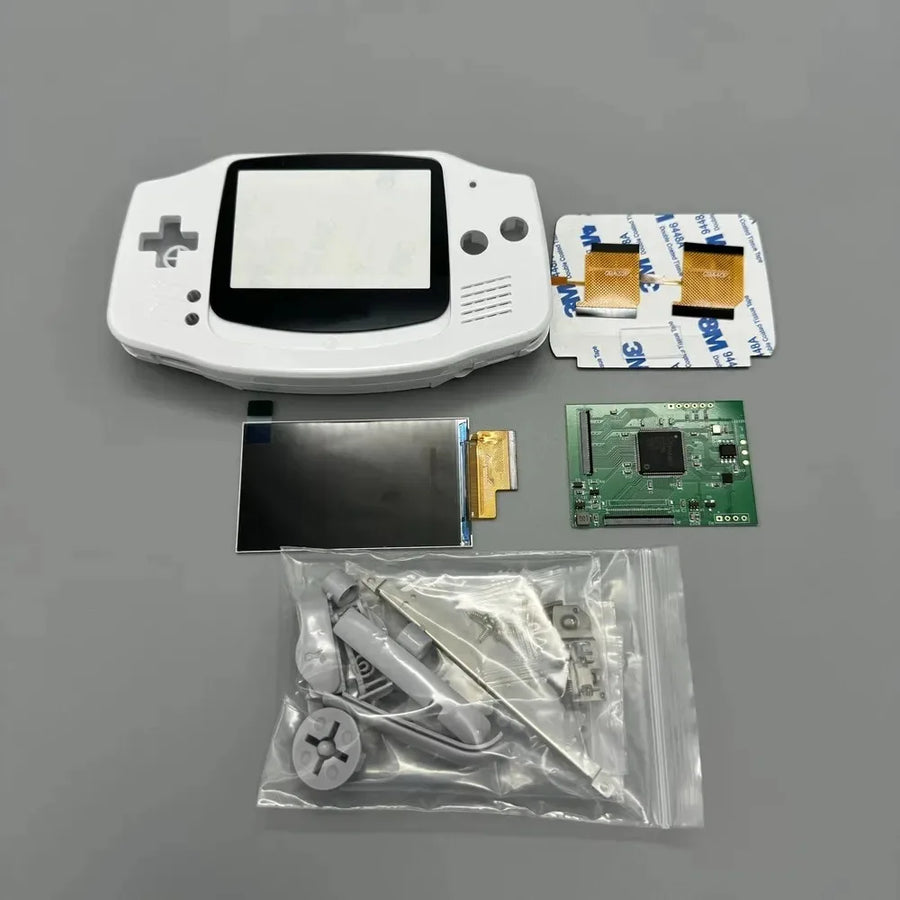
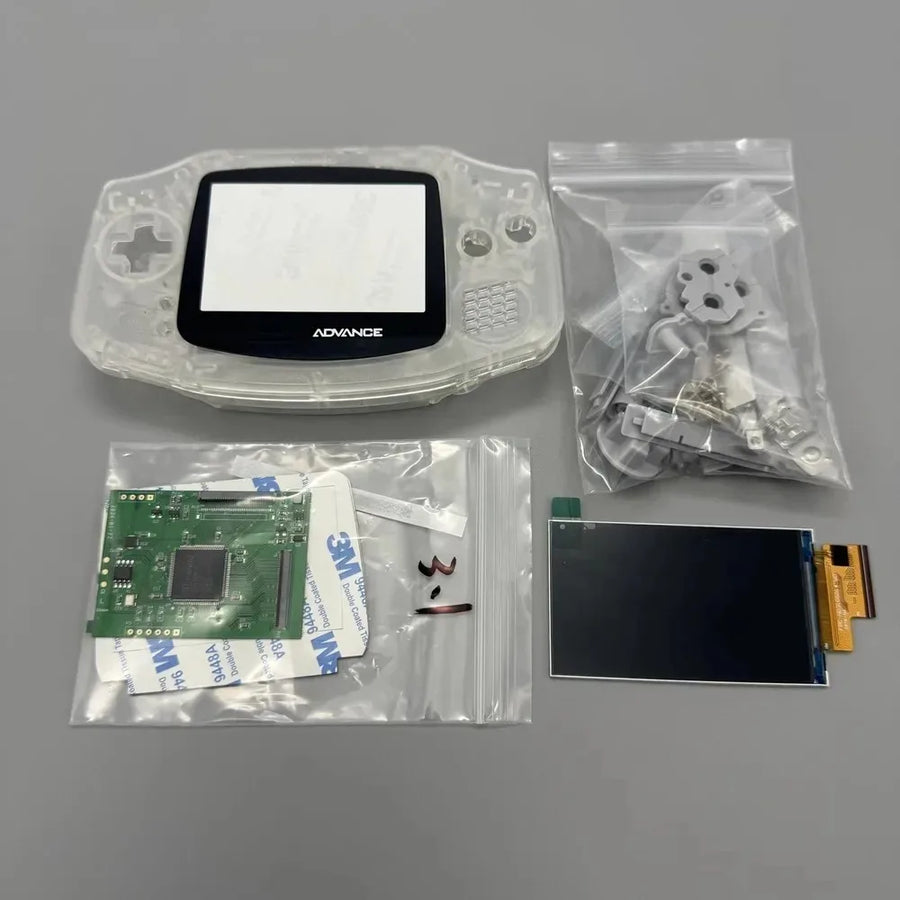
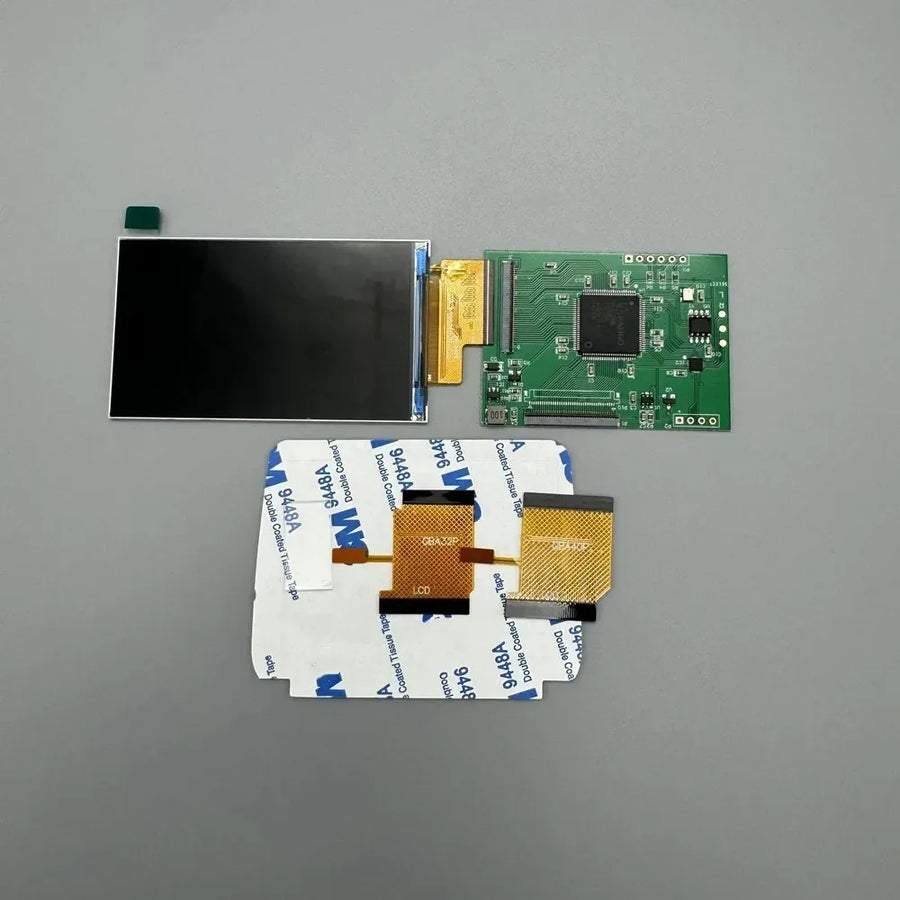
- 1 IPS screen, 2.9 inches, with its ribbon cable and control board
- 1 complete replacement shell (front, back, battery cover) in the chosen colour
- 1 pre-cut protective lens — except with the "no lens" option
- The set of buttons and the fixings that go with the shell
The exact contents vary depending on the option selected; the option description is authoritative.
Read before ordering: Retro peripherals
Delivery in 10 to 18 days · ships within 3 to 5 days · 2-year legal guarantee · 14-day returns.
2.9-inch IPS screen and shell kit for Game Boy Advance — no cutting
2.9-inch IPS screen and pre-cut shell for Game Boy Advance AGB-001 — no filing required.
En stock
📦Ships within 3 to 5 business days · Delivery in 10 to 18 business days · 2-year legal guarantee · 14-day returns.
ℹÀ partir de 150 €, la livraison s’effectue en Point Relais.
- 🇫🇷SAV français
réponse sous 1 jour ouvré - 🛡Garantie légale
2 ans - ↩14 jours
pour changer d’avis - 🔒Paiement sécurisé
CB · PayPal · Klarna
The idea: making a GBA readable
A Game Boy Advance taken out of a drawer gets played facing a window, the screen tilted to catch the light. The 2001 panel is not backlit: it reflects more than it displays. Once the IPS panel is fitted, the same console can be used in the evening or on the train, without hunting for an angle. Nothing else changes: same cartridges, same feel in the hand, same silhouette.
The part: a 2.9-inch panel and its shell
The first IPS kits required enlarging the window of the original shell with a file: an irreversible operation that went wrong one time in three. This kit gets around the problem by supplying a new shell already cut to the right opening, with its lens and buttons. The original shell stays intact in its box, which matters if you ever sell the console.
What we tell you before you buy
This kit only fits the horizontal AGB-001: the clamshell SP and the Micro are excluded. Installation requires a tri-wing screwdriver, patience and 45 to 90 minutes, and depending on the revision received a brightness wire may still need soldering. The supplier's instructions do not exist in French. Listing verified on 19 August 2026; we reply within 1 business day.
What this accessory brings
Verified manufacturer specifications · vérifié le
Ce qu’il fait bien
- Backlit 2.9-inch IPS panel, wide viewing angles
- Shell supplied already cut: no file, no burr
- Brightness adjustable over several levels
- Complete shell with buttons, several colours
Ce qu’il ne fait pas
- For Game Boy Advance AGB-001 only: not SP (AGS-001/101), Micro or Game Boy Color
- A backlit screen uses more power: reduced battery life on AA batteries
- Solder-free installation not guaranteed: the brightness control may require a soldered wire
- The no lens option is supplied without the protective lens
- Supplier instructions in English or Chinese, no French version
- Supplied without console and without games
Voir toute la fiche technique+
Matière et format
- Type d’accessoire
- IPS screen and shell kit
Compatible avec
- Game Boy Advance (AGB-001)
Dans la boîte
- 1 IPS screen, 2.9 inches, with ribbon cable and control board
- 1 complete replacement shell (front, back, battery cover)
- 1 pre-cut protective lens (except no lens option)
- 1 set of buttons and the shell fixings
Frequently Asked Questions
🎮 Which Game Boy models are compatible?
Only the first-generation Game Boy Advance, model AGB-001, the horizontal version that runs on two AA batteries. The Game Boy Advance SP (AGS-001 and AGS-101), Game Boy Micro, Game Boy Color and original Game Boy are not covered.
✂️ Do I need to cut the shell?
No. The kit comes with a replacement shell already cut to the size of the IPS panel. You don't file anything and you keep your original shell intact.
🔧 Do I need to solder?
The panel is connected via ribbon cable. Depending on the revision of the kit received, the brightness control may require a wire soldered to the motherboard: we do not guarantee strictly solder-free installation.
🧰 What tools do I need?
A Y1 tri-wing screwdriver for the shell, a small Phillips screwdriver for the motherboard, a plastic spudger. A fine-tip soldering iron if your version requires the brightness wire.
⏱️ How long does installation take?
45 to 90 minutes depending on how used you are to disassembly. Intermediate level: you need to remove the motherboard completely to transfer it into the new shell.
🔋 Does battery life change?
Yes, it goes down. A backlit screen uses more power than the original panel, and power still comes from two AA batteries: the kit adds neither a rechargeable battery nor a USB-C port.
🚚 What are the delivery times?
Delivery in 10 to 18 days, ships within 3 to 5 days.
🛡️ Which guarantee applies?
2-year legal guarantee of conformity. 14-day returns. We reply within 1 business day.
Why buy here rather than on a marketplace
It is a fair question. Here is the answer, straight.
Every listing is checked before publication: real compatibility, material, dimensions, box contents. Many models never make it into the catalogue.
A question about compatibility, a fit problem, a return: you write, a human replies within 1 business day. In French.
The 2-year legal warranty of conformity is handled by us — not by a form on the other side of the world. And 14 days to change your mind, with no need to justify yourself.
We do not claim to be the cheapest. We claim that you will know exactly what you are buying before you pay.
Read this before choosing
Our guides to accessories: compatibility, protection, transport.

Pixel art: create your own designs for a Divoom display
Grid size, number of colours, outlines, animation: the guide to getting started in pixel art and displaying your own creations on a Divoom display.
2 min de lecture · publié le

Divoom pixel art speakers: which one should you choose?
Astrotoo, Ditoo-Pro, FlowToo, Tiivoo-2, Timebox-Evo, MiniToo, Fairy-OK: the seven Divoom speakers compared, by use and budget.
2 min de lecture · publié le

Times Frame or Times Frame Pure: which Divoom floating photo frame should you choose?
64 or 32 GB, three colours or just one, a dial or not: the real differences between the Times Frame and Times Frame Pure…
1 min de lecture · publié le