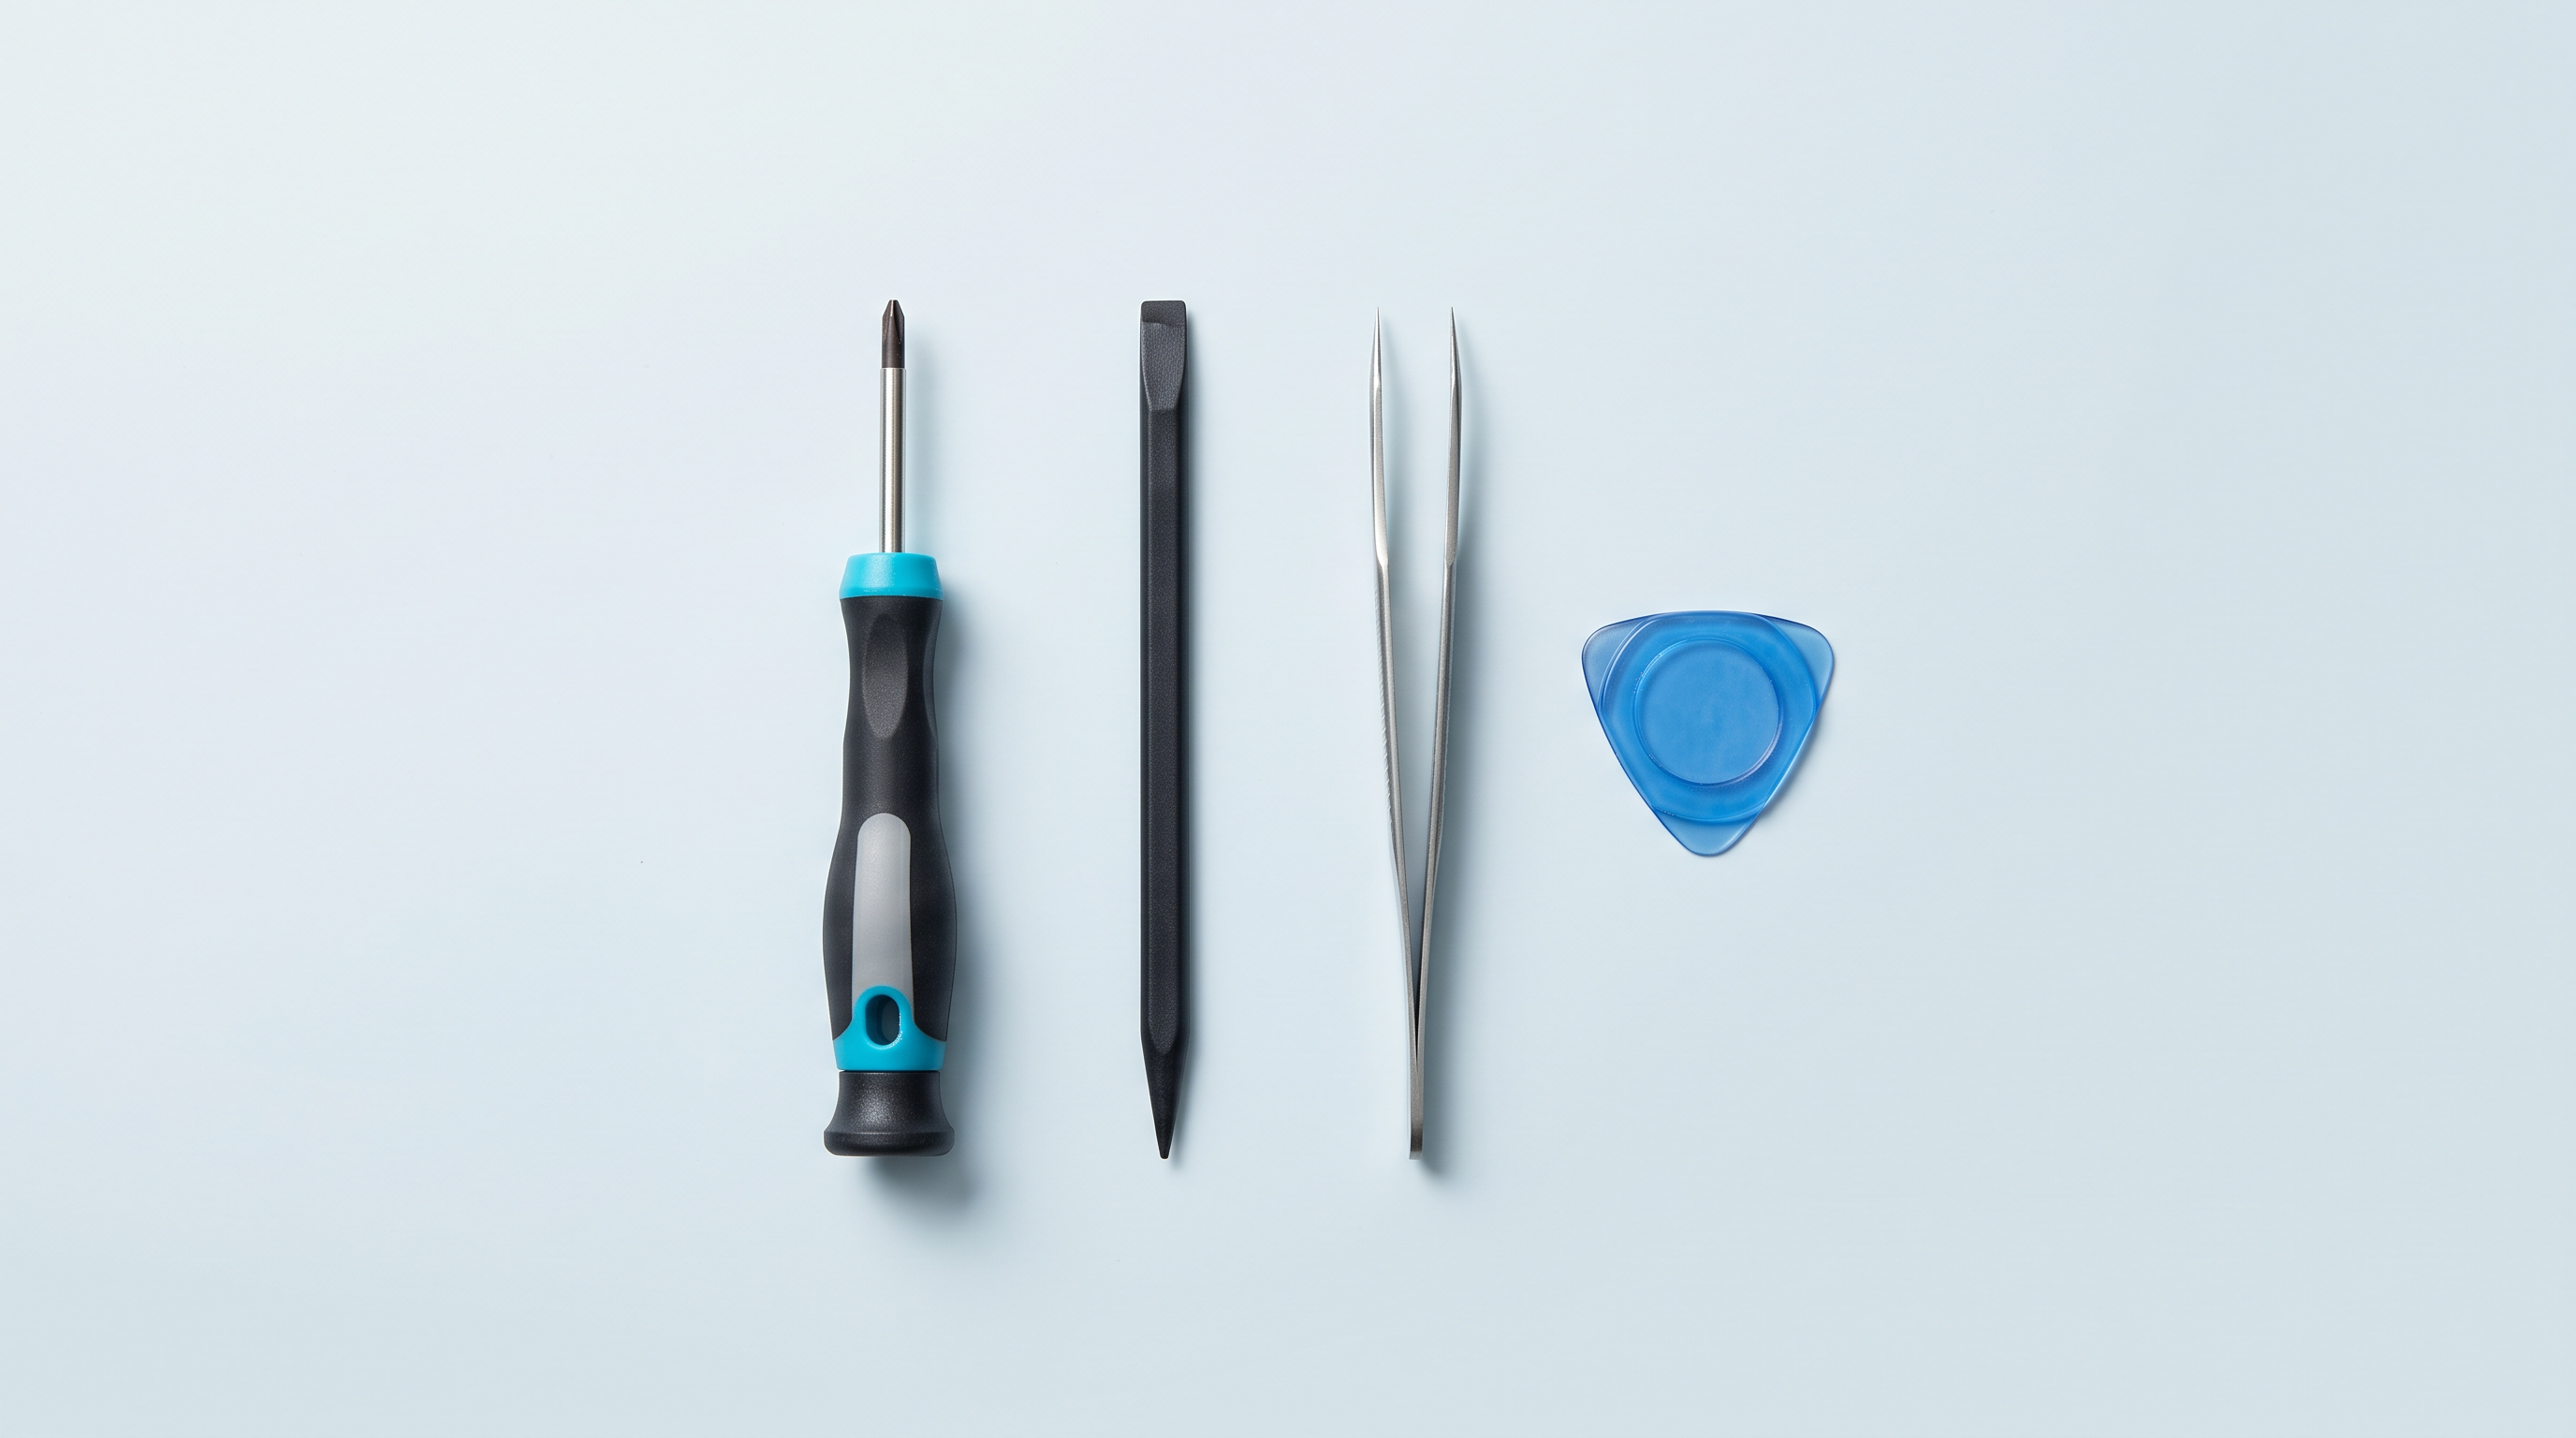
A console that won't switch on, a D-pad that sticks, a shell to replace: the job almost always stalls on the same detail, not having the right screwdriver. Manufacturers in the 1980s and 1990s used screw heads you won't find in a supermarket, and no improvised substitute holds up for long. The list is short and cheap all the same: about ten tools cover the essentials, from cleaning a cartridge to replacing a screen. Here they are, what each one opens, and the ones you're better off not buying straight away.
The ten or so tools that cover almost everything
A useful retro workshop fits in a shoebox. The right-hand column is the one that counts.
| Tool | What it's for | Essential or nice to have |
|---|---|---|
| Precision Phillips (#00, #0, #1) | Internal screws on almost every machine | Essential |
| Tri-point / tri-wing (Y0, Y1) | Shells of Nintendo handhelds | Essential on those machines |
| 3.8 mm gamebit | NES, Super Nintendo, N64 and Game Boy cartridges | Essential for cartridges |
| 4.5 mm gamebit | Home console shells of the period | Nice to have |
| Torx T6 and T8 | Controllers, small shell screws | Nice to have |
| Picks and spudgers | Opening a shell without marking it | Essential |
| Temperature-controlled soldering iron | Working on a component | Nice to have at first |
| Desoldering braid and pump | Removing solder from a joint | Nice to have |
| Isopropyl alcohol and cotton buds | Contacts, cartridges, membranes | Essential |
| Tweezers, lamp, magnifier, sorting box | Handling, seeing, losing nothing | Essential |
Screwdrivers: what each head opens
This is where near enough is not good enough: one rounded screw turns a twenty-minute repair into a job for a drill.
The gamebit, in 3.8 and 4.5 mm
The gamebit is a hollow cylindrical proprietary head that nothing else engages cleanly; the figure is its diameter. The split is simple: the 3.8 mm opens cartridges — NES, Super Nintendo, Nintendo 64, Game Boy — and the larger 4.5 mm opens the shells of home consoles from the same era. iFixit lists both sizes for the Super Nintendo and for the Nintendo 64.
Not every machine has security screws, though: for the Mega Drive, iFixit only mentions a #1 Phillips. Look at the screw before ordering, and pick a hardened steel cylinder rather than a stamped tube that splays open on the third tight screw.
The tri-wing, or tri-point Y
Three arms at 120 degrees: the head used on Nintendo handheld shells. For the original Game Boy, iFixit lists a Y1 tri-point and a #00 Phillips; for the Game Boy Advance, a Y0 or Y1 tri-point along with #00 and #1 Phillips. The outside is Y-shaped, the inside is cross-shaped. The vocabulary is confusing enough that iFixit devotes a page to it: "tri-point" and "tri-wing" describe the same family, in sizes Y000 to Y1. Get both: the difference is barely visible, and forcing ruins the screw.
The precision Phillips and the Torx
The Phillips is the tool you'll reach for most often: the inside of Nintendo handhelds, shielding, and nearly every recent console, where the cross head has replaced security screws. Three sizes are enough, #00, #0 and #1. It's the one tool worth spending a little money on: crisp edges, hard steel, handle with a swivel top.
Torx is found mainly on controllers and modern small screws. The T6 comes up constantly: Torx screw sets exist for the Game Boy Advance and SP, the GameCube controller and the Switch Pro controller. The T8 is more for shells. Be careful with security Torx, which have a central pin: they need a hollow bit.
Spudgers and picks: why not a flat screwdriver
Once the screws are out, the two shell halves are held by clips: that's where most of the damage happens. A flat screwdriver concentrates all the force on a two-millimetre edge: a permanent mark in the plastic, a broken clip, sometimes the blade slipping onto the board. Plastic picks and spudgers spread the load and deform before the shell does. Slide one in as far as the first clip, leave a second one in place to stop it closing again, and work your way around.
The soldering iron: what power, what tip, for whom
The criterion that matters is not the stated wattage but temperature control. An unregulated iron collapses the moment it touches metal: cold joints and lifted traces. iFixit's figures set the frame: 300 °C to solder leaded solder through-hole, 350 °C to desolder it, 375 °C with lead-free. On tips, the same guide recommends the largest surface that fits the available space and reserves the fine tip for surface-mount work. A chisel tip, then, not a needle.
Plenty of jobs need none of this: cleaning contacts, changing a shell, membranes, buttons, a solderless screen kit, a battery with a connector. Buy one when a project calls for it.
Desoldering pump and braid
Braid is a copper ribbon: heated through the joint, it draws the solder up by capillary action, unbeatable on flat pads. The pump handles volume: a cartridge connector, power pins, capacitor legs. iFixit presents them as equivalent. A little flux changes everything, and never pull while the solder isn't clearly liquid.
Consumables
- Isopropyl alcohol. Contacts, membranes, flux residue. iFixit recommends over 90%; 99% evaporates faster. Avoid it on printed markings.
- Low-lint cotton buds. A strand caught under a contact causes the very fault you set out to fix.
- Flux. It makes the solder wet properly and makes desoldering far cleaner.
- Solder. Leaded is easier to work with, lead-free needs more heat. Fine diameter, flux core.
- Kapton tape. Insulating, heat-resistant polyimide tape: it holds a wire in place and comes off without leaving glue behind.
Organising the workbench
This is what separates a clean teardown from a reassembly with two screws left over. A magnetic mat or a compartment box keeps every screw in its place: they are rarely the same length, and a screw that is too long, tightened in the wrong hole, goes straight through a shell. An adjustable lamp placed to the side reveals corrosion and cracked joints; a magnifier becomes necessary below a millimetre. Photograph every step: it will save you at reassembly.
What not to buy at the start
- The hot air station. Useful for surface-mount work, useless before that, and it quickly lifts what you wanted to keep.
- The cheapest 120-bit set. Soft steel: it rounds off precisely the security screws you can't replace.
- The unregulated soldering iron. Far more expensive in damaged boards. Like the ultrasonic cleaner, it can wait.
- Plastic whitening kits. A delicate chemical process, not to be attempted on a machine you care about.
Where to start
Precision Phillips, tri-point, 3.8 mm gamebit, a few picks, a pair of pliers and a bottle of isopropyl alcohol: that already covers cleaning, the shell, the buttons and the contacts. The rest comes with the projects. If yours is about recovering your old cartridges, our guide to copying cartridges sets out how to go about it, and the cartridge readers collection shows the hardware.
If the aim is simply to play again, a recent machine spares you this whole chapter: our selection of retro handheld consoles states the condition each model ships in. For tools and parts, head to the Workshop and modding collection.
What's the bare minimum to get started?
A set of precision Phillips in #00, #0 and #1, a Y0 and Y1 tri-point for Nintendo handhelds, a few picks and a bottle of isopropyl alcohol. Add a 3.8 mm gamebit as soon as cartridges are involved.
Are cheap all-in-one sets good enough?
For ordinary cross-head screws, often yes. For security heads, no: cheap steel deforms before the screw does, and a rounded screw is very hard to extract. Buy those bits individually.
Can you open a cartridge without a gamebit?
Workarounds do the rounds, a pen barrel or a filed-down flat screwdriver. They sometimes work once and damage the screw every time. Since those screws aren't easy to replace, the correct bit remains the cheaper option.
Leaded or lead-free solder?
Leaded melts lower and is more forgiving: iFixit gives 300 °C to solder and 350 °C to desolder, against 375 °C for lead-free. The latter needs more heat, so more risk to the traces. Either way: ventilated room and hands washed afterwards.
Do you need to solder to fit a modern screen?
It depends on the kit. Some families plug in with a ribbon cable and need no soldering at all, others require one or more wires, and some call for trimming the shell. Check before ordering.