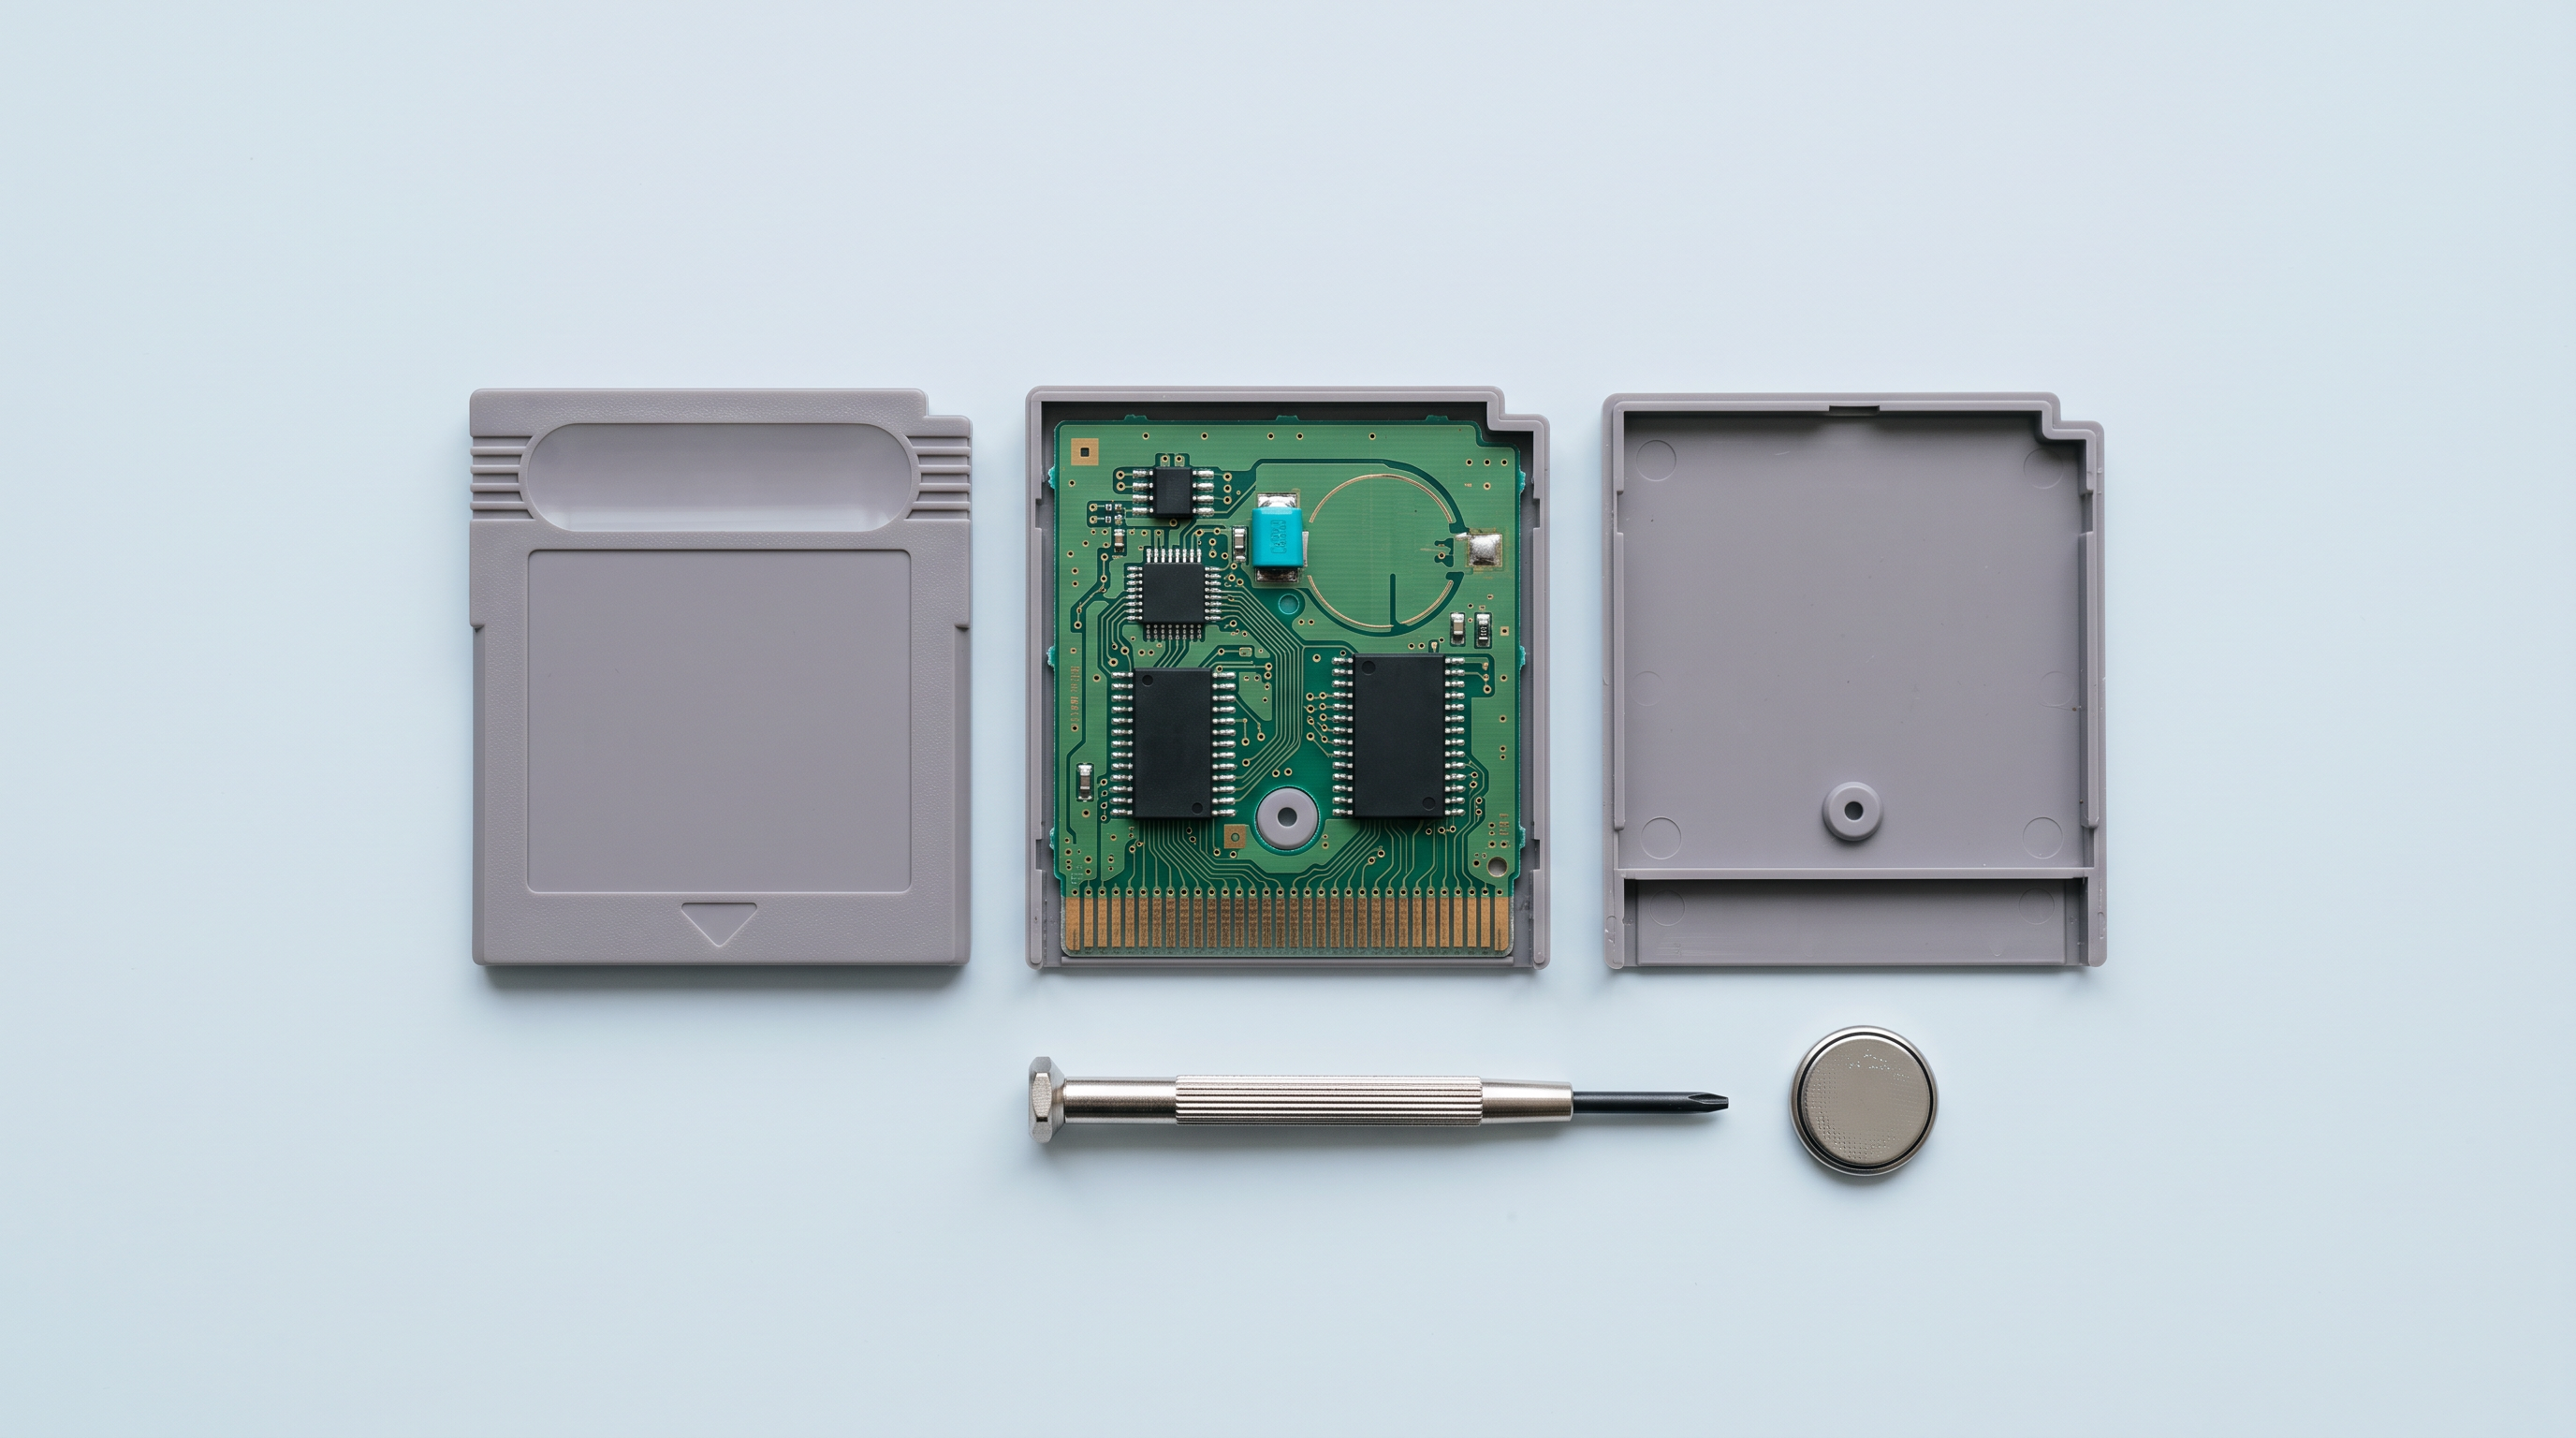
A save battery soldered into a cartridge in 1996 lasts between fifteen and twenty-five years. It is now 2026: almost all original cartridges have passed that deadline, and many still work only because the battery has never been drawn on for long. Replacing it is a simple workshop job, provided you do it in the right order. The most common mistake is not a bad solder joint: it is desoldering the old battery before copying the save. At that moment, the SRAM loses its power and the file is gone for good.
Recognising a dying battery
The symptoms are gradual. The save holds as long as the console stays on, then disappears after it is switched off. Or it survives a few hours, then a few minutes, then not at all. On games with an internal clock, the time freezes or resets to zero at every start-up, and daily events no longer trigger.
Some titles display an explicit error screen. The dry battery message at the start of a third-generation Pokémon game on Game Boy Advance is the best-known example: it indicates that the clock is dead, not that the save is lost.
Two tests settle the question. First the practical test: save in the game, remove the cartridge from the console, wait about ten minutes, start it again. If the save has disappeared, the battery is dead. Then the multimeter test, which is more reliable: a healthy lithium battery measures between 3.1 and 3.3 V. Below 2.5 V, replace it without delay. Measure with the battery in place, red probe on the positive side, black probe on the circuit ground.
Step 1: back up the save
The cartridge reader does this job. It connects via USB, reads the save memory and writes it to a .sav file on your computer. The reverse operation — writing that file back to the cartridge — is available on the same devices. It is precisely this write function that makes replacing the battery painless.
We won't go through the full procedure here: it is covered in our dedicated guide to copying cartridges. Two points are worth repeating. Clean the cartridge contacts before reading, as a read from oxidised pins can produce a corrupted file. And never unplug the device during a transfer. You will find the models we sell in the cartridge readers collection.
If the battery is already dead, there is nothing left to back up: go straight to the replacement. You will start again from a new game, but the cartridge will save again.
The equipment: screwdriver, battery, soldering iron
Nintendo cartridges are closed with a proprietary star-shaped security screw, known as Gamebit. The 3.8 mm size opens NES, Super Nintendo, Nintendo 64 and Game Boy cartridges. The larger 4.5 mm size is used for Sega cartridges and console shells. Game Boy Advance cartridges are the exception: they use a tri-wing screw (Y-type), a third bit to plan for.
| Console | What the battery powers | Battery type | Opening |
|---|---|---|---|
| Game Boy | Save (SRAM) | CR2025, sometimes CR1616 depending on the board | Gamebit 3.8 mm |
| Game Boy Color | Save, and the clock on games that have one | CR2025 | Gamebit 3.8 mm |
| Game Boy Advance | Real-time clock only | CR1616 | Tri-wing |
| Super Nintendo | Save (SRAM) | CR2032 | Gamebit 3.8 mm |
| Nintendo 64 (SRAM games) | Save (SRAM) | CR2032 | Gamebit 3.8 mm |
| Mega Drive / 32X | Save (SRAM) | CR2032 | Gamebit 4.5 mm in most cases |
This table covers the general case. The only certainty comes from opening the cartridge: the reference is printed on the visible side of the battery. Open, read, then order.
Why a battery with solder tabs and not a bare battery
A bare coin cell costs less, but it should be ruled out: you don't solder onto the body of a lithium battery. The heat of the iron raises the internal pressure of the cell, which can leak, swell or burst, and the electrolyte that sprays out is corrosive.
Batteries sold for this purpose come with two metal tabs already spot-welded at the factory, a split-second operation that doesn't heat the cell. You then only solder the tab, away from the body of the battery. It is the only sensible method, and these batteries cost a few euros each.
The rest of the workbench
- A soldering iron with a fine tip, with temperature control if possible.
- Desoldering braid or a desoldering pump.
- Flux, which makes removing the old solder much cleaner.
- Isopropyl alcohol and a cotton bud to clean off residue.
- A multimeter, to measure before and after.
- A non-conductive, well-lit work mat.
Workshop tools are gathered in our workshop and modding section.
The step-by-step method
-
Back up first.
.savfile copied to the computer, checked, and ideally duplicated on a second storage medium. - Open the cartridge with the right bit. Usually just one screw. Remove the circuit board from the shell.
- Measure the battery in place with the multimeter and note the value. This confirms the diagnosis.
- Photograph the layout before touching anything. The positive side of the battery almost always faces up, but a photo beats a memory.
- Desolder both tabs. Heat one tab, remove the solder with braid or a pump, let it cool for a few seconds, move on to the other. Two to three seconds of contact per point is enough. Lingering lifts the copper pads off the board, and a torn-off pad is much harder to repair than a battery is to replace.
- Clean the pads with isopropyl alcohol. If the old battery has leaked, carefully clean the traces around it: they eat away at the tracks.
- Position the new battery the same way round as the old one, tabs lined up with the pads. Tin lightly, then solder each tab with a brief contact. The joint should be shiny and slightly domed, not a dull ball.
- Check: voltage measured between 3.1 and 3.3 V, no solder bridge between the two points, battery lying flat and not touching anything else.
- Close it up without forcing. If the shell resists, the battery is not seated properly.
- Write your save back with the reader, then test in the console.
The solderless alternative, and its limits
There is a method without a soldering iron: you straighten the original tabs left on the board, crimp female connectors onto them linked by two short wires to a coin cell holder, and the holder sits in a free space inside the shell. The principle works, it has long been documented on NES cartridges, and it has a real advantage: the next battery can be swapped in three seconds, without tools.
Its limits are real. You need a proper crimping tool, or you risk tearing off the original tab by bending it. The assembly takes up space: Game Boy and Game Boy Advance cartridges are far too thin to accommodate it, and some Super Nintendo cartridges no longer close. Finally, a poorly made crimped contact gives exactly the symptom you wanted to get rid of: an intermittent save.
One thing to avoid in all cases: holding a bare battery against the tabs with adhesive tape. The contact is imperfect from the start, it deteriorates with vibration, and the save drops out without warning.
Checking that the job worked
The test is done in two stages. Immediately: write the save back, launch the game, check that the save loads, save in the game, switch off, switch back on. Then cold: remove the cartridge from the console and leave it aside for twenty-four to forty-eight hours. If the save is still there when you come back, the solder joint holds and the battery is properly powering the memory.
On a game with a clock, check that the time moves forward correctly after a night switched off. It is the best indicator, since the clock draws power continuously.
Keep the .sav file on your computer, backed up somewhere other than a single drive. The same principle applies to your saves on a modern handheld console.
Cartridges that have no battery
Not all cartridges contain one, and it would be a shame to open one for nothing.
Flash memory and EEPROM retain data without power. The vast majority of Game Boy Advance games work this way: their saves are safe, even after twenty years. On Nintendo 64, all three systems coexist depending on the title — EEPROM, flash, or battery-backed SRAM. Finally, plenty of older games simply don't save and use a password system.
How can you tell which case you are dealing with, without getting it wrong? The only reliable check is still opening the cartridge: a coin cell is spotted at first glance on the board. Failing that, the symptom tells you. A cartridge that has kept its saves perfectly for years probably has no battery, or has one that is still going strong. Conversely, a Game Boy Advance game that shows a dry battery message but keeps its saves intact tells you exactly what is going on: its battery only serves the clock, its save is on flash. Replacing it restarts time-based events, nothing more — and nothing less, if those mechanics matter to you.
Frequently asked questions
How long does a cartridge battery last?
Count on fifteen to twenty-five years for a cartridge whose battery only powers the save memory. It is considerably less on games with an internal clock, whose circuit draws power continuously: five to eight years is commonly seen on second-generation Pokémon Game Boy Color cartridges. Storage matters too: a cartridge kept somewhere warm ages faster.
Can I replace the battery without a cartridge reader?
Yes, but you will lose your current save. Without a reader, there is no way to keep the contents of the SRAM while the power is cut. If the save doesn't matter, or if the battery is already dead and the file already lost, go ahead directly.
Is a coin cell bought at the supermarket suitable?
The cell is the right one, but it is bare. Soldering onto the body of a lithium battery is dangerous: overheating, leakage, even bursting. Buy a model with tabs spot-welded at the factory, sold specifically for this purpose, and solder only onto the tab.
My save was corrupted before the battery change. Will copying it repair it?
No. The reader faithfully copies what it finds, flaws included. If the save was already damaged by a dying battery, the copy will be too. Replacing the battery stops the deterioration from continuing; it doesn't rebuild data that is already lost.
Do you need an expensive soldering iron?
No, but avoid entry-level irons without temperature control, whose tip gets too hot and lifts the pads. An iron with adjustable temperature and a fine tip is more than enough. Desoldering braid and flux matter almost as much as the iron in the quality of the result.
My cartridge still won't save after the replacement. What should I check?
In this order: the voltage of the new battery with the multimeter, the absence of a solder bridge between the two points, the mechanical hold of both tabs, and the condition of the copper pads, which may have been torn off during desoldering. Also check that the cartridge contacts are clean: a badly read game can give the illusion of a save problem.
Going further
A battery replacement is a refurbishment, not a permanent repair: the new one will wear out in turn, in about fifteen years. Until then, keep your .sav files on a drive: that is the real backup. Tabbed batteries, Gamebit and tri-wing bits, soldering irons and consumables are gathered in our workshop and modding collection.