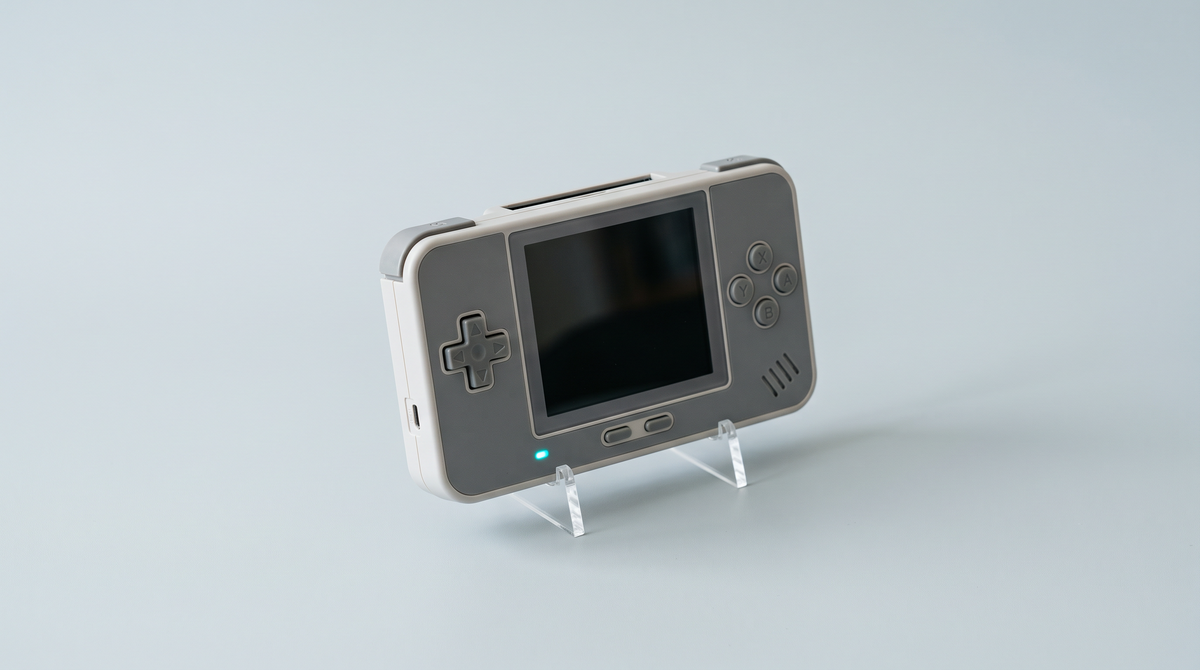
RetroArch is the most widespread emulation front end on retro handheld consoles, and also the most bewildering at first. By the end of this guide you will know what an emulation core is and how to switch it, how to remap your buttons cleanly, how to pick a filter or shader suited to your screen, how to handle save states, how to set the aspect ratio without distorting the pixels, and how to cut down input latency.
What you need
- A retro handheld running RetroArch, either on its own or built into the stock interface.
- Your games, obtained legally, already copied onto the microSD card.
- Ten quiet minutes to explore the menus without breaking anything.
- Possibly an external controller, if you play on a TV.
A word on method: RetroArch offers hundreds of options. Change one setting at a time, test it, then move on to the next.
Step 1: understanding and choosing emulation cores
RetroArch does not emulate anything by itself. It is a shell that loads modules called cores, each emulating a given system. For one and the same console of the era, several cores often coexist, with opposing philosophies.
Accuracy versus performance
Some cores aim for maximum fidelity: they reproduce the original hardware down to the smallest detail, which guarantees excellent compatibility but demands a lot of power. Others favour a light footprint: they run effortlessly on modest machines, at the cost of a few approximations.
The practical rule: start with the core offered by default. If it struggles, move to a lighter core. If one specific game shows a graphical or sound bug, try a more accurate core.
Switching cores
- Quit the game you are playing to return to RetroArch's main menu.
- Open the core loading section and select the system concerned.
- Choose the core you want from the list of installed cores.
- Relaunch the game and watch the smoothness over a few minutes of actual play, not just in the menus.
Careful: save states are not compatible between different cores. Finish your session and use the game's internal save before switching, otherwise you will lose your progress.
Step 2: mapping the buttons properly
RetroArch distinguishes two levels of configuration, and mixing the two up is the source of endless frustration.
Global hotkeys
The hotkeys let you open the menu, save, load or fast-forward during a session. On a handheld with no keyboard, they are tied to a key combination, usually a trigger or a dedicated button held together with another. Identify that hotkey button in your very first session: without it, you will not be able to get back to the menu while playing.
Mapping per system
The consoles of the era did not all share the same button layout, and swapped action buttons are a classic. RetroArch lets you save a mapping per core or per game.
- Launch the game concerned, then open RetroArch's quick menu.
- Go into the controls options for the running game.
- Reassign each button by selecting it and then pressing the physical key you want.
- Save the remap by explicitly choosing the per-game or per-core save option.
- Quit and relaunch the game to check that the setting has indeed been kept.
Without that final saving step, everything is lost on exit. It is the most common beginner mistake.
Step 3: picture, shaders and pixel integrity
Aspect ratio
Older systems output in 4:3, or in narrower formats on handhelds. Modern screens are wider. Stretching the image to fill the panel distorts the characters and breaks the look the developers intended. Keep the original ratio: black bars on the sides are the price of an accurate picture.
Pixel integrity
When the original resolution is not an exact multiple of the screen's, scaling up produces pixels of uneven size, hence an unpleasant shimmer during scrolling. Integer scaling guarantees regular pixels, at the cost of a slightly smaller image. On a small screen, it is almost always the better choice.
Shaders and filters
The shaders recreate the look of period displays: scanlines from cathode-ray televisions, the coloured matrix of liquid crystal screens. They are not free: a heavy effect can send the frame rate tumbling. Bear in mind too that a shader designed for a large screen is often illegible on a small panel.
Step 4: save states and latency
Save states
A save state photographs the memory of the emulated console at a precise moment and reloads instantly. It is a considerable convenience, but it stays tied to the core and its version. The game's internal save is far more robust: favour it before any technical tinkering.
Reducing latency
Latency is the delay between pressing a button and the reaction on screen. Vertical synchronisation smooths the image but adds delay: turning it off makes the controls snappier, at the cost of possible tearing. The number of queued frames ahead in the video pipeline can be reduced. Finally, a rewind function left enabled consumes resources continuously.
- First check that the game runs at its nominal speed with no slowdown.
- Then reduce the frame queue by one notch and test.
- Try turning off vertical synchronisation and judge the result on an action game.
- Disable rewind and any background recording option.
- Keep the combination that suits you and write it down, so you can find it again after an update.
Common mistakes
- The button remap is not kept. You changed the buttons without saving the remap per game or per core. Redo the operation and explicitly confirm the save before quitting.
- The game slows down after enabling a shader. The effect exceeds the machine's graphics capabilities. Go back to a lighter shader or remove it: smoothness always beats aesthetics.
- A save state refuses to load. It was created with another core or another version. There is no conversion. Reload the game's internal save if there is one, and get into the habit of making one before any core change.
- You cannot get back to the menu during a session. The hotkey button has not been identified or has been reassigned. Turn the console off, restart, and locate the hotkey combination in the controls options before launching a game again.
- The picture shimmers when scrolling. The scaling is not integer. Enable integer scaling, even if it means accepting a slightly smaller image.
- The sound crackles or drifts out of sync. The core is too demanding for the machine. Move to a lighter core before touching the audio settings.
Frequently asked questions
Do you have to install RetroArch yourself?
Not necessarily. Depending on the model, RetroArch is already there, sometimes hidden behind the console's stock interface. On Android machines, it can also be installed like any other app. Check your console's product page or contact our customer service to find out what is included on your specific model.
Why do some games fail to start despite a suitable core?
Several possible causes: a format that core does not support, an archive that needs extracting, or a system that requires additional technical files. We do not point to any source for the latter. Try switching cores and extracting the file first, which solves the majority of cases.
Do the settings apply to every game?
No, and that is a strength. RetroArch applies a global configuration, then allows overrides per core and finally per game. So you can keep a restrained general setup and enable a shader or a particular mapping only on the titles that deserve it. Just remember to save at the right level.
How do you go back to the original settings?
Each menu section offers a reset, and you can delete the configuration files specific to a game or a core to return to default behaviour. Before any serious experimenting, copy your configuration folder to a computer: you will be able to restore your setup in seconds.
Going further
If your game list is still empty, start with How to add games to a retro handheld console. To keep your sessions safe, read Saves: never lose your progress again. And if the stock menus frustrate you, take stock with Alternative firmwares: should you install one? before doing anything.
On the store side, explore our handheld consoles, our Anbernic consoles and our microSD cards.