Description complète
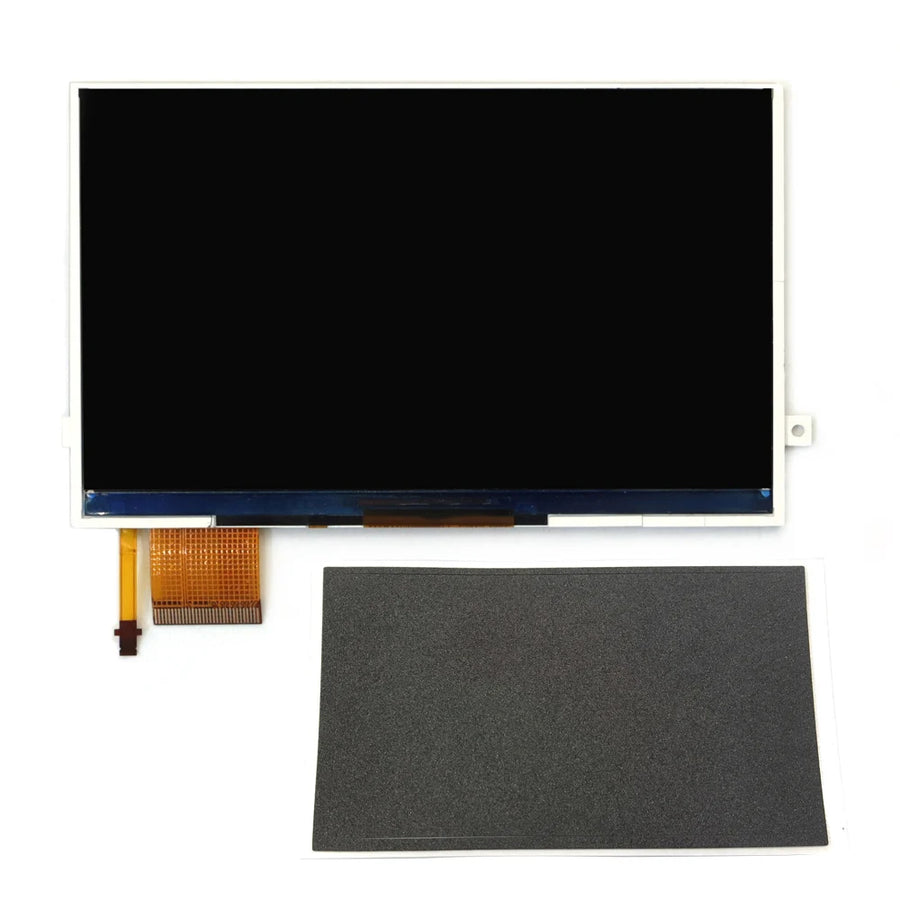
PSP 3000 IPS screen kit: the most visible mod you can make on this console
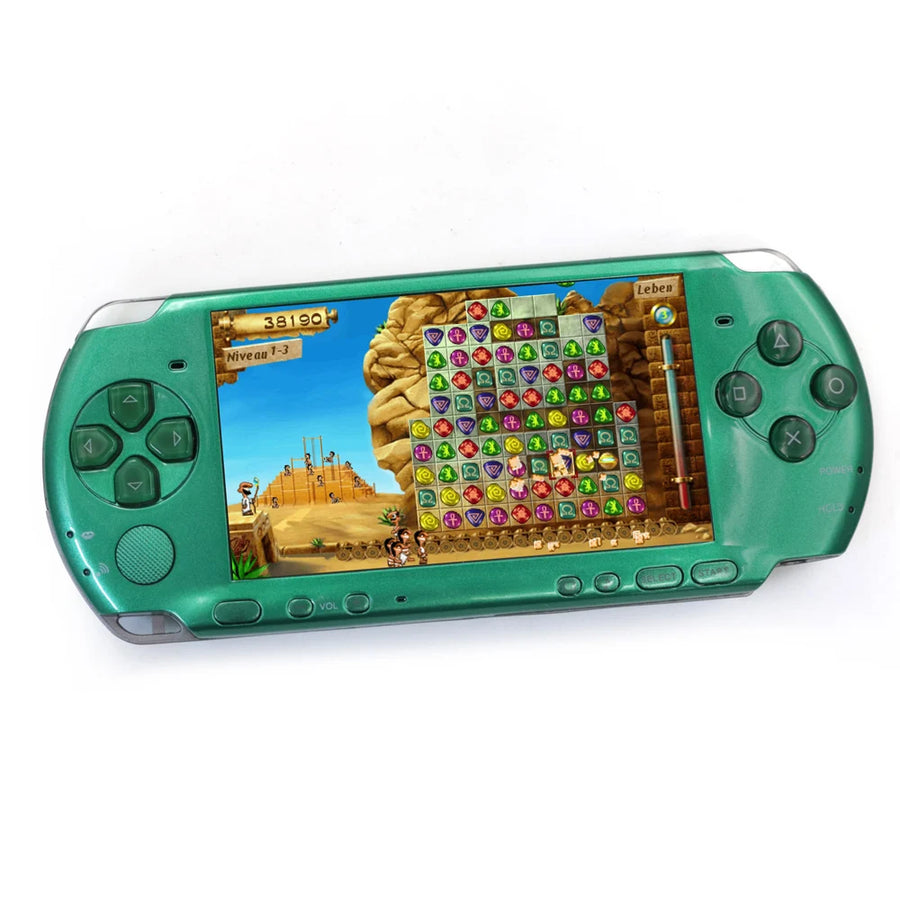
The PSP 3000's original panel has a well-known flaw: a scanline effect and washed-out blacks as soon as you move away from a perfect viewing angle. This high-brightness IPS kit completely changes the experience — and above all, it installs without any soldering.
What it does
- IPS panel: deep blacks, stable colours whatever the angle.
- No soldering: the kit plugs into the existing connector, no soldering iron needed.
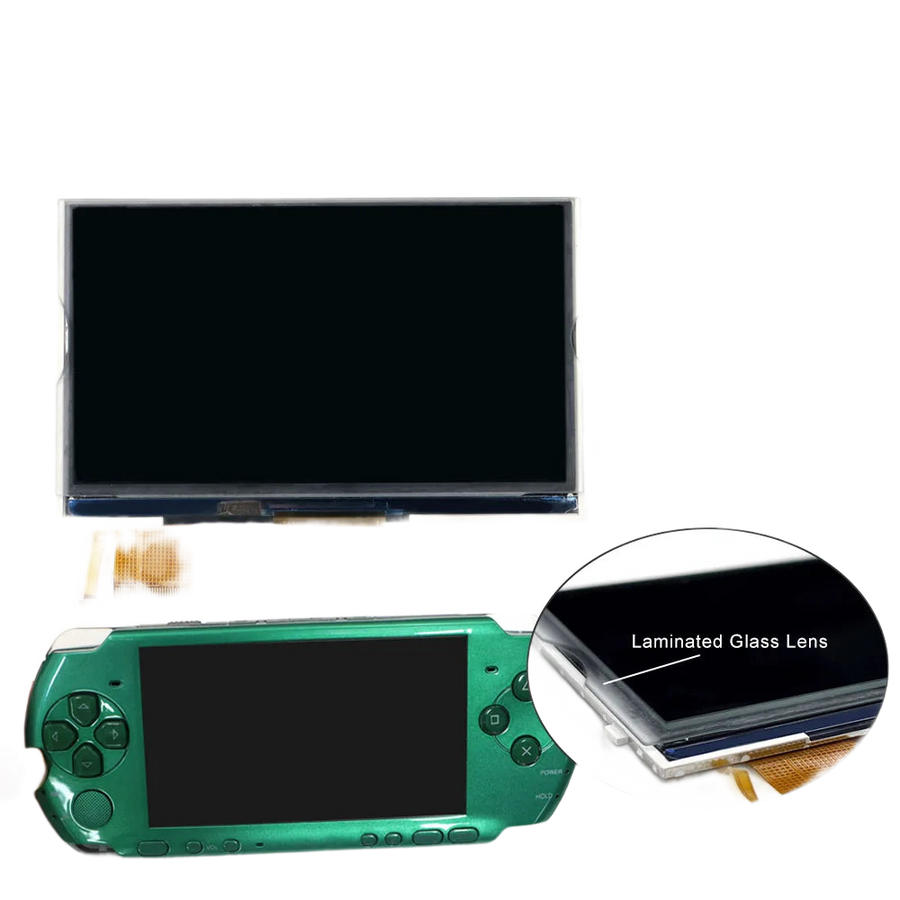
- Laminated version available: the panel and glass are bonded together, which eliminates the air gap and internal reflections.
What it doesn't do
- It doesn't increase the resolution. The PSP displays 480×272: IPS improves contrast and viewing angles, not the number of pixels.
- The non-laminated version keeps an air gap between the panel and the glass: cheaper, but internal reflections remain.
- Full disassembly of the PSP is required, ribbon cables included.
Compatibility
Sony PSP 3000 only. Not suitable for the PSP 1000, the 2000 or the PSP Go, whose connectors and chassis are different.
Skill level required
No soldering, but a complete and careful disassembly: the PSP has several fragile ribbon cables. A precision Phillips screwdriver and a plastic spudger are recommended. Allow an hour for a first installation.
In the box
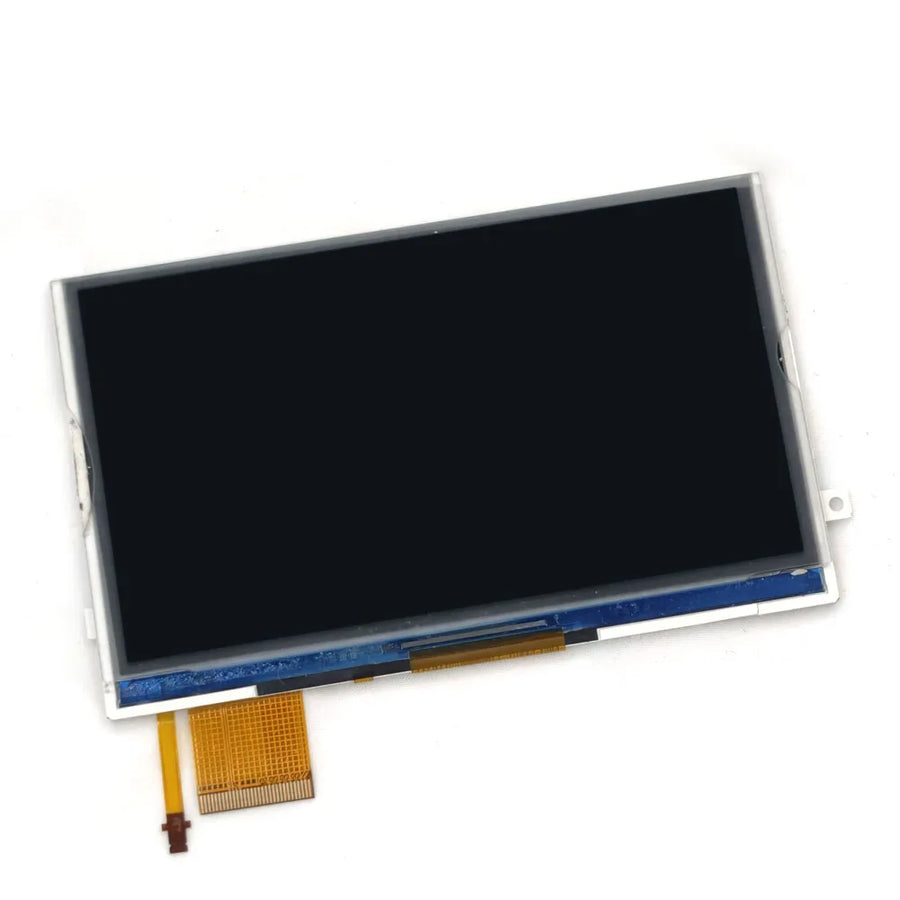
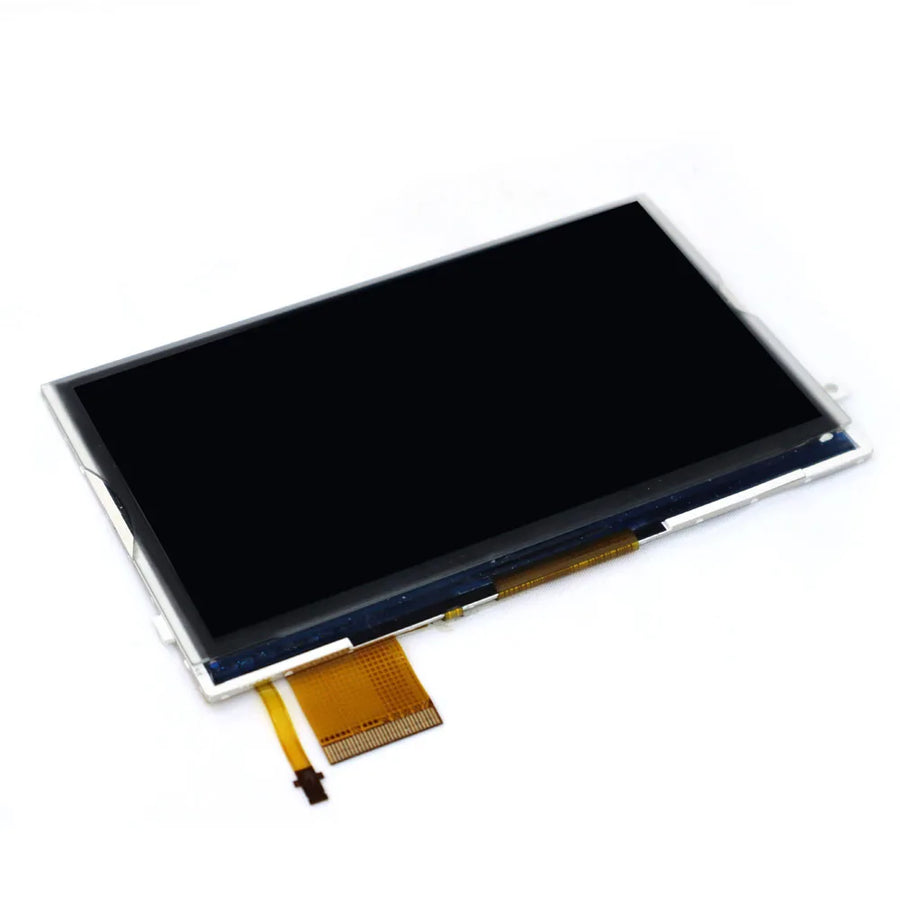
- 1 PSP 3000 IPS panel, laminated or non-laminated depending on the variant
- Connection ribbon cable
Delivery in 10 to 18 days · ships within 3 to 5 days · 2-year legal guarantee of conformity · 14-day returns.
PSP 3000 IPS screen kit — laminated, high brightness, no soldering
High-brightness IPS panel, fitted without a single solder joint.
En stock
📦Ships within 3 to 5 business days · Delivery in 10 to 18 business days
ℹÀ partir de 150 €, la livraison s’effectue en Point Relais.
- 🇫🇷SAV français
réponse sous 1 jour ouvré - 🛡Garantie légale
2 ans - ↩14 jours
pour changer d’avis - 🔒Paiement sécurisé
CB · PayPal · Klarna
The original panel's well-known flaw
Right from launch, the PSP 3000 faced one criticism: a scanline effect visible during fast motion, and blacks that turn grey as soon as you tilt the screen. An IPS panel gets rid of both at once — it's the most spectacular mod you can make on this machine.
Laminated or non-laminated: what difference it makes
On the laminated version, the panel and glass are bonded together: no more air gap, so no more internal reflections or dust trapped between the two. The image seems to sit right at the surface. The non-laminated version costs less and keeps that air gap. It's up to you to decide what you're looking for.
No soldering, but it still takes care
The kit plugs into the existing connector: no soldering iron. However, the PSP has to be fully disassembled and has several fragile ribbon cables. Have a precision Phillips screwdriver and a plastic spudger ready, and allow an hour for a first installation.
What this accessory brings
Verified manufacturer specifications · vérifié le
Ce qu’il fait bien
- IPS panel: deep blacks and stable viewing angles
- Installation without any soldering
- Laminated version with no air gap
- High brightness
Ce qu’il ne fait pas
- Doesn't increase the resolution: the PSP stays at 480x272
- The non-laminated version keeps internal reflections
- Full console disassembly required
Voir toute la fiche technique+
Matière et format
- Type d’accessoire
- IPS screen kit
Compatible avec
- Sony PSP 3000
Dans la boîte
- 1 PSP 3000 IPS panel (laminated or not, depending on the variant)
- Connection ribbon cable
Frequently Asked Questions
🔧 Do I need to solder?
No. The kit plugs into the console's existing connector, no soldering iron is needed.
🎮 Which console exactly?
Sony PSP 3000 only. Not the PSP 1000, the 2000 or the PSP Go: their connectors and chassis are different.
📺 Does it increase the resolution?
No. The PSP displays 480x272: IPS improves contrast, blacks and viewing angles, not the number of pixels.
🔍 What's the difference between laminated and non-laminated?
On the laminated version, panel and glass are bonded together: no air gap, so no internal reflections. The non-laminated version is cheaper and keeps that air gap.
🧰 What tools do I need?
A precision Phillips screwdriver and a plastic spudger to unclip the shell without marking it.
⏱️ How long does installation take?
About an hour for a first installation. Full disassembly is required and several ribbon cables are fragile.
🚚 What are the delivery times?
Delivery in 10 to 18 days, ships within 3 to 5 days.
🛡️ What warranty applies?
2-year legal guarantee of conformity. 14-day returns. French customer service, reply within 1 business day.
Why buy here rather than on a marketplace
It is a fair question. Here is the answer, straight.
Every listing is checked before publication: real compatibility, material, dimensions, box contents. Many models never make it into the catalogue.
A question about compatibility, a fit problem, a return: you write, a human replies within 1 business day. In French.
The 2-year legal warranty of conformity is handled by us — not by a form on the other side of the world. And 14 days to change your mind, with no need to justify yourself.
We do not claim to be the cheapest. We claim that you will know exactly what you are buying before you pay.
Read this before choosing
Our guides to accessories: compatibility, protection, transport.

Pixel art: create your own designs for a Divoom display
Grid size, number of colours, outlines, animation: the guide to getting started in pixel art and displaying your own creations on a Divoom display.
2 min de lecture · publié le

Divoom pixel art speakers: which one should you choose?
Astrotoo, Ditoo-Pro, FlowToo, Tiivoo-2, Timebox-Evo, MiniToo, Fairy-OK: the seven Divoom speakers compared, by use and budget.
2 min de lecture · publié le

Times Frame or Times Frame Pure: which Divoom floating photo frame should you choose?
64 or 32 GB, three colours or just one, a dial or not: the real differences between the Times Frame and Times Frame Pure…
1 min de lecture · publié le