Description complète
IPS screen kit for Lynx II: a sharp picture, and the console on your TV
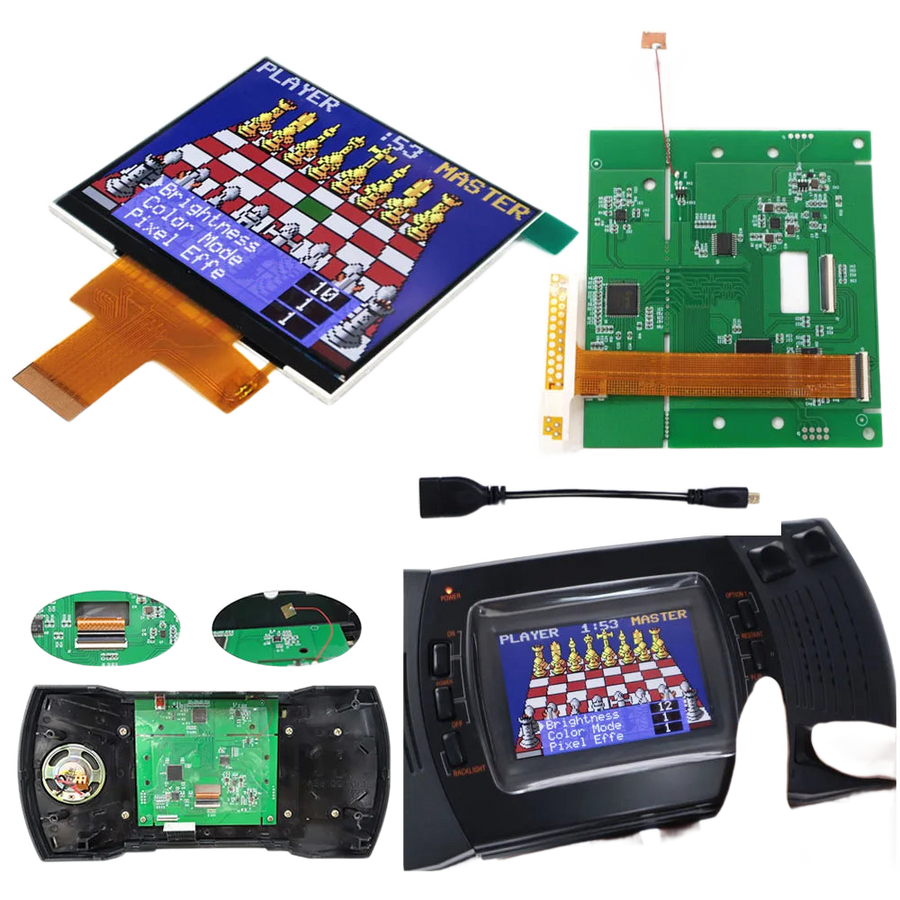
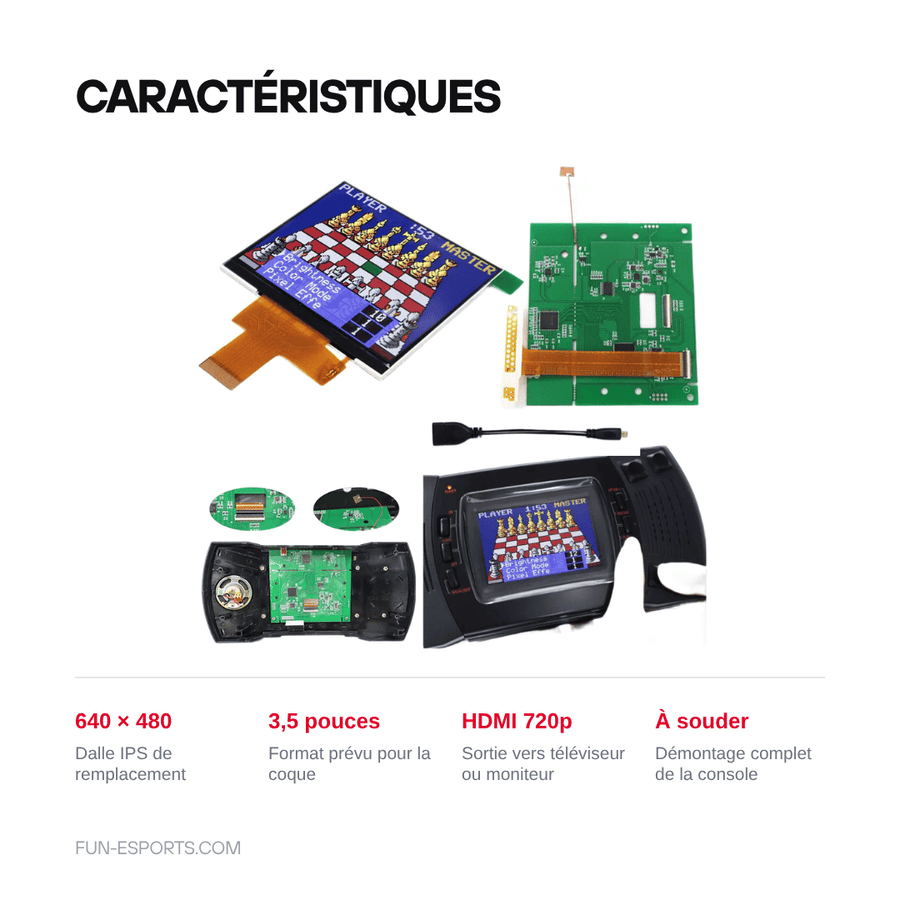
The Lynx II's original display is washed out, low in contrast and smears as soon as a sprite moves quickly. This kit replaces it with a 3.5-inch 640×480 IPS screen with wide viewing angles, and adds a 720p HDMI output so you can show your game on a TV. This is a workshop part: the console has to be fully disassembled and the module soldered in.
What it does
- 640×480 IPS panel: replaces the original 1991 LCD, with stable contrast and vivid colours.
- Wide viewing angles: the picture stays readable from an angle, which the original display can't manage.
- 720p HDMI output: the same picture goes to a TV or monitor, with no capture box needed.
- 3.5-inch format: sized for the Lynx II's screen slot.
What it doesn't do
- It doesn't increase the resolution of the games: the Lynx displays 160×102 pixels, and the panel and HDMI enlarge them without adding detail.
- It can't be installed without soldering and fully disassembling the shell.
- It isn't for the first-generation Lynx, which is wider and has a different shell and layout.
- It doesn't restore the console to as-new condition: ageing capacitors, the cartridge connector, potentiometers and the power supply need to be dealt with separately.
- It doesn't alter any of the console's protections and doesn't let you play any unofficial media.
- Supplied without a console or games, in compliance with the law.
Compatibility
Designed for the Atari Lynx II, the compact 1991 model. The first-generation Lynx is not covered. Check your model before ordering: the two machines have neither the same shell nor the same screen slot.
Skill level required
Experienced level. You need to open the console, remove the original display, connect the module to the motherboard — most installations require a few fine solder joints — then refit the screen. Depending on the shell revision, a slight adjustment of the screen window or internal posts may be needed. Have a fine-tip soldering iron, flexible silicone wire, desoldering braid, VHB double-sided tape and, if needed, a rotary tool ready. Allow one to two hours if you have already taken a handheld apart: this is not a first mod.
In the box
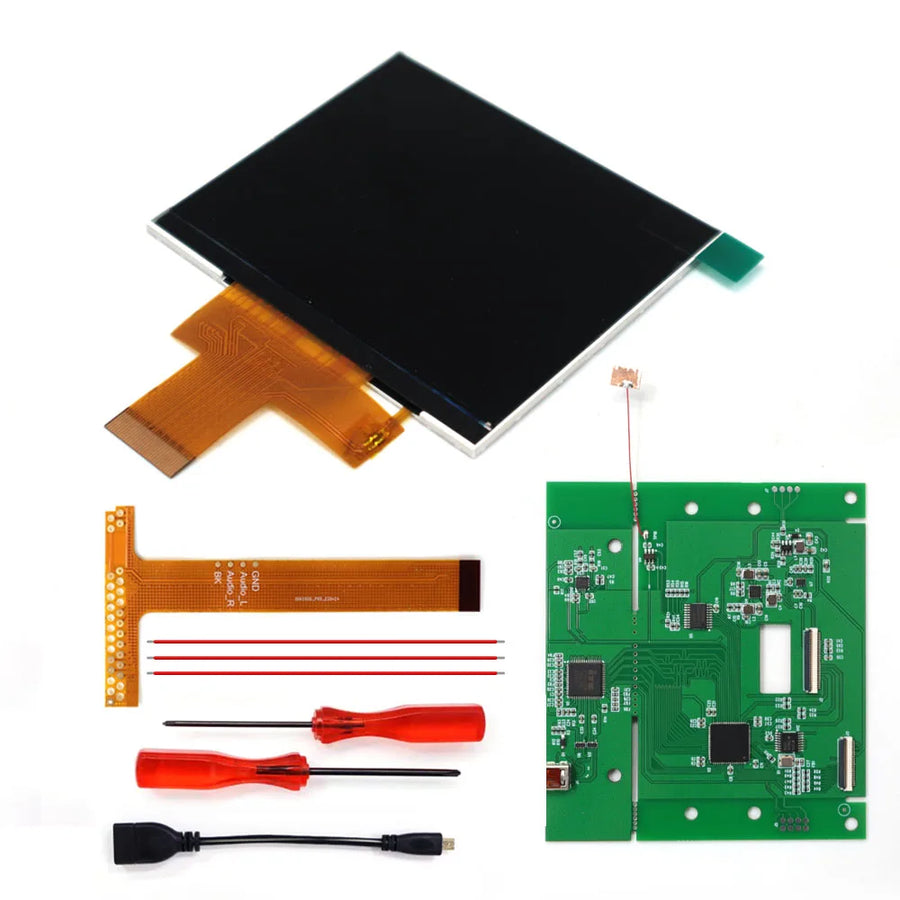
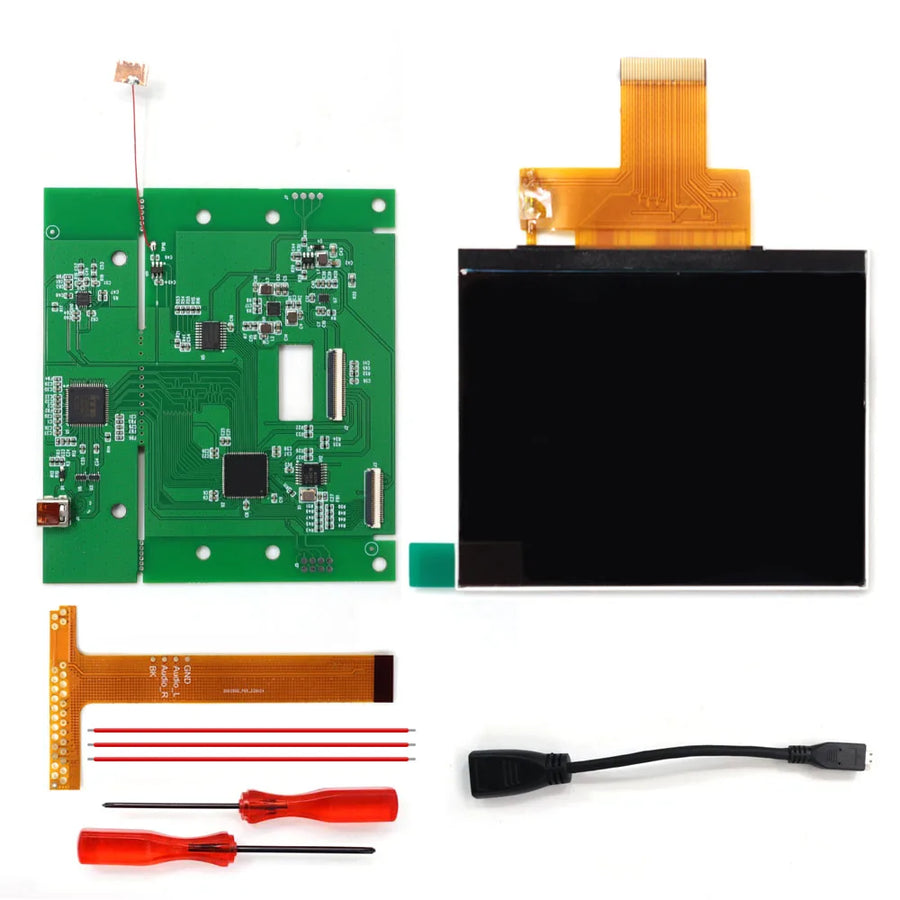
- 1 3.5-inch 640×480 IPS screen with its driver board.
- 1 720p HDMI output built into the module.
- No console, game, tools or wiring.
Listing verified on 19 August 2026. Delivery in 10 to 18 days · ships within 3 to 5 days · 2-year legal guarantee · 14-day returns.
Read before ordering: Retro Peripherals
3.5-inch IPS screen kit for Lynx II — 640×480 and 720p HDMI output
640×480 IPS screen kit and 720p HDMI output for the Atari Lynx II — solder-in installation.
En stock
📦Ships within 3 to 5 business days · Delivery in 10 to 18 business days · 2-year legal guarantee · 14-day returns.
ℹÀ partir de 150 €, la livraison s’effectue en Point Relais.
- 🇫🇷SAV français
réponse sous 1 jour ouvré - 🛡Garantie légale
2 ans - ↩14 jours
pour changer d’avis - 🔒Paiement sécurisé
CB · PayPal · Klarna
A 1991 display, replaced
The Lynx II was one of the first backlit handhelds, and it shows: a washed-out picture, low contrast and smearing as soon as a sprite moves quickly. This kit removes the original display and fits a 3.5-inch 640×480 IPS screen in its place. Colours become vivid again and the picture stays readable from an angle. The console keeps its original shell, buttons and sound.
Your game on the TV
The module has a built-in 720p HDMI output: the same picture goes to a TV or monitor, with no capture box needed. It's handy for showing off a game, filming a guide or playing on a big screen. The picture is still the console's own, enlarged as is — 160×102 pixels and proud of it, not a remaster.
A workshop mod, not plug and play
You need to open the console, remove the original screen and solder a few wires to the motherboard. Allow one to two hours if you have already taken a handheld apart, and have something ready to adjust the shell depending on the revision. We'd rather tell you before you buy than after: this is not a first mod. Our French customer service replies within 1 business day if you get stuck.
What this accessory brings
Verified manufacturer specifications · vérifié le
Ce qu’il fait bien
- 640×480 IPS panel replacing the original LCD
- Wide viewing angles and stable contrast
- 720p HDMI output to a TV or monitor
- 3.5-inch format designed for the Lynx II shell
Ce qu’il ne fait pas
- Full disassembly and soldering required
- Doesn't increase the resolution of the games (160×102 native)
- Not suitable for the first-generation Lynx
- Shell adjustment may be needed depending on the revision
- Doesn't replace a recap or a full refurbishment of the console
- Supplied without a console or games
Voir toute la fiche technique+
Matière et format
- Type d’accessoire
- Replacement screen
Compatible avec
- Atari Lynx II
Dans la boîte
- 1 3.5-inch 640×480 IPS screen with its driver board
- 1 720p HDMI output built into the module
- No console, game, tools or wiring
Frequently Asked Questions
🔧 Do I need to solder to install this kit?
Yes. The module connects to the Lynx II's motherboard: the console has to be fully disassembled and the installation requires a few fine solder joints. This is not a solderless mod.
🎮 Is it compatible with the first-generation Lynx?
No. This kit is designed for the Lynx II, the compact model. The first Lynx, which is wider, has neither the same shell nor the same screen slot: it is not covered.
🖥️ Does the HDMI output improve the resolution of the games?
No. The Lynx displays 160×102 pixels. HDMI carries that picture at 720p to the TV: it is enlarged, not redrawn.
✂️ Does the shell need modifying?
Depending on the shell revision, a slight adjustment of the screen window or internal posts may be needed. Keep a fine file or a rotary tool handy just in case.
📦 What's in the box?
The 3.5-inch 640×480 IPS screen kit with its driver board and 720p HDMI output. No console, game, tools or wiring.
🧰 What tools do I need?
A Phillips screwdriver, a fine-tip soldering iron, flexible silicone wire, desoldering braid and VHB double-sided tape to fix the panel in place.
🚚 What are the delivery times?
Delivery in 10 to 18 days, ships within 3 to 5 days.
🛡️ Which guarantee applies?
2-year legal guarantee of conformity. 14-day returns. French customer service, reply within 1 business day.
Why buy here rather than on a marketplace
It is a fair question. Here is the answer, straight.
Every listing is checked before publication: real compatibility, material, dimensions, box contents. Many models never make it into the catalogue.
A question about compatibility, a fit problem, a return: you write, a human replies within 1 business day. In French.
The 2-year legal warranty of conformity is handled by us — not by a form on the other side of the world. And 14 days to change your mind, with no need to justify yourself.
We do not claim to be the cheapest. We claim that you will know exactly what you are buying before you pay.
Read this before choosing
Our guides to accessories: compatibility, protection, transport.

Pixel art: create your own designs for a Divoom display
Grid size, number of colours, outlines, animation: the guide to getting started in pixel art and displaying your own creations on a Divoom display.
2 min de lecture · publié le

Divoom pixel art speakers: which one should you choose?
Astrotoo, Ditoo-Pro, FlowToo, Tiivoo-2, Timebox-Evo, MiniToo, Fairy-OK: the seven Divoom speakers compared, by use and budget.
2 min de lecture · publié le

Times Frame or Times Frame Pure: which Divoom floating photo frame should you choose?
64 or 32 GB, three colours or just one, a dial or not: the real differences between the Times Frame and Times Frame Pure…
1 min de lecture · publié le