Description complète
Backlit screen for Game Boy Advance SP: a console you can read again
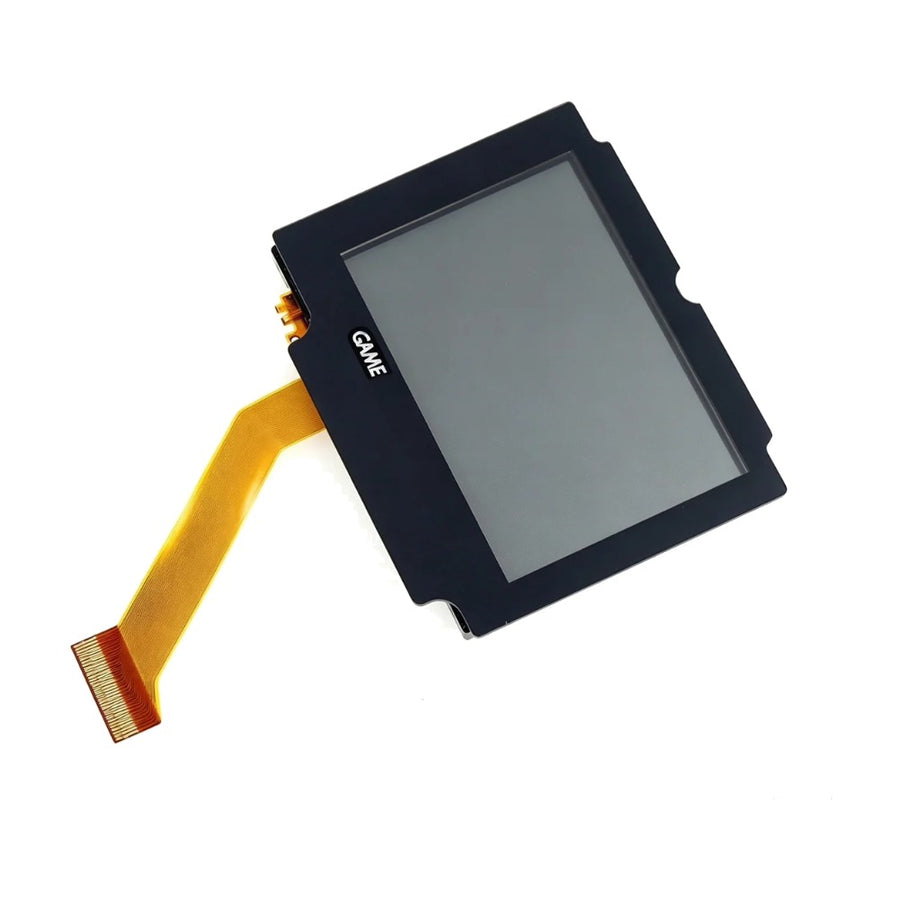
The original panel of the first Game Boy Advance SP units (model AGS-001) is lit from the edge: low contrast, dead angles, dark corners. Twenty years later, the lighting yellows and the ribbon cables break. This replacement panel comes already mounted in its frame, with its flexible ribbon cable — you replace the whole assembly, not just the glass.
What it does
- Backlit panel: lit from behind instead of the original side lighting, for a picture you can read indoors without hunting for the right angle.
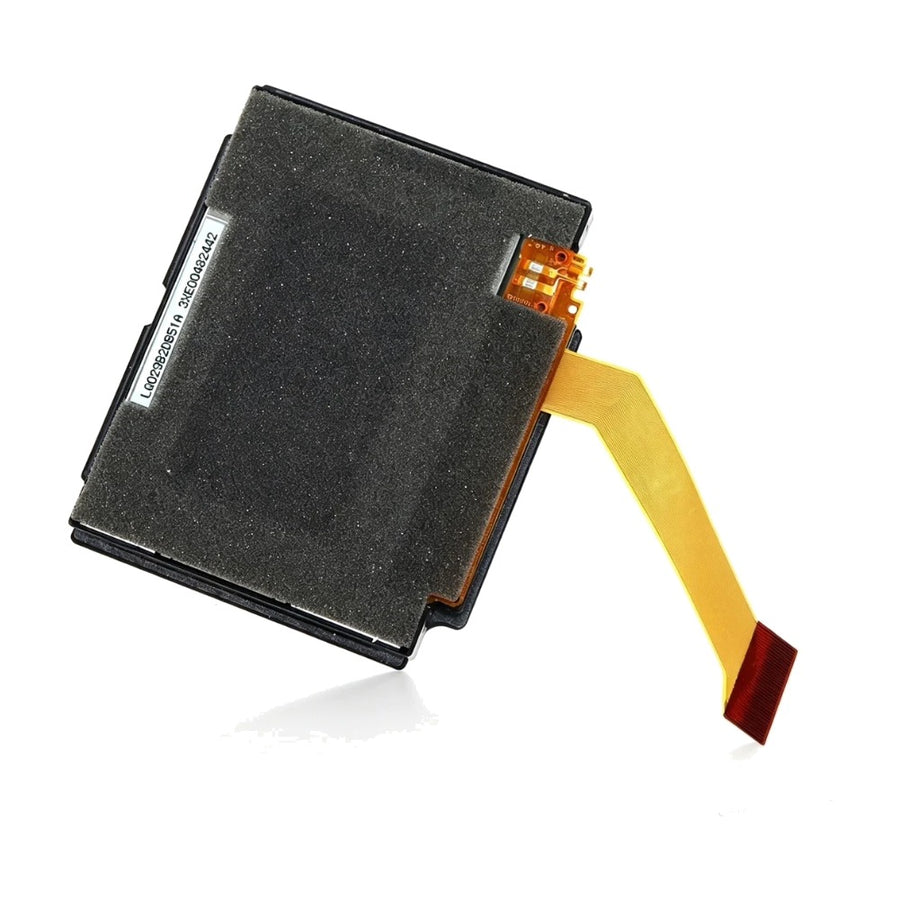
- Pre-mounted assembly: panel, frame and ribbon cable form a single unit. Nothing to unstick or glue back between the panel and its frame.
- A spare part, not a mod: the assembly matches the original shape and mounting notches, and sits back in the shell in its place.
What it doesn't do
- This is not an IPS kit. No on-screen menu, no colour palettes, no scanlines, no settings memory. If you are looking for these features, you need an IPS kit, not this panel.
- No brightness adjustment board is supplied — no button or wheel is added.
- It only repairs the screen. Broken hinges, a tired battery, a crackling speaker, the cartridge slot: outside its scope.
- Not suitable for the "bar" Game Boy Advance (AGB-001), the Game Boy or the Game Boy Color — SP format only.
- Once the ribbon cable has been bent or the panel fitted, the part can no longer be taken back. Do a dry run before reassembling the shell.
Compatibility
Game Boy Advance SP console, clamshell format. The pin count of the ribbon cable — 32 or 40 — has not been confirmed by the supplier: this is what determines whether the panel connects to an AGS-001 or AGS-101 motherboard. We therefore do not claim either. Open your console and count the connector pins before ordering, or write to us: we check with the supplier before shipping.
Skill level required
Intermediate. Full teardown of the console, handling a flexible ribbon cable that does not forgive creases, and reassembling the clamshell. No soldering needed for this part. Tools: Y1 tri-wing and #00 Phillips screwdrivers, plastic spudger, isopropyl alcohol. Allow 30 to 45 minutes without rushing.
In the box
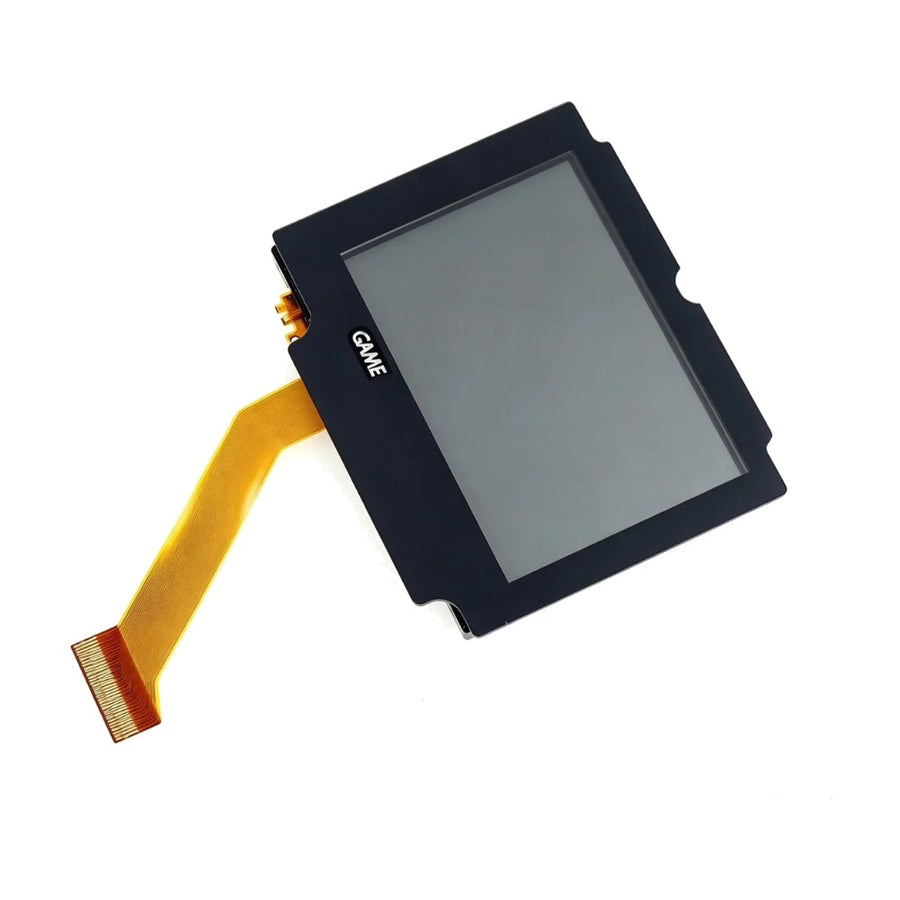
- 1 backlit LCD panel mounted in its frame
- 1 flexible ribbon cable attached to the panel
No screwdriver, shell, front lens or mounting tape.
Read before ordering: Replacement screens
Backlit LCD screen for Game Boy Advance SP — pre-mounted panel and frame, ribbon cable included
Backlit spare panel — not an IPS kit, no on-screen menu, no soldering.
En stock
📦Delivery in 10 to 18 days · ships within 3 to 5 days
ℹÀ partir de 150 €, la livraison s’effectue en Point Relais.
- 🇫🇷SAV français
réponse sous 1 jour ouvré - 🛡Garantie légale
2 ans - ↩14 jours
pour changer d’avis - 🔒Paiement sécurisé
CB · PayPal · Klarna
The job: making an SP readable without altering its character
You open the clamshell, remove the old assembly, route the new one's ribbon cable through the hinge and set the whole thing back in its notches. The console keeps its shell, its buttons and its soul: only the picture changes. It is the most cost-effective repair you can make on an SP whose screen has aged.
The part: a complete assembly, not a bare panel
Many panels are sold on their own, to be stuck back onto the old frame with double-sided tape — the step where dust gets trapped. Here the panel arrives already attached to its frame and ribbon cable. You handle a single part, and the only remaining risk is creasing the ribbon cable.
The support: tools and customer service
You need a Y1 tri-wing screwdriver, a #00 Phillips and a plastic spudger — all three are in our tool kits. On the shop side: French customer service, reply within 1 business day, a 2-year legal guarantee of conformity and 14 days to change your mind, as long as the part has not been fitted.
What this accessory brings
Verified manufacturer specifications · vérifié le
Ce qu’il fait bien
- Backlit panel: readable indoors without hunting for the right angle
- Pre-mounted panel + frame + ribbon cable assembly, nothing to glue back
- Matches the original shape and mounting notches
- No soldering needed
Ce qu’il ne fait pas
- Not an IPS kit: no on-screen menu, palettes or scanlines
- No brightness adjustment board supplied
- Not suitable for the bar-style GBA (AGB-001), Game Boy or Game Boy Color
- Ribbon cable pin count (32 or 40) not confirmed by the supplier
- Only repairs the screen: hinges, battery and speaker must be dealt with separately
- Not taken back once fitted: do a dry run before reassembly
Voir toute la fiche technique+
Matière et format
- Type d’accessoire
- Replacement screen
Compatible avec
- Game Boy Advance SP (clamshell format)
Dans la boîte
- 1 backlit LCD panel mounted in its frame
- 1 flexible ribbon cable attached to the panel
Frequently Asked Questions
🔧 Do I need to solder to install this panel?
No. The assembly connects to the motherboard connector via its ribbon cable. No soldering is needed, unlike most IPS kits, which require a wire for the brightness button.
🎮 Which consoles is it compatible with?
Game Boy Advance SP only, the clamshell model. Not the "bar" Game Boy Advance (AGB-001), the Game Boy or the Game Boy Color. The ribbon cable pin count — 32 or 40 — has not been confirmed by the supplier: count the pins on your connector, or write to us before ordering.
✂️ Do I need to cut the shell?
No, provided the pins match your motherboard: the assembly matches the original shape and notches. It is a spare part, not a mod.
🔆 Can the brightness be adjusted?
No. No adjustment board is supplied and no button is added. There is no on-screen menu, no palettes and no scanlines — this is not an IPS kit.
📦 What's in the box?
A backlit LCD panel mounted in its frame, with its flexible ribbon cable. No screwdriver, shell, front lens or adhesive tape.
🧰 What tools do I need?
A Y1 tri-wing screwdriver, a #00 Phillips, a plastic spudger and isopropyl alcohol. Our tool kits in the Workshop & Modding section cover everything.
⏱️ How long does installation take?
30 to 45 minutes without rushing, at intermediate level. The tricky part is the ribbon cable: it does not forgive a crease. Connect it and do a dry run before closing the shell.
🛡️ What guarantee applies?
2-year legal guarantee of conformity. 14-day returns as long as the part has not been fitted. French customer service, reply within 1 business day.
Why buy here rather than on a marketplace
It is a fair question. Here is the answer, straight.
Every listing is checked before publication: real compatibility, material, dimensions, box contents. Many models never make it into the catalogue.
A question about compatibility, a fit problem, a return: you write, a human replies within 1 business day. In French.
The 2-year legal warranty of conformity is handled by us — not by a form on the other side of the world. And 14 days to change your mind, with no need to justify yourself.
We do not claim to be the cheapest. We claim that you will know exactly what you are buying before you pay.
Read this before choosing
Our guides to accessories: compatibility, protection, transport.

Pixel art: create your own designs for a Divoom display
Grid size, number of colours, outlines, animation: the guide to getting started in pixel art and displaying your own creations on a Divoom display.
2 min de lecture · publié le

Divoom pixel art speakers: which one should you choose?
Astrotoo, Ditoo-Pro, FlowToo, Tiivoo-2, Timebox-Evo, MiniToo, Fairy-OK: the seven Divoom speakers compared, by use and budget.
2 min de lecture · publié le

Times Frame or Times Frame Pure: which Divoom floating photo frame should you choose?
64 or 32 GB, three colours or just one, a dial or not: the real differences between the Times Frame and Times Frame Pure…
1 min de lecture · publié le