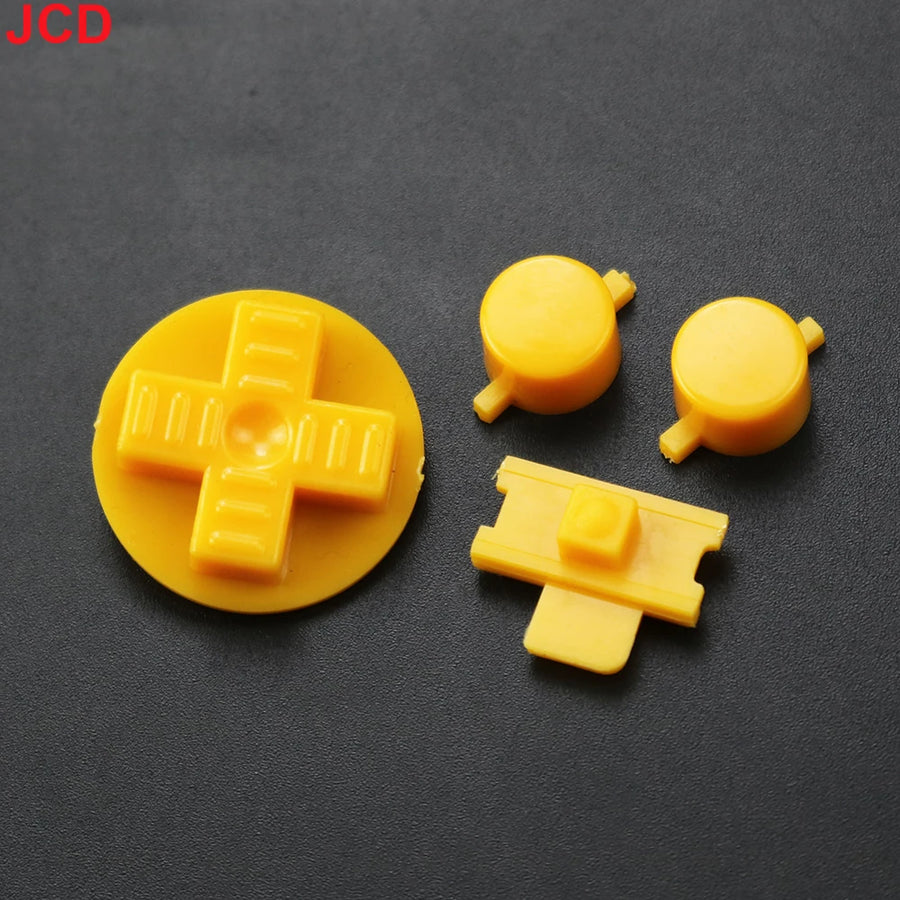
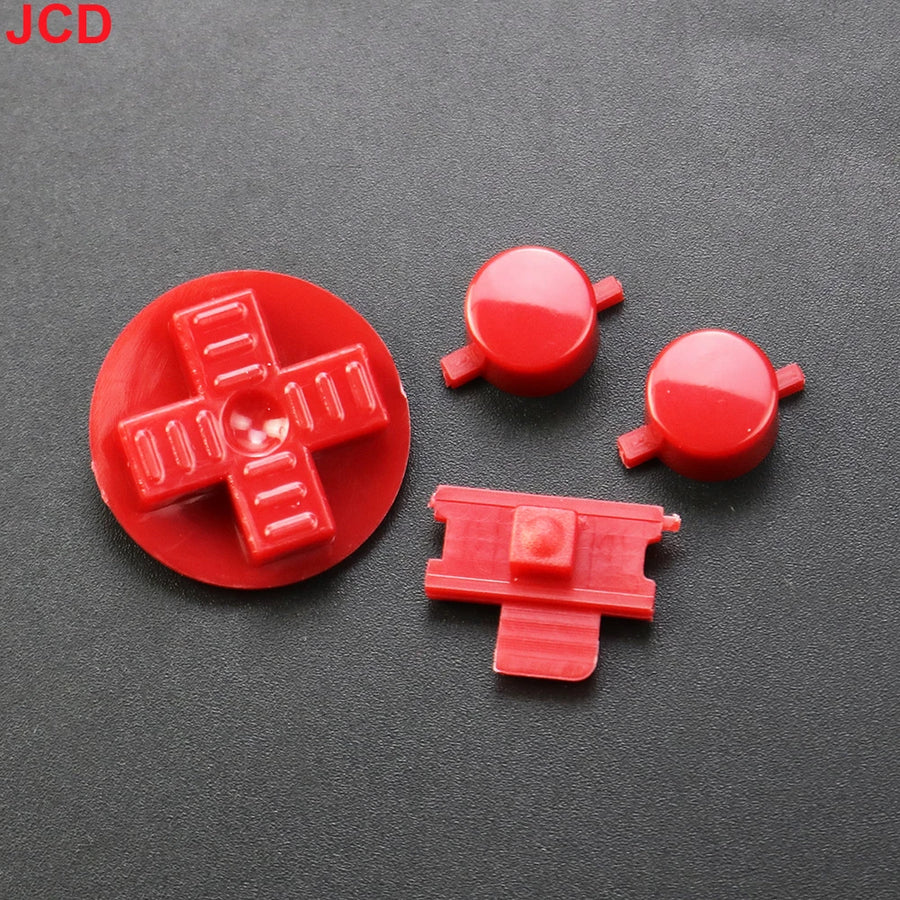
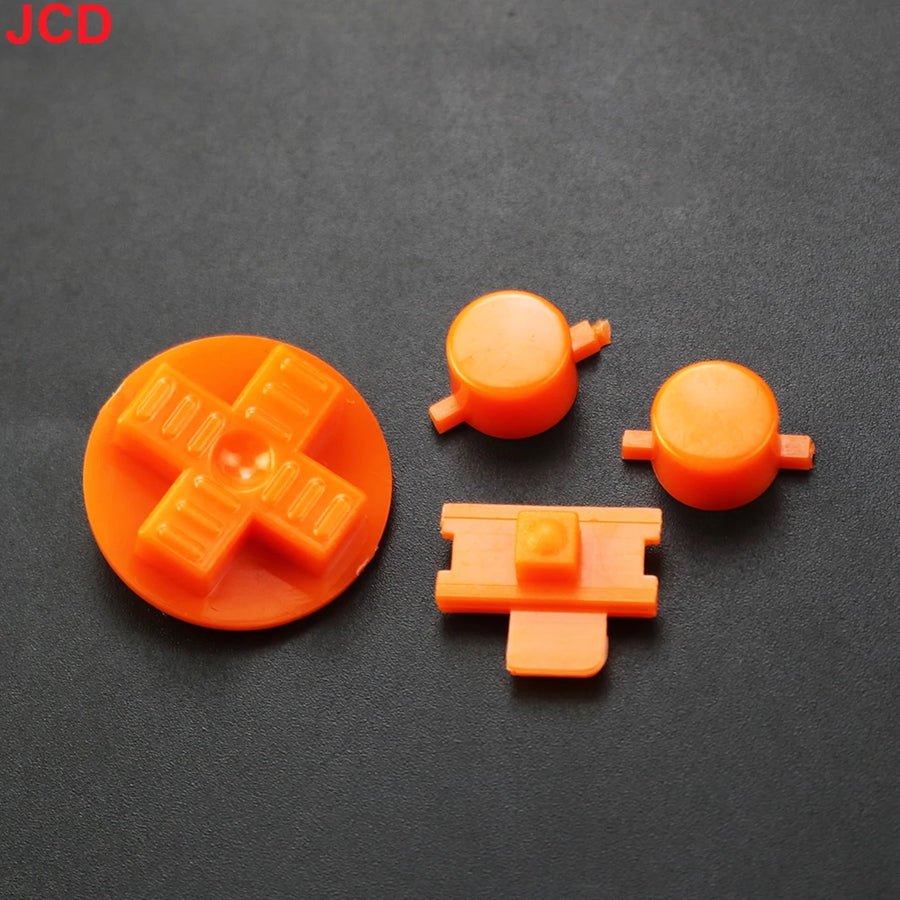
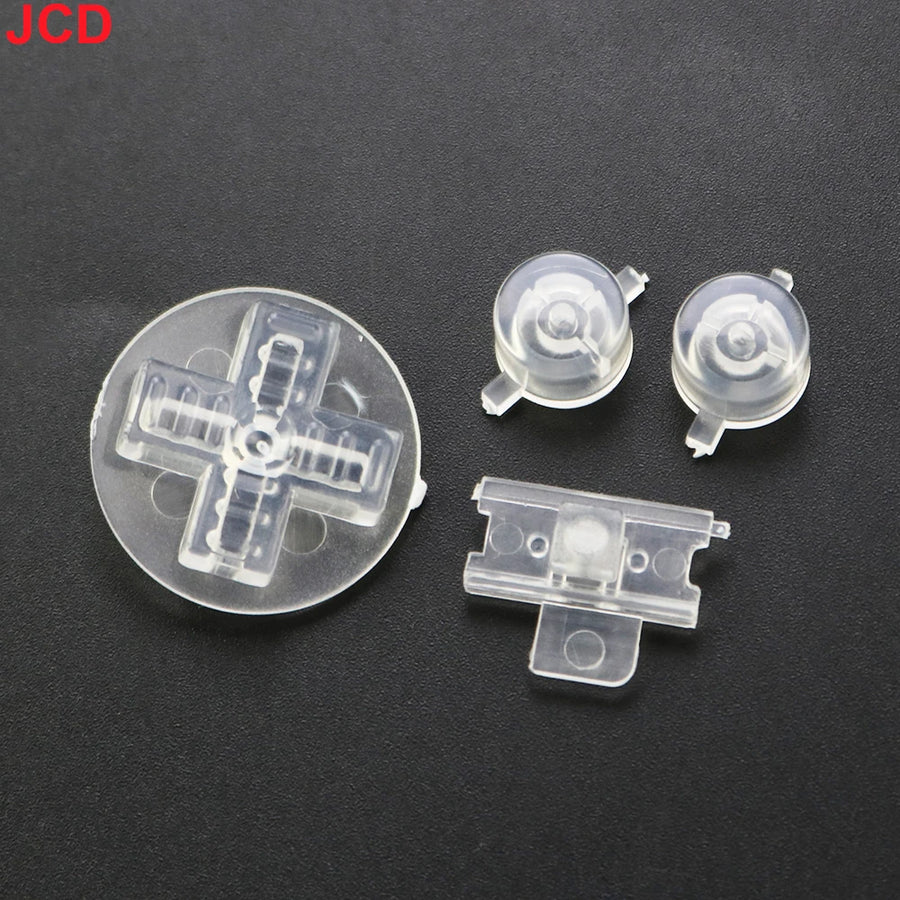
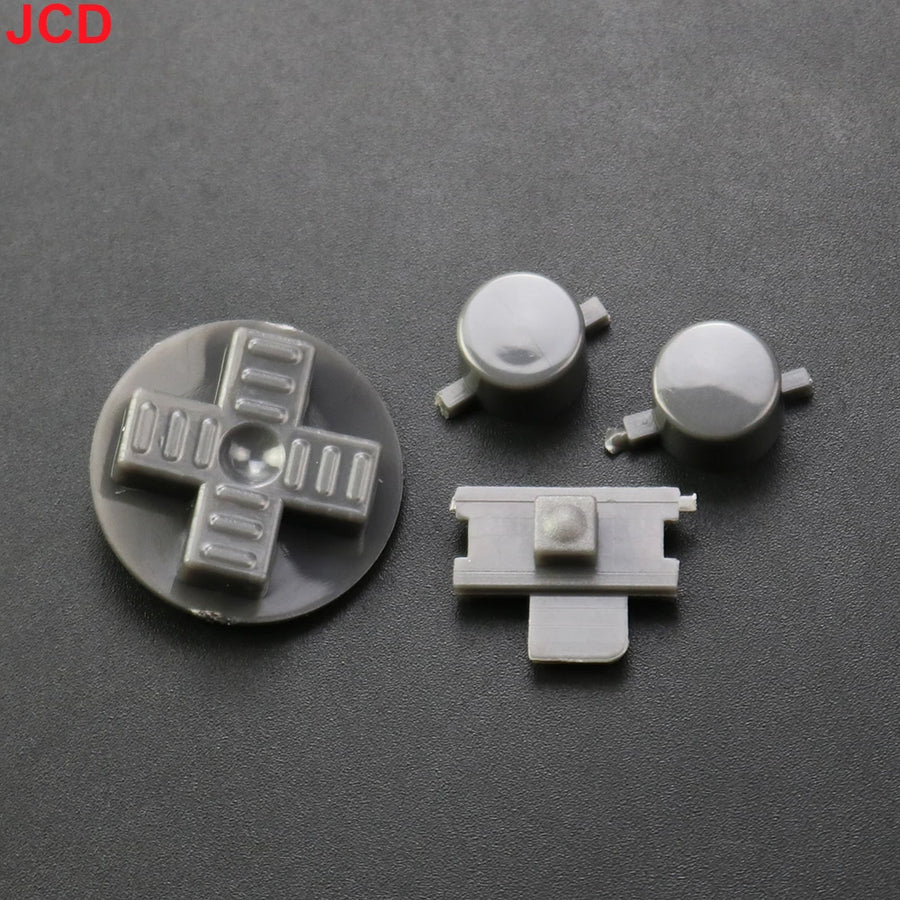
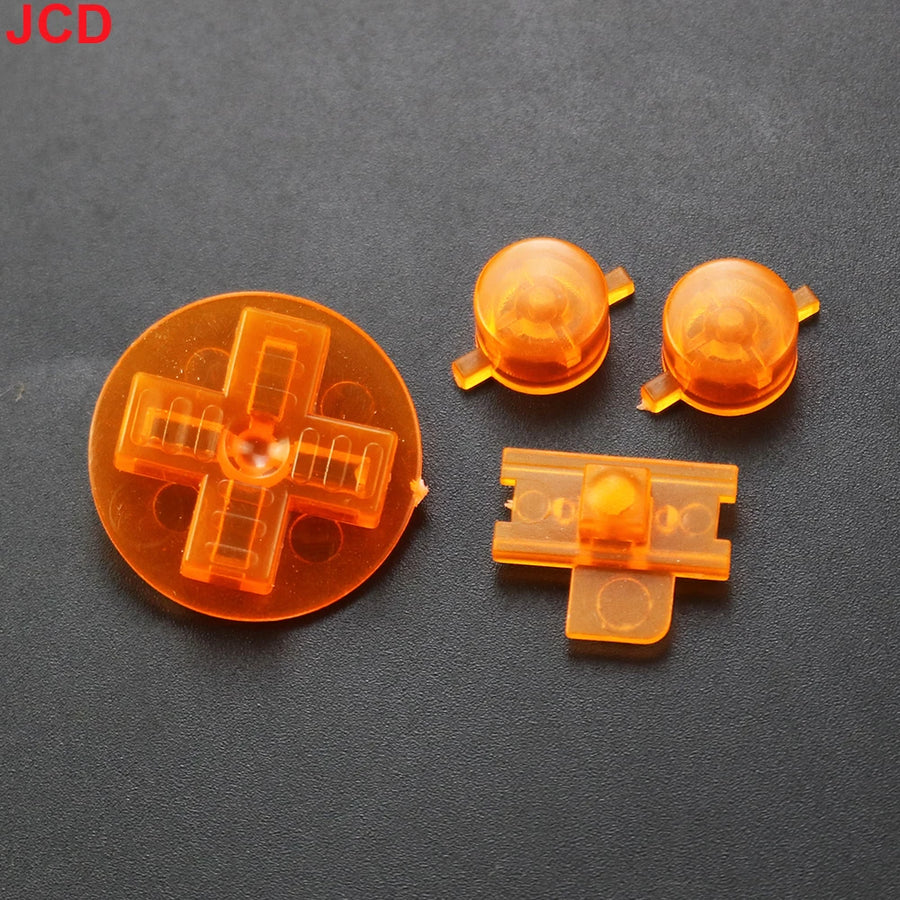
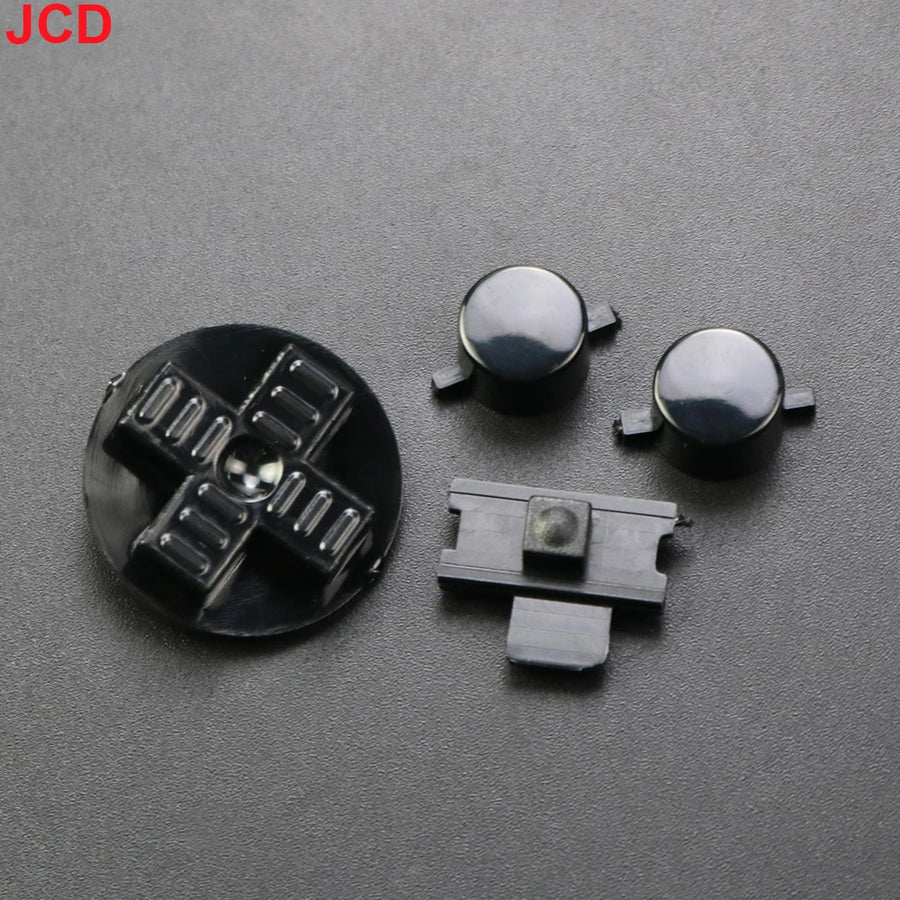
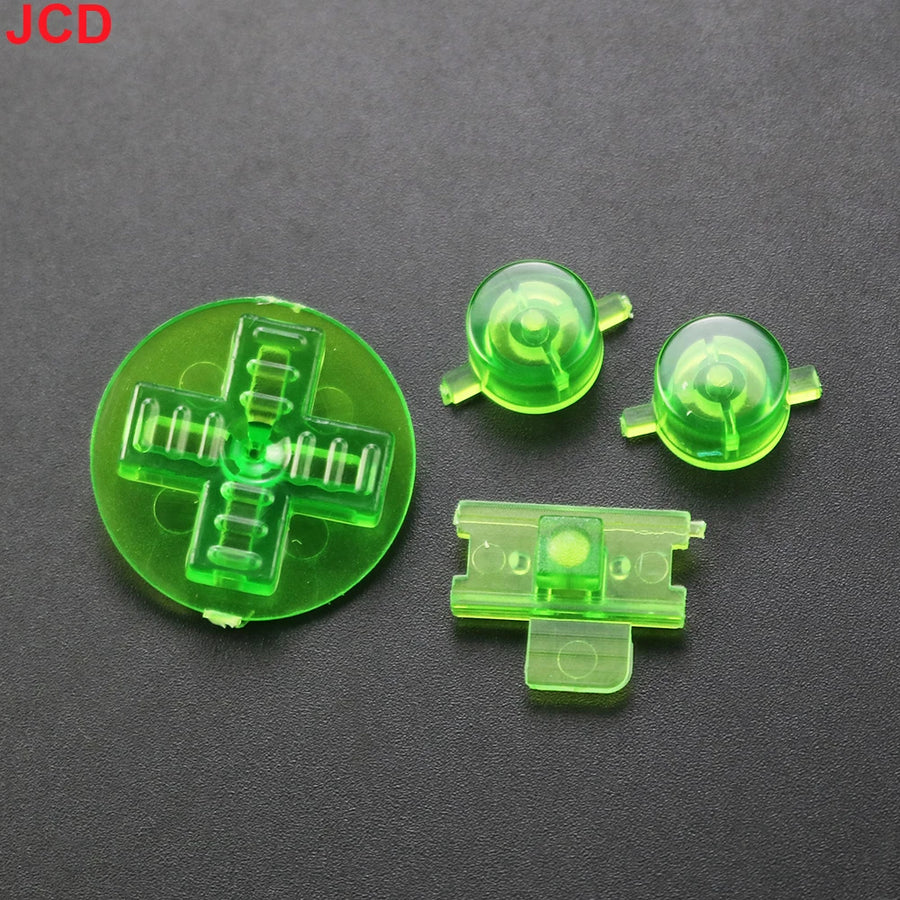
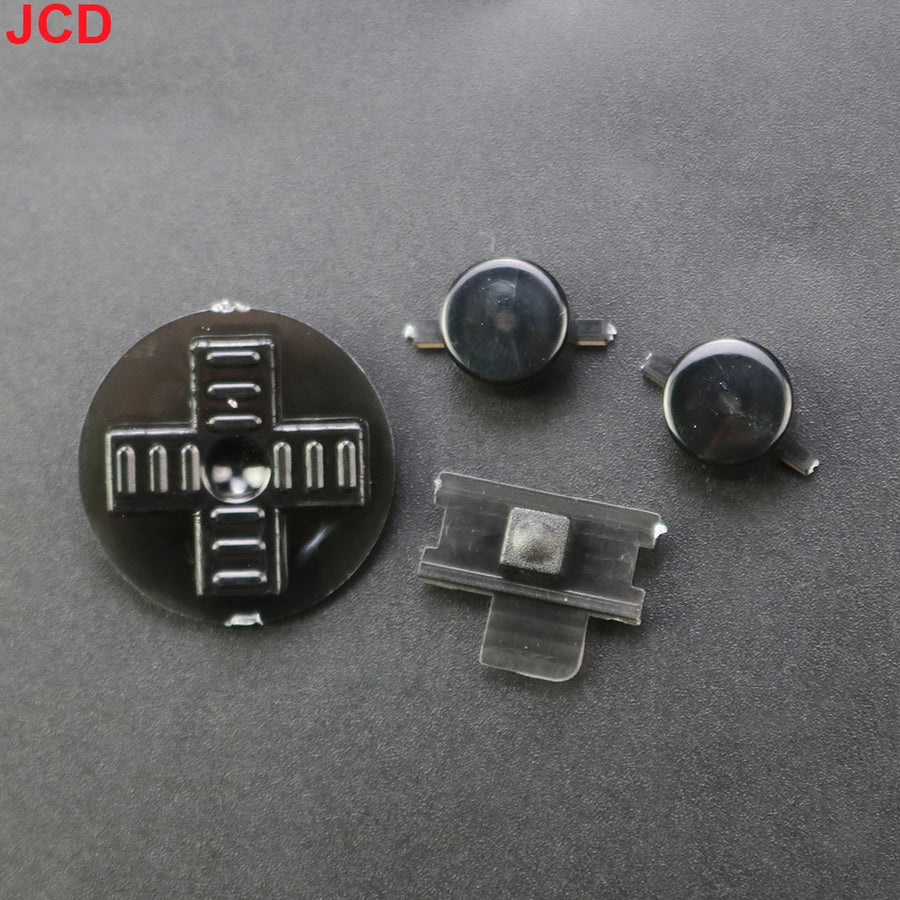
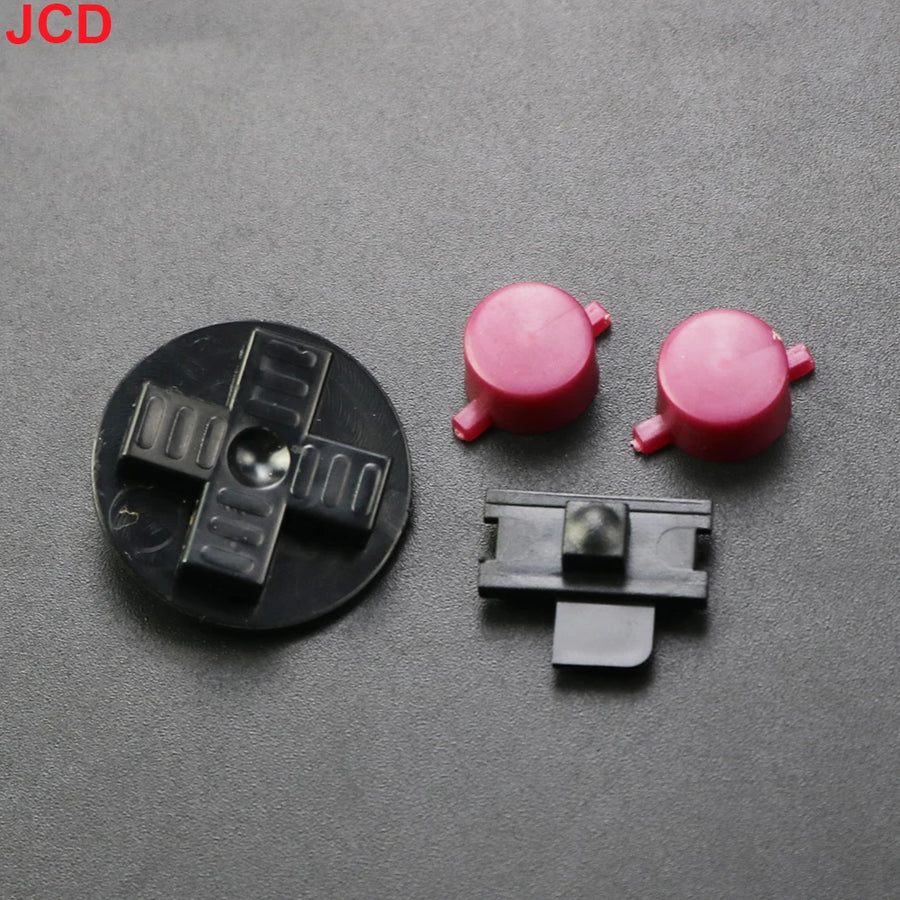
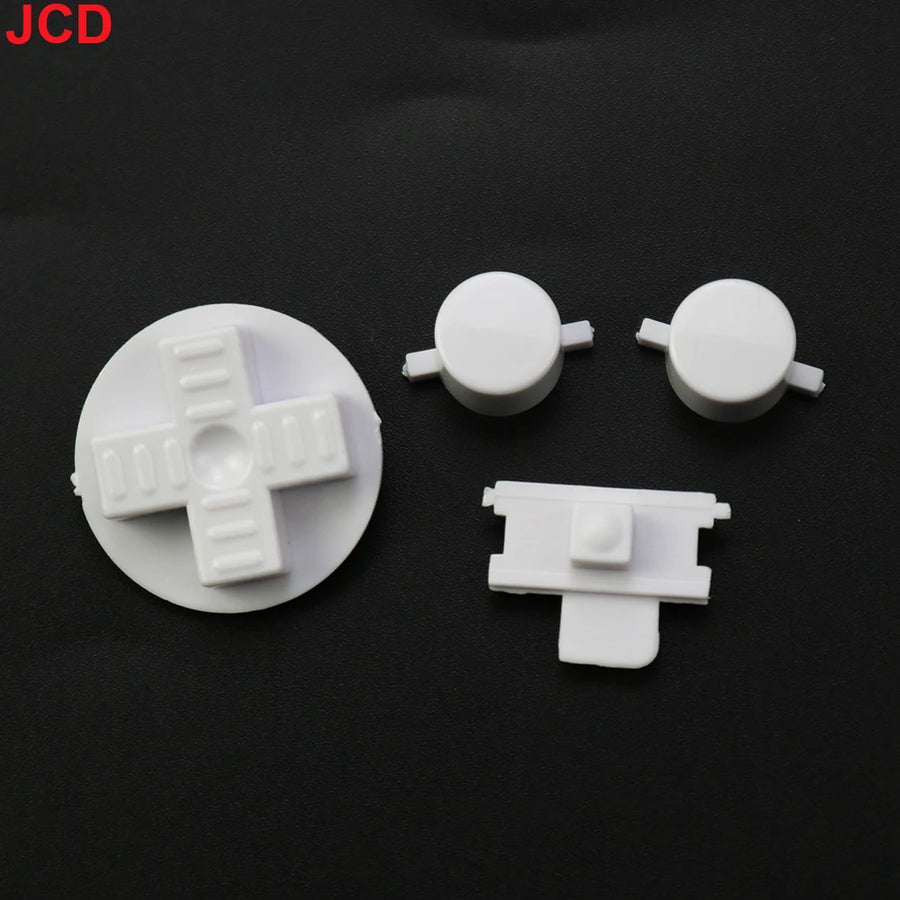
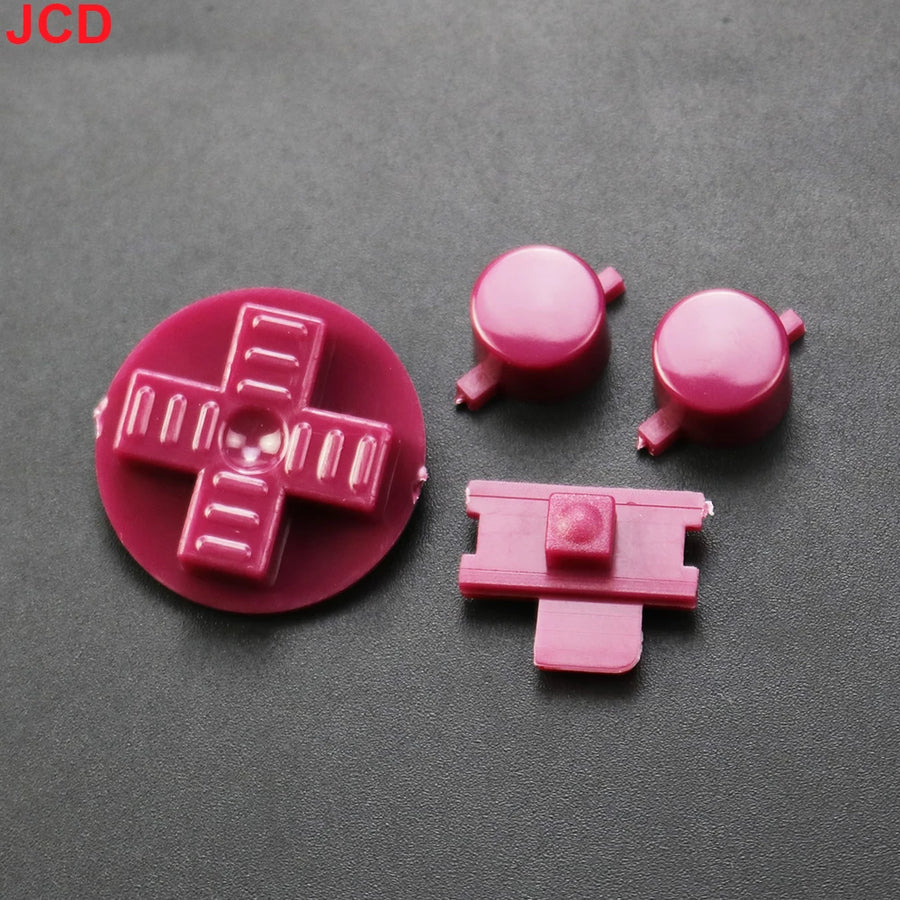
Full description
Game Boy buttons: crisp presses again on a thirty-year-old console
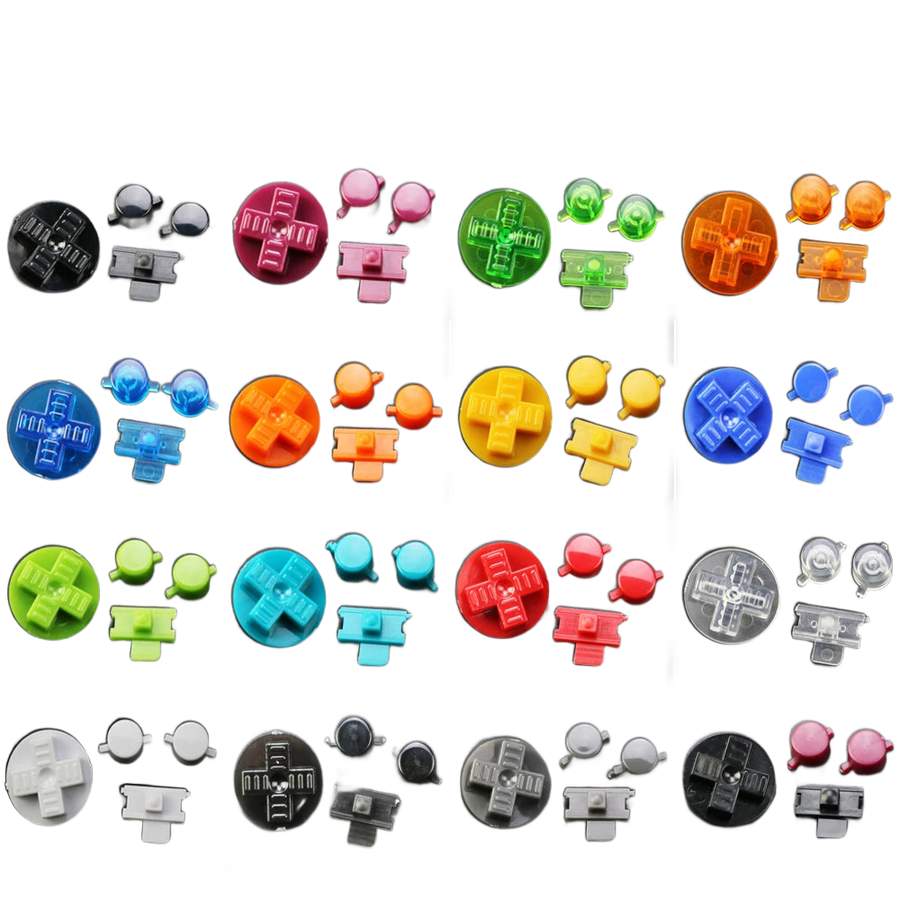
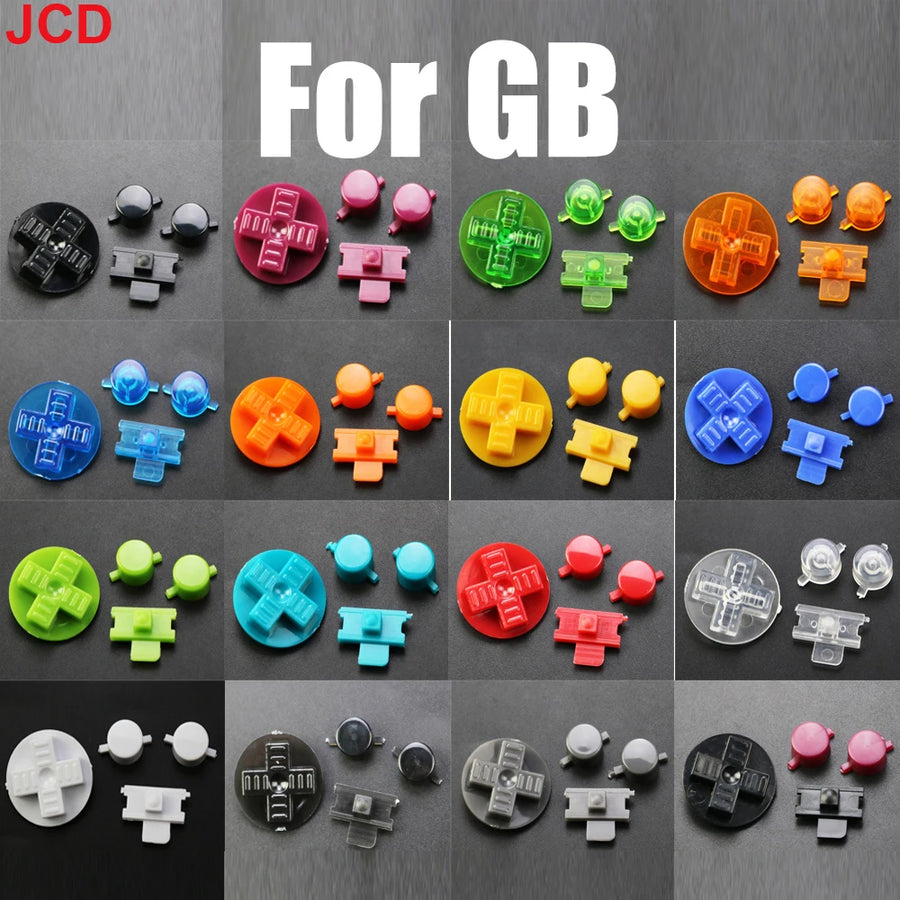
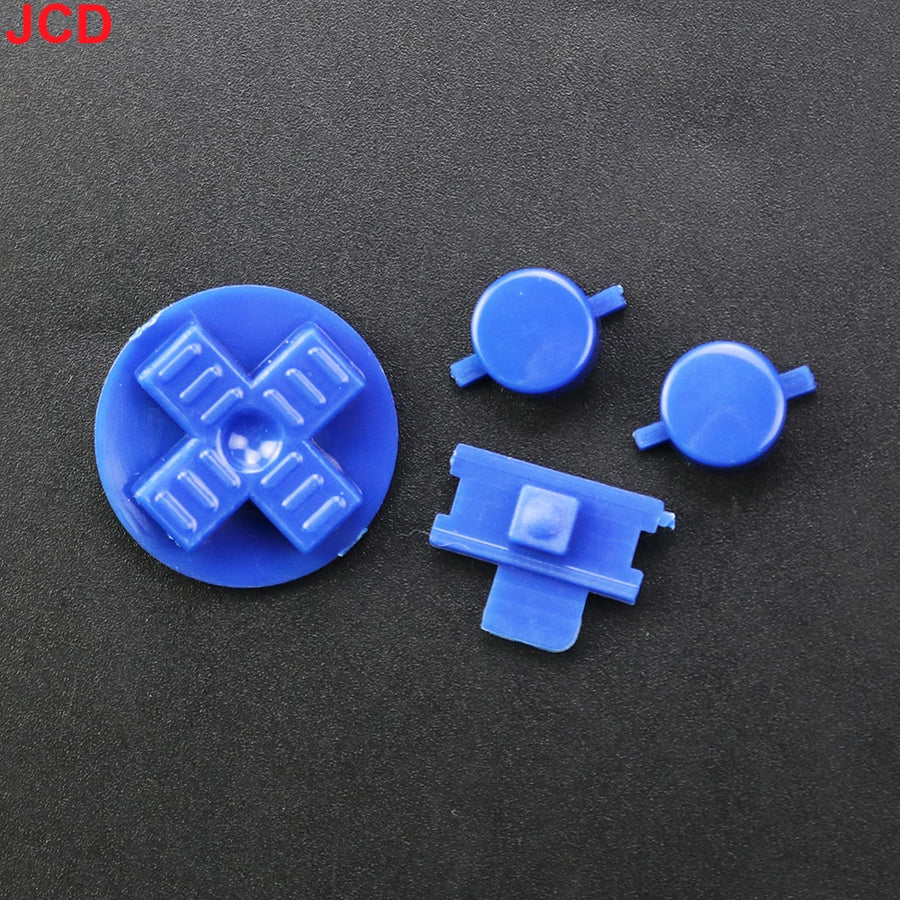
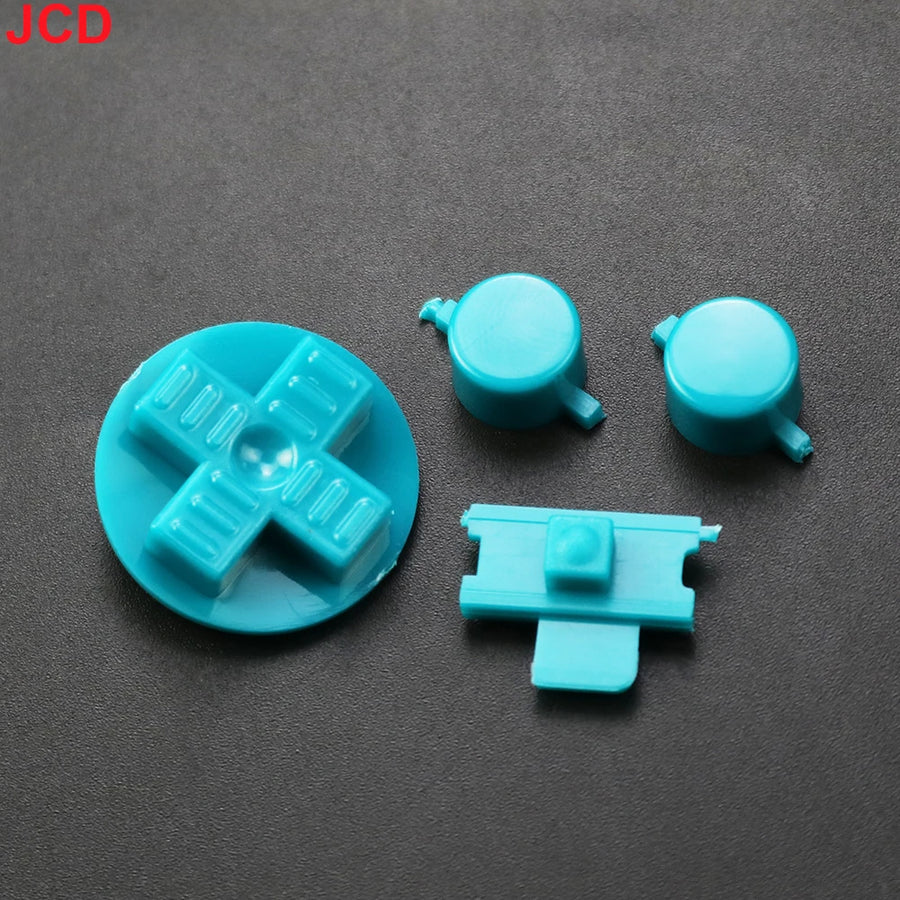
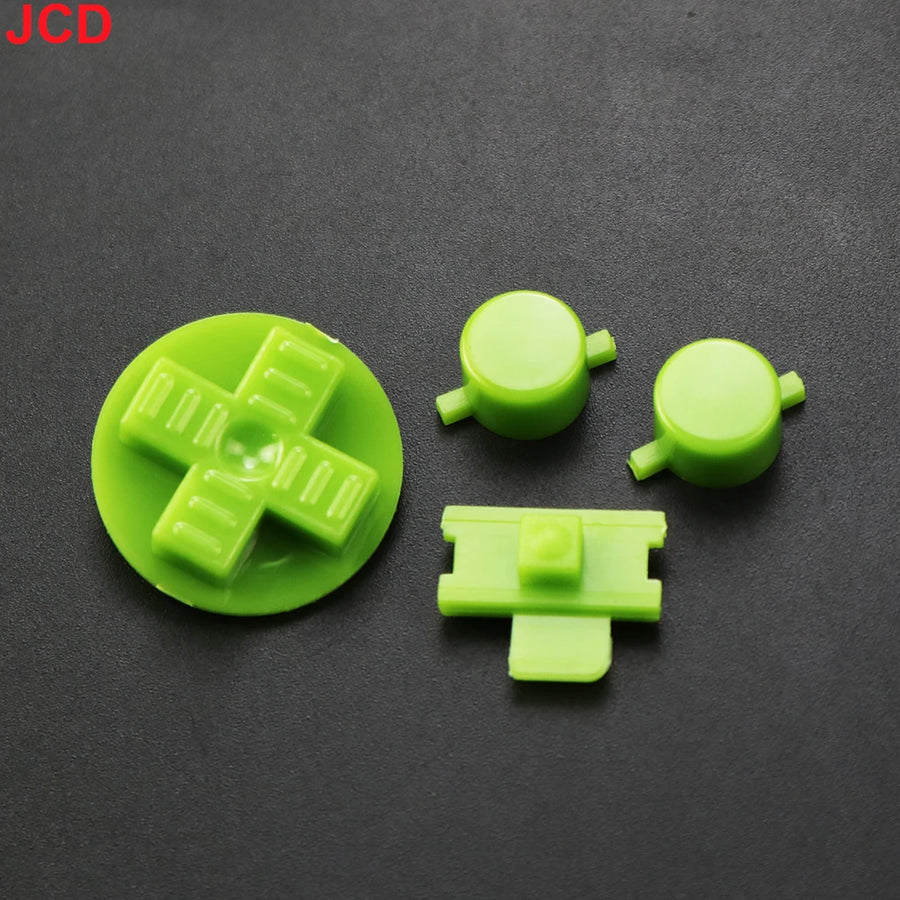
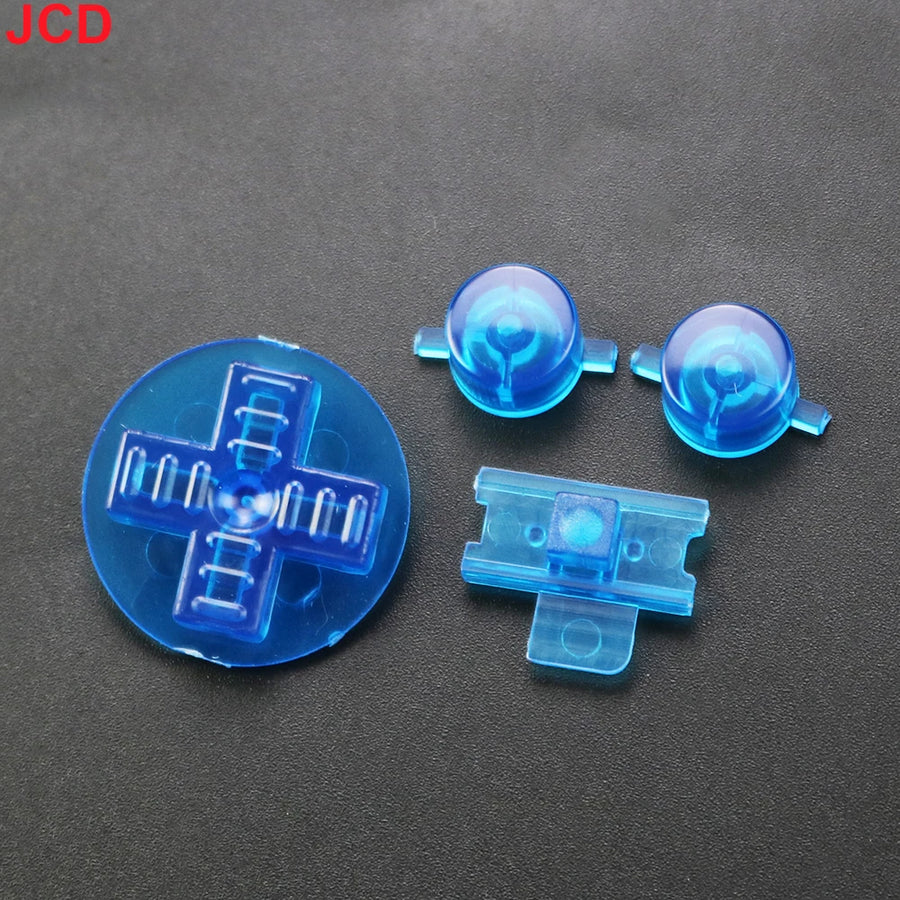
On a Game Boy that has seen a lot of use, it's almost never the components that give out first: it's the buttons and the D-pad. Plastic worn smooth, rounded edges, diagonals that catch. This kit replaces the front parts with a new set, available in 16 colours — a chance to personalise the machine along the way.
What it does
- Complete set: D-pad and A/B buttons replaced in one go, so the front stays matched.
- No-solder installation: the buttons sit in the front shell, no work on the motherboard.
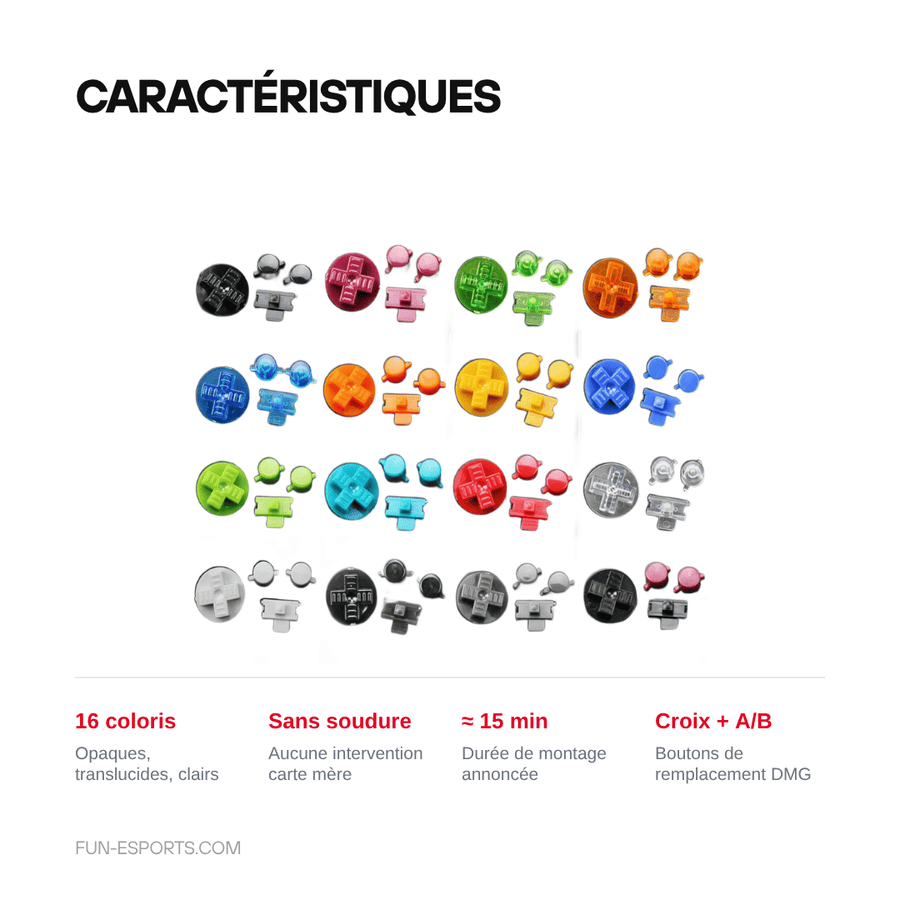
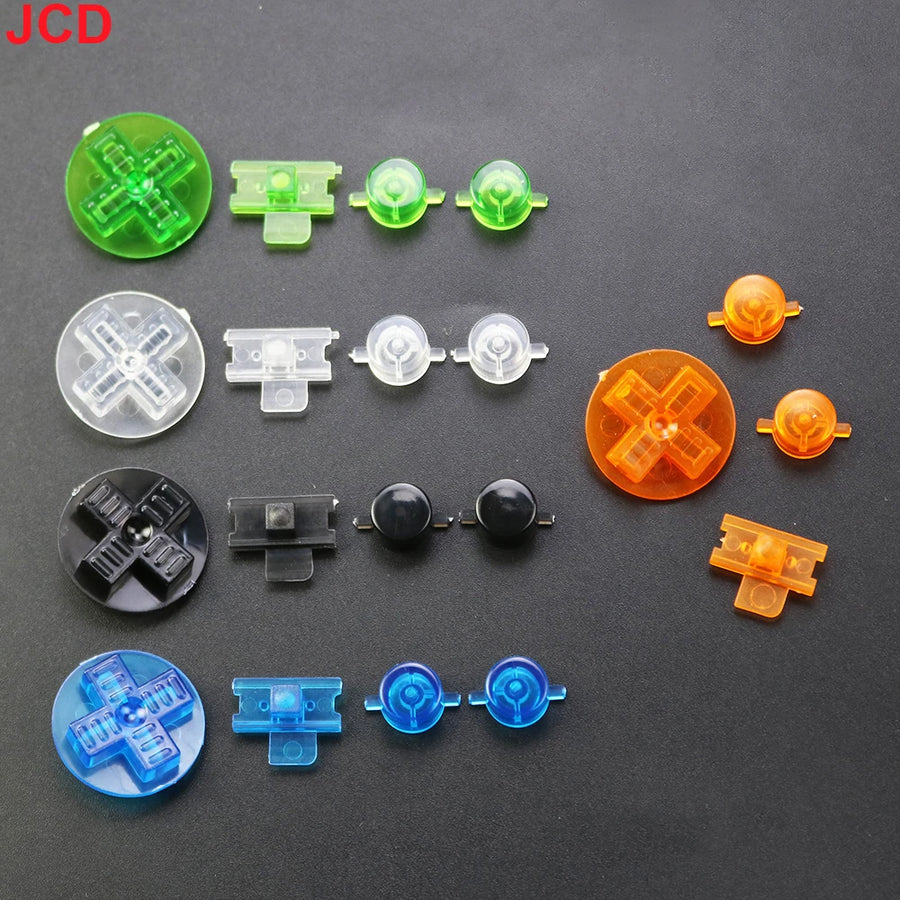
- 16 colours: opaque, translucent or transparent, to stay true to the original or go for a custom build.
What it doesn't do
- It doesn't replace the conductive rubber pads under the buttons. If presses are still unreliable after installation, that's where to look: they are separate parts, to be ordered separately.
- It doesn't fix a dirty contact or a damaged trace on the front circuit board.
- Start and Select are not listed in the kit by the supplier: assume you will receive the D-pad and the two action buttons.
- The original listing also mentions Game Boy Pocket, Color, Light and Game Boy Advance. Button shapes vary from one model to another and we do not confirm these compatibilities.
Compatibility
Kit designed for the original Game Boy (DMG model), the one with the green screen. The other machines in the family — Pocket, Color, Light, Advance and Advance SP — use buttons with different shapes: they are not covered by this listing. Check your model before ordering.
Skill level required
No soldering, no cutting. You need to open the console's shell, which is closed with tri-wing screws: a screwdriver of this type is essential, a Phillips won't fit. Once the front shell is removed, the buttons come out and go back in by hand. Allow about fifteen minutes, reassembly included. Beginner level, provided you have the right screwdriver.
In the box
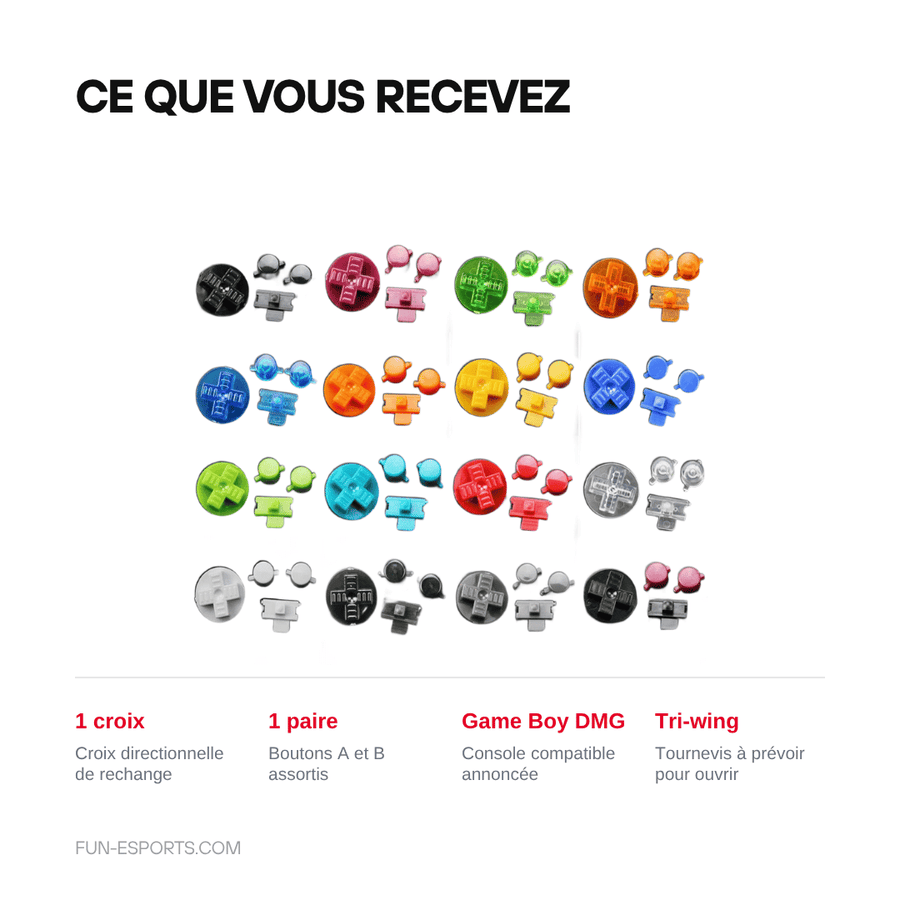
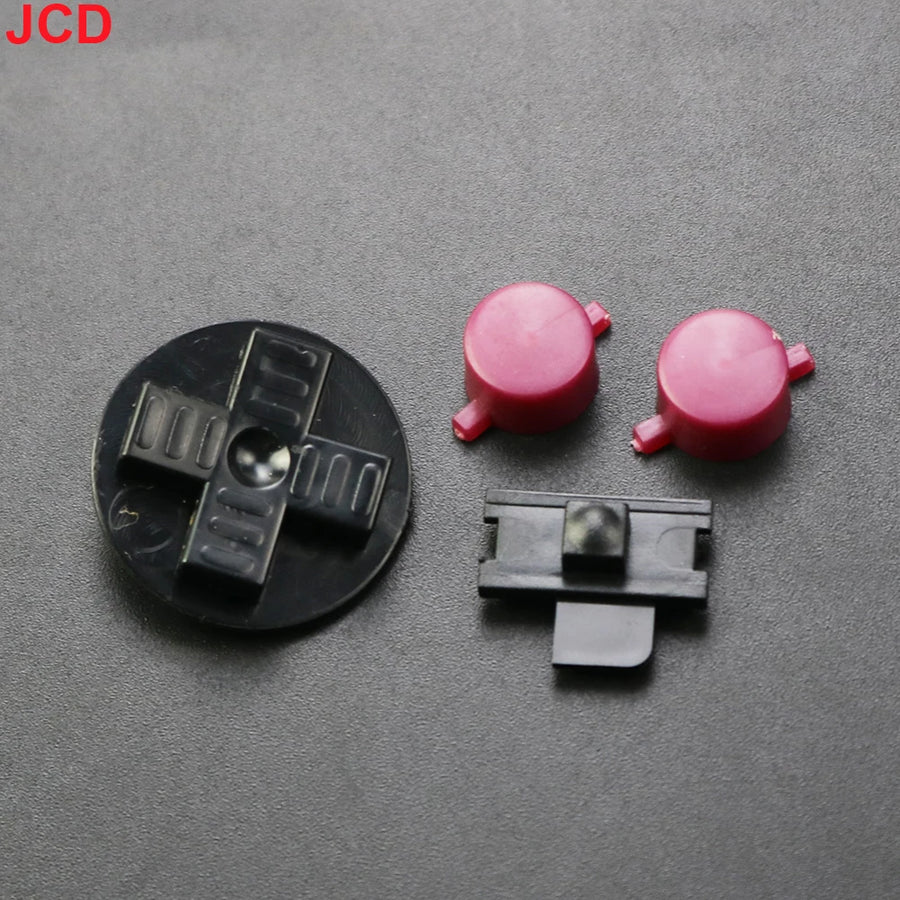
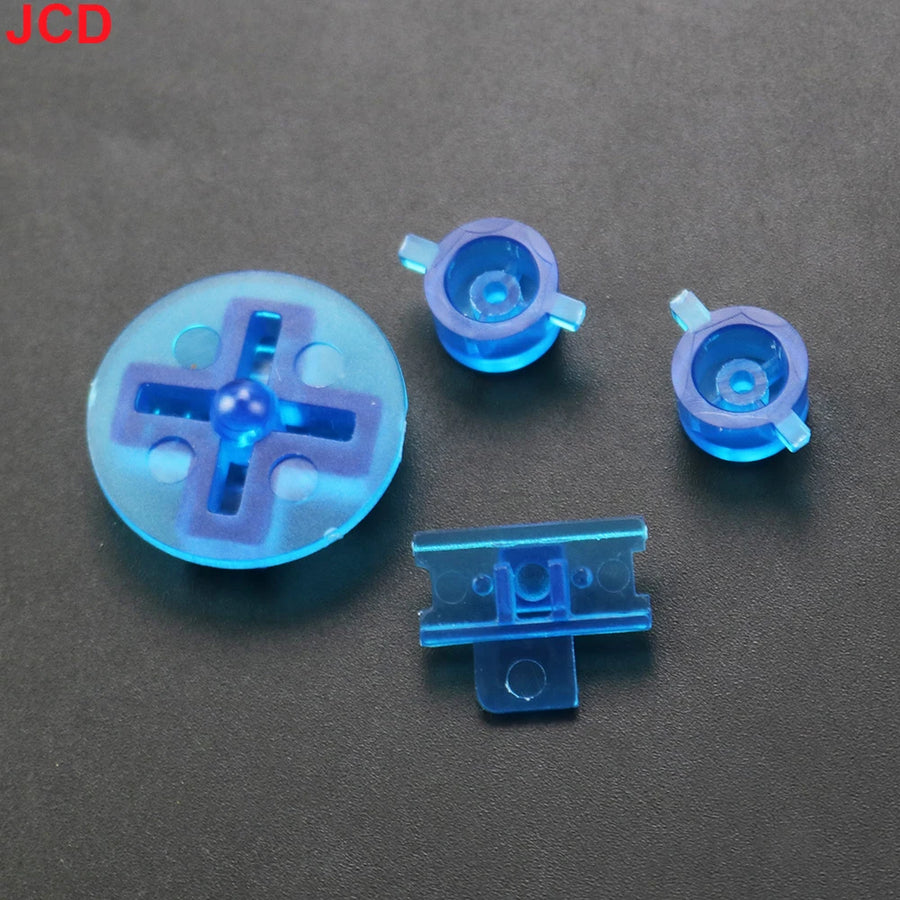
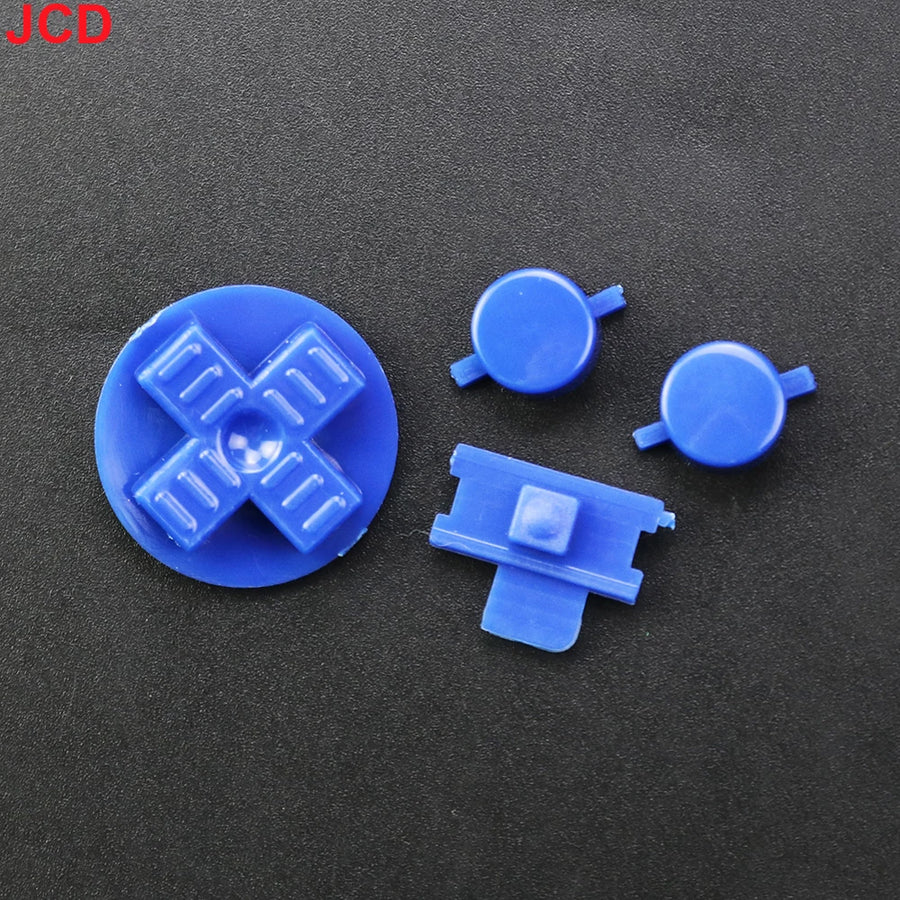
- 1 D-pad, in the chosen colour
- 1 pair of A and B buttons, in the same colour
Read before ordering: Retro peripherals
Delivery in 10 to 18 days · ships within 3 to 5 days · 2-year legal guarantee of conformity · 14-day returns.
Game Boy A/B buttons and D-pad — replacement kit
New D-pad and A/B buttons for the original Game Boy — 16 colours, no-solder installation.
In stock
📦Ships within 3 to 5 business days · Delivery in 10 to 18 business days · 2-year legal guarantee of conformity · 14-day returns.
- 🇫🇷French customer service
reply within 1 business day - 🛡Legal warranty
2 years - ↩14 days
to change your mind - 🔒Secure payment
Card · PayPal · Klarna
The job: fifteen minutes, a console that responds
An original Game Boy was rarely put away with care. The D-pad is the first thing to wear: the edges round off, the diagonals go mushy, every other press goes astray. Replacing the D-pad and the A and B buttons gives the machine back a feel that no amount of cleaning can restore. It's the most rewarding restoration for the time spent, before you even think about the screen or the battery.
The part: three pieces, sixteen shades
The kit sticks to what you see and touch: the D-pad and the two action buttons. Sixteen shades are available, from opaque colours close to the original to transparent and translucent ones for a showier build. No electronic components are involved, so there is nothing that can fail over time. By ordering two kits, you can choose a different colour for the D-pad and for the buttons.
What we tell you before you order
One thing must be clear before you buy: these buttons do not replace the conductive rubber pads underneath them. If a press only registers half the time, the culprit is usually that membrane, or a dirty contact — not the button itself. The kit is for the original Game Boy, DMG model: the other machines in the family use buttons with different shapes. Listing verified on 19 August 2026, 2-year legal guarantee of conformity, 14-day returns.
What this accessory brings
Verified manufacturer specifications · verified on
What it does well
- D-pad and A/B buttons replaced in one go
- No-solder installation, no work on the motherboard
- 16 colours: opaque, translucent or transparent
- Installation in about fifteen minutes
What it doesn’t do
- Does not include the conductive rubber pads under the buttons
- Start and Select are not listed in the kit
- Compatibility limited to the original Game Boy (DMG): Pocket, Color, Light and Advance not covered
- A tri-wing screwdriver is required to open the console
See full specifications+
Material and size
- Accessory type
- Replacement buttons
Compatible with
- Original Game Boy (DMG)
In the box
- 1 D-pad
- 1 pair of A and B buttons
Information and safety
Instructions for use and legal information about the product
Origin, responsible person and contact
- Product and packaging as supplied by the manufacturer: markings may be in Chinese or English. The product's characteristics are described on this page.
- Use this product only for the purpose described on this page and follow the instructions below.
- Person responsible for placing this product on the EU market: JMR-Service (Fun-Esports). See our Terms of Sale for full contact details.
- A safety problem (overheating, burning smell, broken part)? Stop using the product and write to us at contact@fun-esports.com.
- Warranty, returns and withdrawal: see our Warranty and returns page.
Frequently Asked Questions
🔧 Do I need to solder to install these buttons?
No. The buttons sit in the console's front shell, with no work on the motherboard or the circuit board.
🎮 Which consoles are actually compatible?
The original Game Boy, DMG model. The Game Boy Pocket, Color, Light, Advance and Advance SP use buttons with different shapes: we do not list them as compatible.
🧰 What tools do I need?
A tri-wing screwdriver to open the shell — it's the console's screw type, a Phillips won't do. A plastic spudger helps separate the two halves of the shell without marking the plastic.
📦 What's in the box?
One D-pad and one pair of A and B buttons, in the chosen colour. Start and Select are not listed in the kit.
🧼 My presses are still unreliable after the replacement, why?
Because the problem rarely comes from the button itself. The conductive rubber pads underneath wear out over the years, and the circuit contacts get dirty. These are parts and cleaning to deal with separately.
⏱️ How long does installation take?
About fifteen minutes, reassembly included. Beginner level as long as you have the right screwdriver.
🚚 What are the delivery times?
Delivery in 10 to 18 days, ships within 3 to 5 days.
🛡️ What guarantee applies?
2-year legal guarantee of conformity. 14-day returns. French customer service, reply within 1 business day.
Why buy here rather than on a marketplace
It is a fair question. Here is the answer, straight.
Every listing is checked before publication: real compatibility, material, dimensions, box contents. Many models never make it into the catalogue.
A question about compatibility, a fit problem, a return: you write, a human replies within 1 business day. In French.
The 2-year legal warranty of conformity is handled by us — not by a form on the other side of the world. And 14 days to change your mind, with no need to justify yourself.
We do not claim to be the cheapest. We claim that you will know exactly what you are buying before you pay.
Read this before choosing
Our guides to accessories: compatibility, protection, transport.

Manette pour smartphone : bien choisir pour le rétro et les jeux mobiles
Trois formats de manettes pour téléphone, et les critères qui départagent : port USB-C, version d'iOS ou d'Android, longueur du téléphone avec sa coque,…
9 min read · published on

Quelle manette 8BitDo choisir selon votre console et votre usage
Récepteur pour console d'origine, SN30 Pro ou Pro 3 sur Switch, Ultimate 2C ou Ultimate 2 sur PC : le tableau usage par usage…
11 min read · published on

Leverless ou stick arcade en 2026 : faut-il passer à la hitbox ?
Vous hésitez à passer au leverless ? Fonctionnement, modes SOCD et règles de tournoi en 2026, jeux concernés, temps d'adaptation, switchs et cartes GP2040-CE,…
9 min read · published on